Hey guys welcome back (or welcome to my blog if you’re new here)! I have never done a post about how to blog, blogging tips, etc., but I really enjoy blogging and I have learned a lot in the last two years. Because of that, I thought it would be fun to start sharing some tips with you guys and some of the the things I have learned along the way. The fun (and frustrating) thing about blogging is you never stop learning. Even looking back in the last few months I have changed so much and grown as a blogger. Recently I have started really cracking down on myself about being an organized blogger. I was missing quite a few deadlines (both set by companies and myself) and I decided it was time to get my sh** together haha!
So here are my tips on how to be an organized blogger and Youtuber. I am VERY new to Youtube so I can’t 100% say this is the best way to be an organized Youtuber, but it has worked for me so far so I included it in this post. I decided to make this into a video for you guys so you can really see everything I do. I focused a lot on how I organize my OOTD posts, but the beginning is about how I organize posts as a whole.
As always, I wanted to include a blogpost explaining everything as well as the video below just in case you would rather read than watch it. I did include a few extra tips below so if you watch the video definitely scroll through to see the extra ideas!
#1 I Keep an Ongoing Folder of Blog/Video Ideas on my Phone
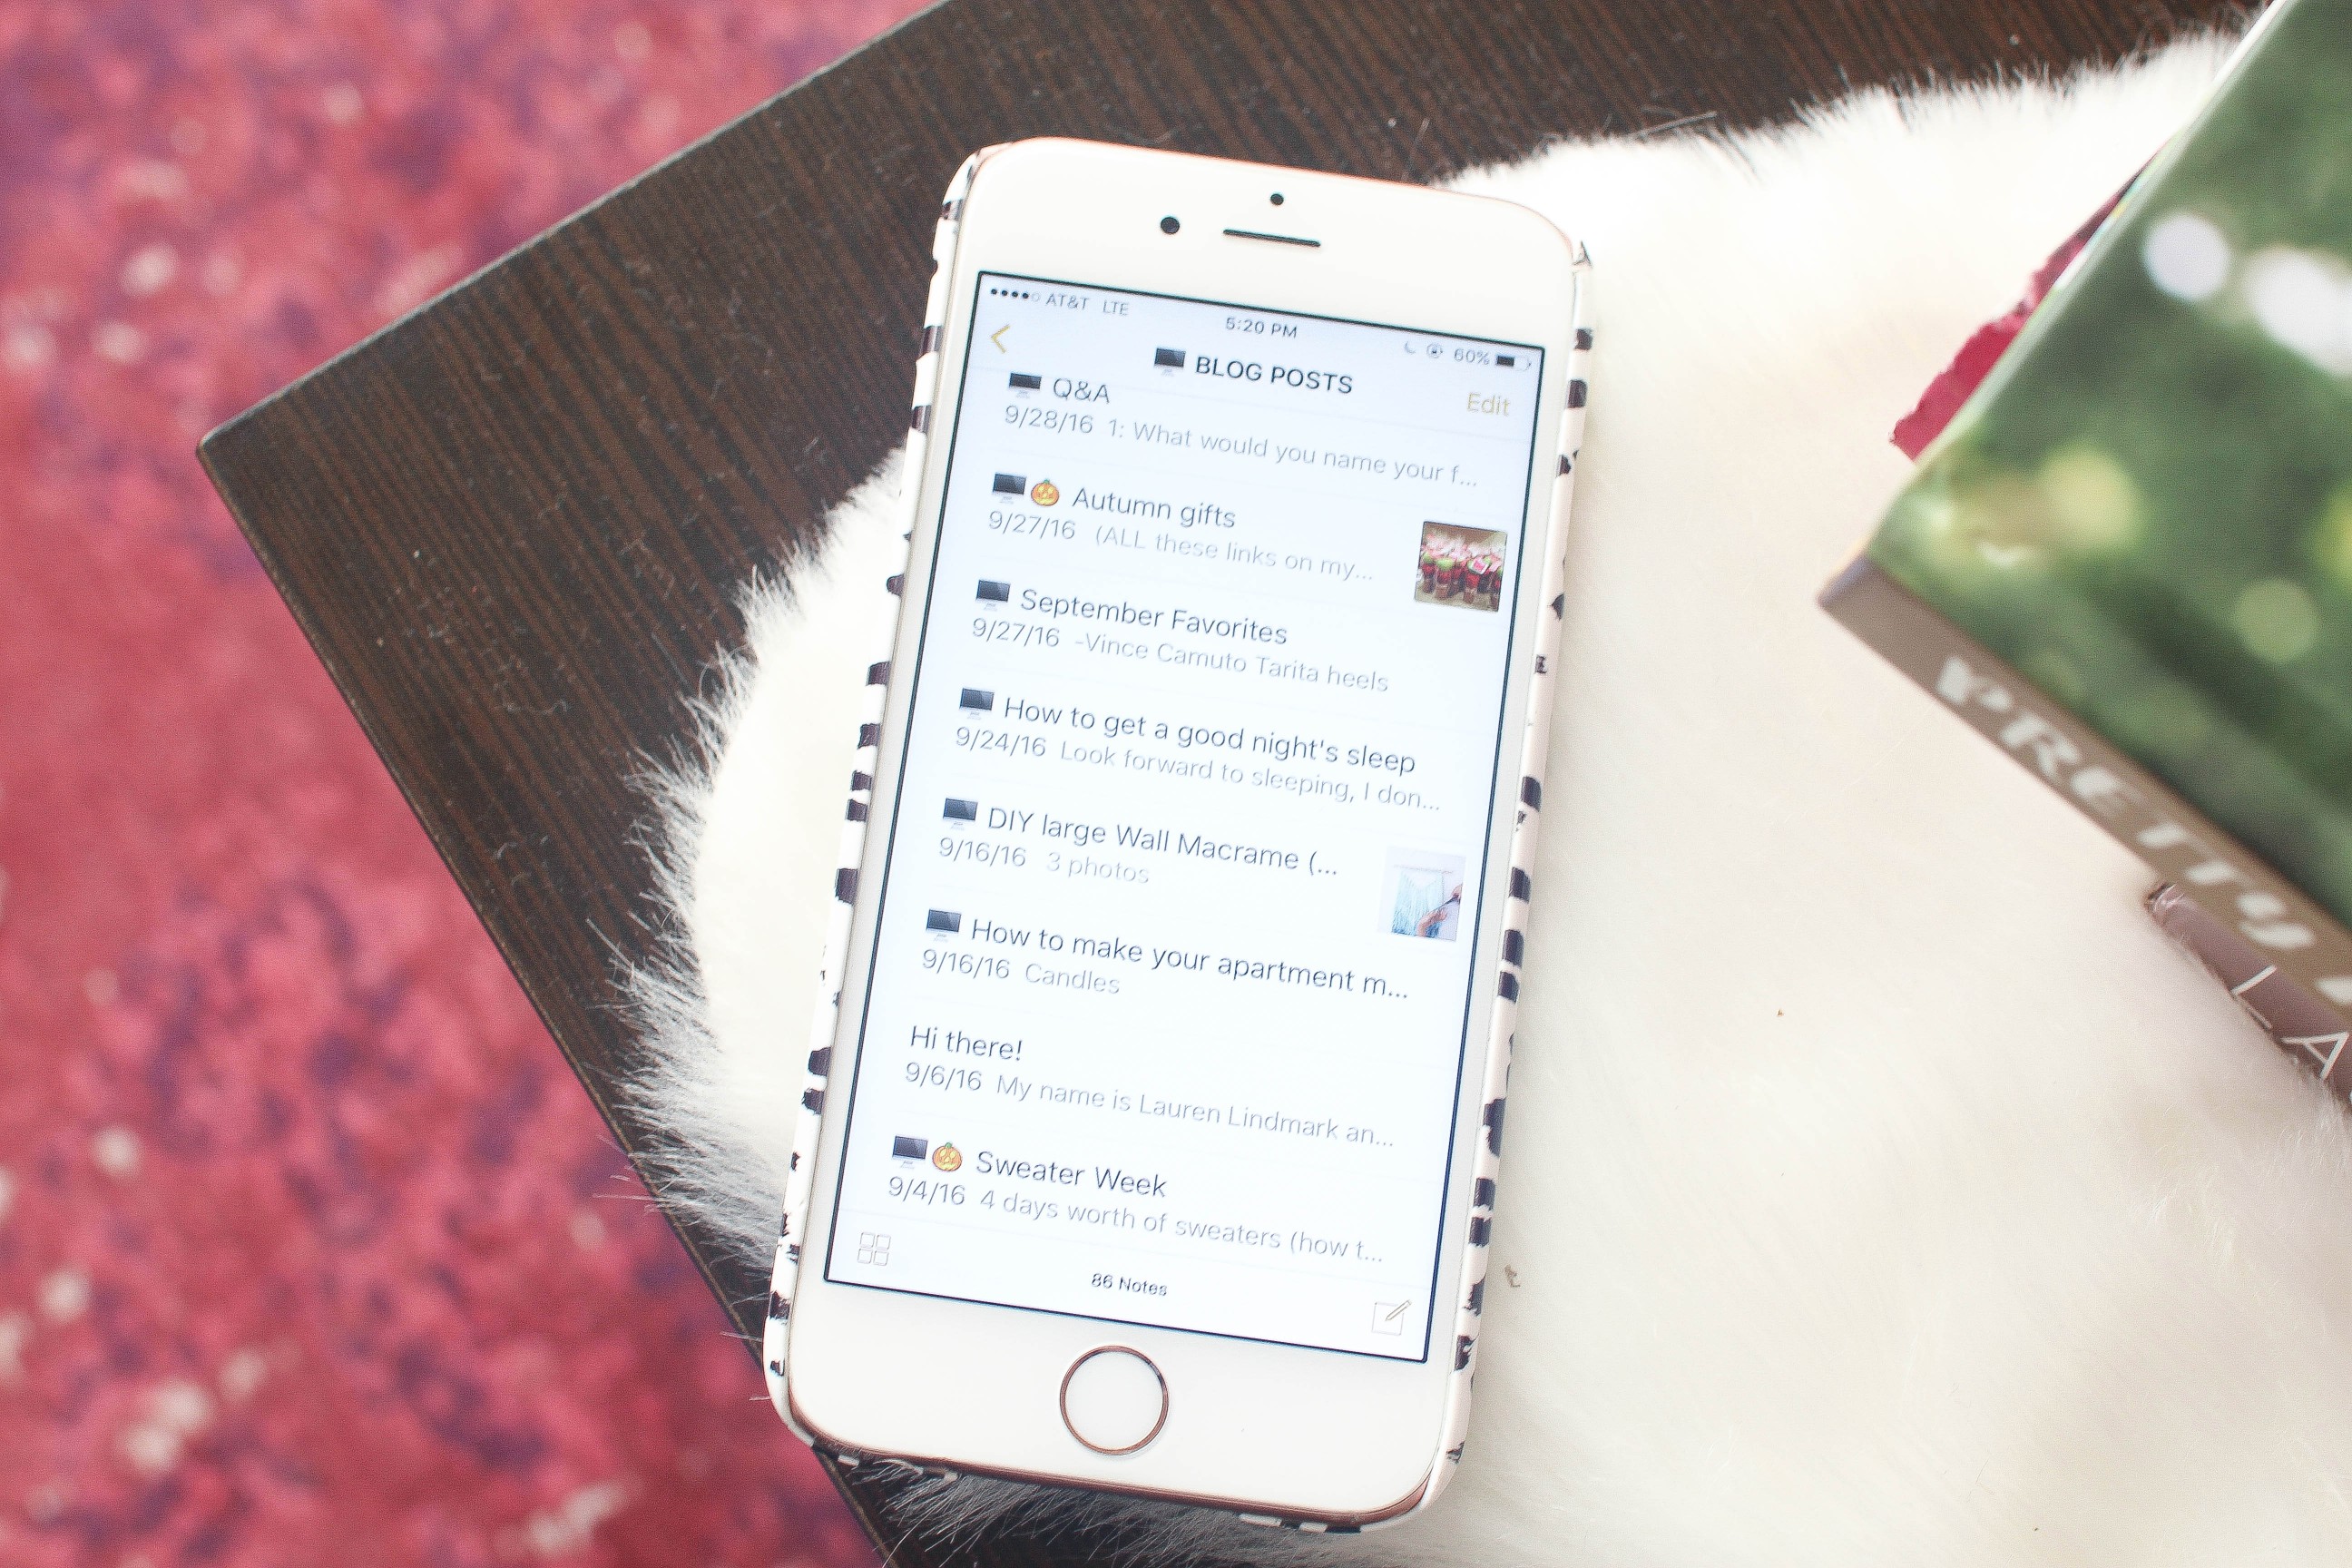
This is something I have been doing since the beginning of 2016. It is the best way for me to keep my creative-juices going! As of right now I have 88 different post ideas in my phone, some of these may never be posted and a lot of them are seasonal ideas, but it helps me to go through them when I’m brainstorming my monthly posting schedules.
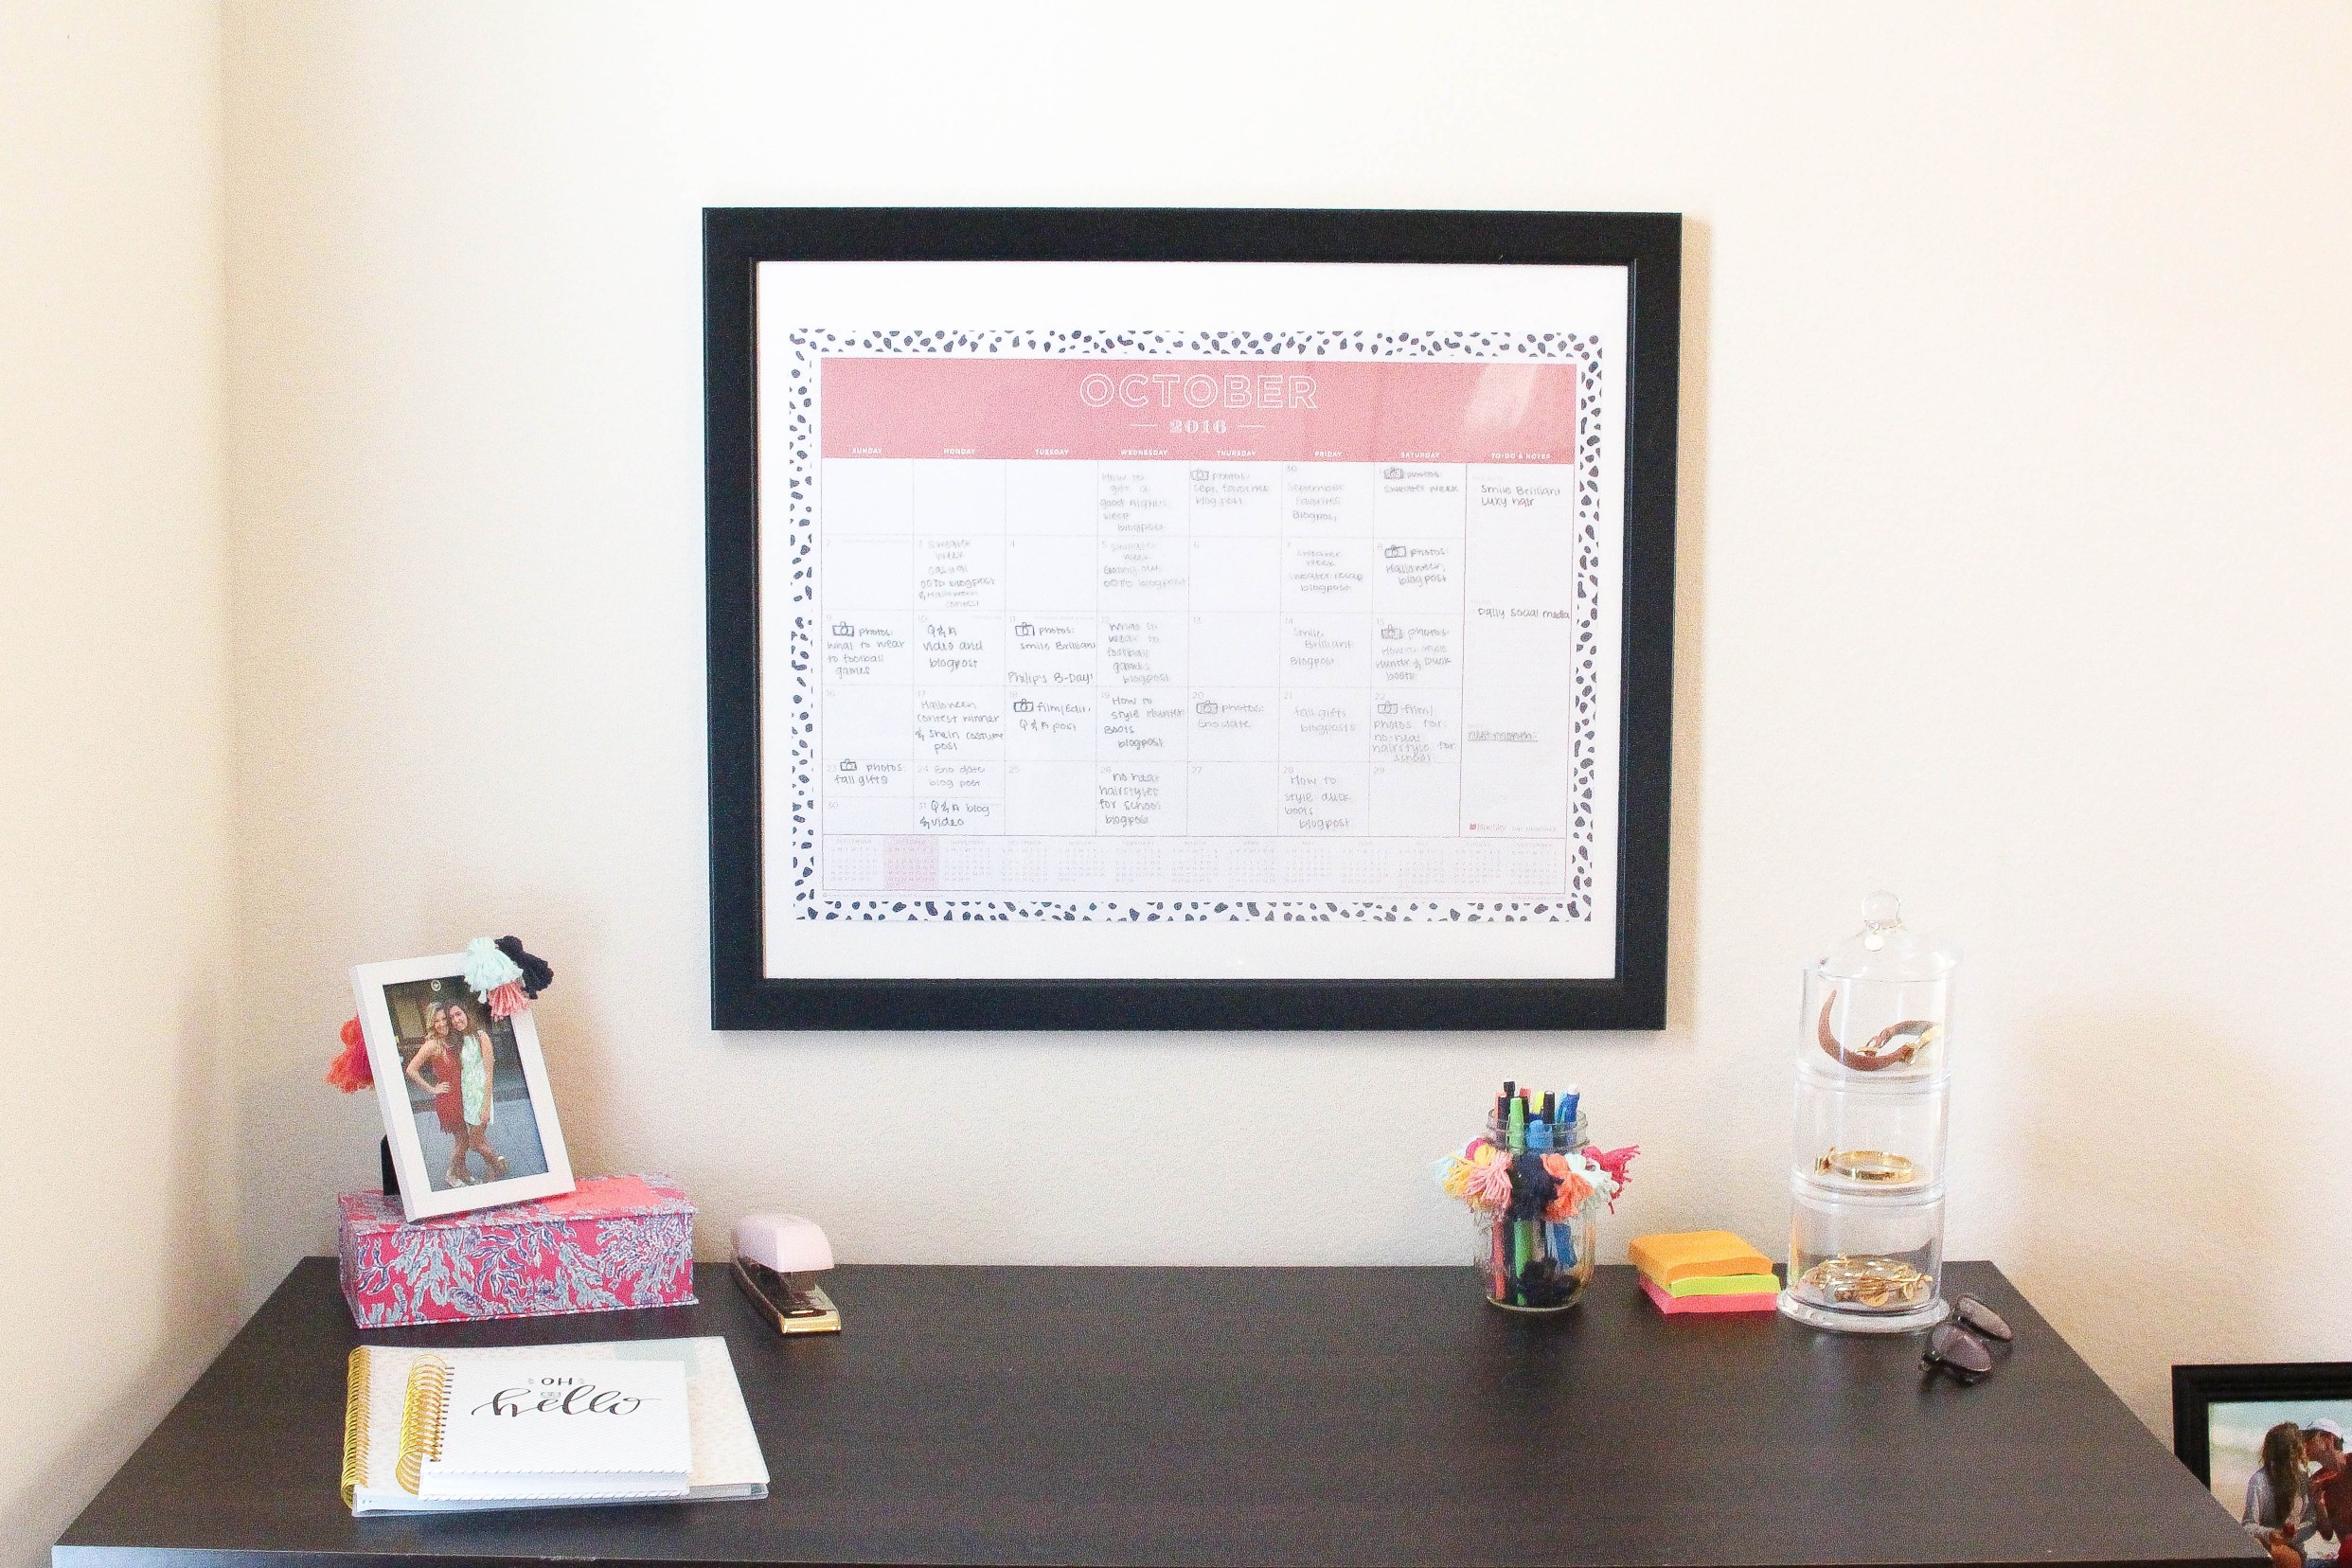
#2 I Schedule Monthly Blog Posts on my Calendar
I really don’t like writing things in my planner because I hate when I end up changing plans and have to cross it out. Because of that I usually use my phone calendar so I can easily delete events and move things around everyday without it looking messy. One of my biggest day-to-day tips is to schedule out your days every morning. It helps me see my daily goals and I feel productive. I have been doing this all year and I love it!
Although I religiously schedule out my day-to-day tasks, I still wanted a way to schedule out monthly posts that I can move around if needed. Because of that I purchased a cute, large monthly calendar from Target and put it in a frame so I can write out my monthly posts and erase them if need be. This is the calendar I bought because it matches my room perfectly (it was only $9.99)! I like being able to see all my monthly posts at once!
#3 Create Post Outlines

To create post outlines I go on my computer and pull up a word document. For videos I do a scene by scene outline where I write out a basic script of what I want to say, what extra b-roll shots I want to get, and what things I need to remember to include.
For blogposts I have the basics down in my head so I write out requirements (that I either make for myself or that a company makes for me if it is sponsored), posting dates, social media reminders, and any ideas I don’t want to forget to include within the post. Having all my blogposts written out on a calendar helps me when I write out dates on these outlines. I will also sometimes include inspiration photos to help me think of unique ways to photograph the post or how I want things to look. To make the page pretty I add in cute watercolor illustrations that I find off google!
#4 I Plan out OOTDs
Now I want to specifically talk about how I plan out my OOTD posts because those are different than the outlines I do above. For OOTD posts I only create outlines if it is a themed post (such as “How to style Hunter Boots” or “Halloween ideas”) or sponsored posts – so basically anything that takes more planning than just a regular OOTD.


For my regular OOTD posts I first pick out my outfits. I will line up all the clothing I want to shoot along my wall and choose what shoes, accessories, etc. go best with each look.


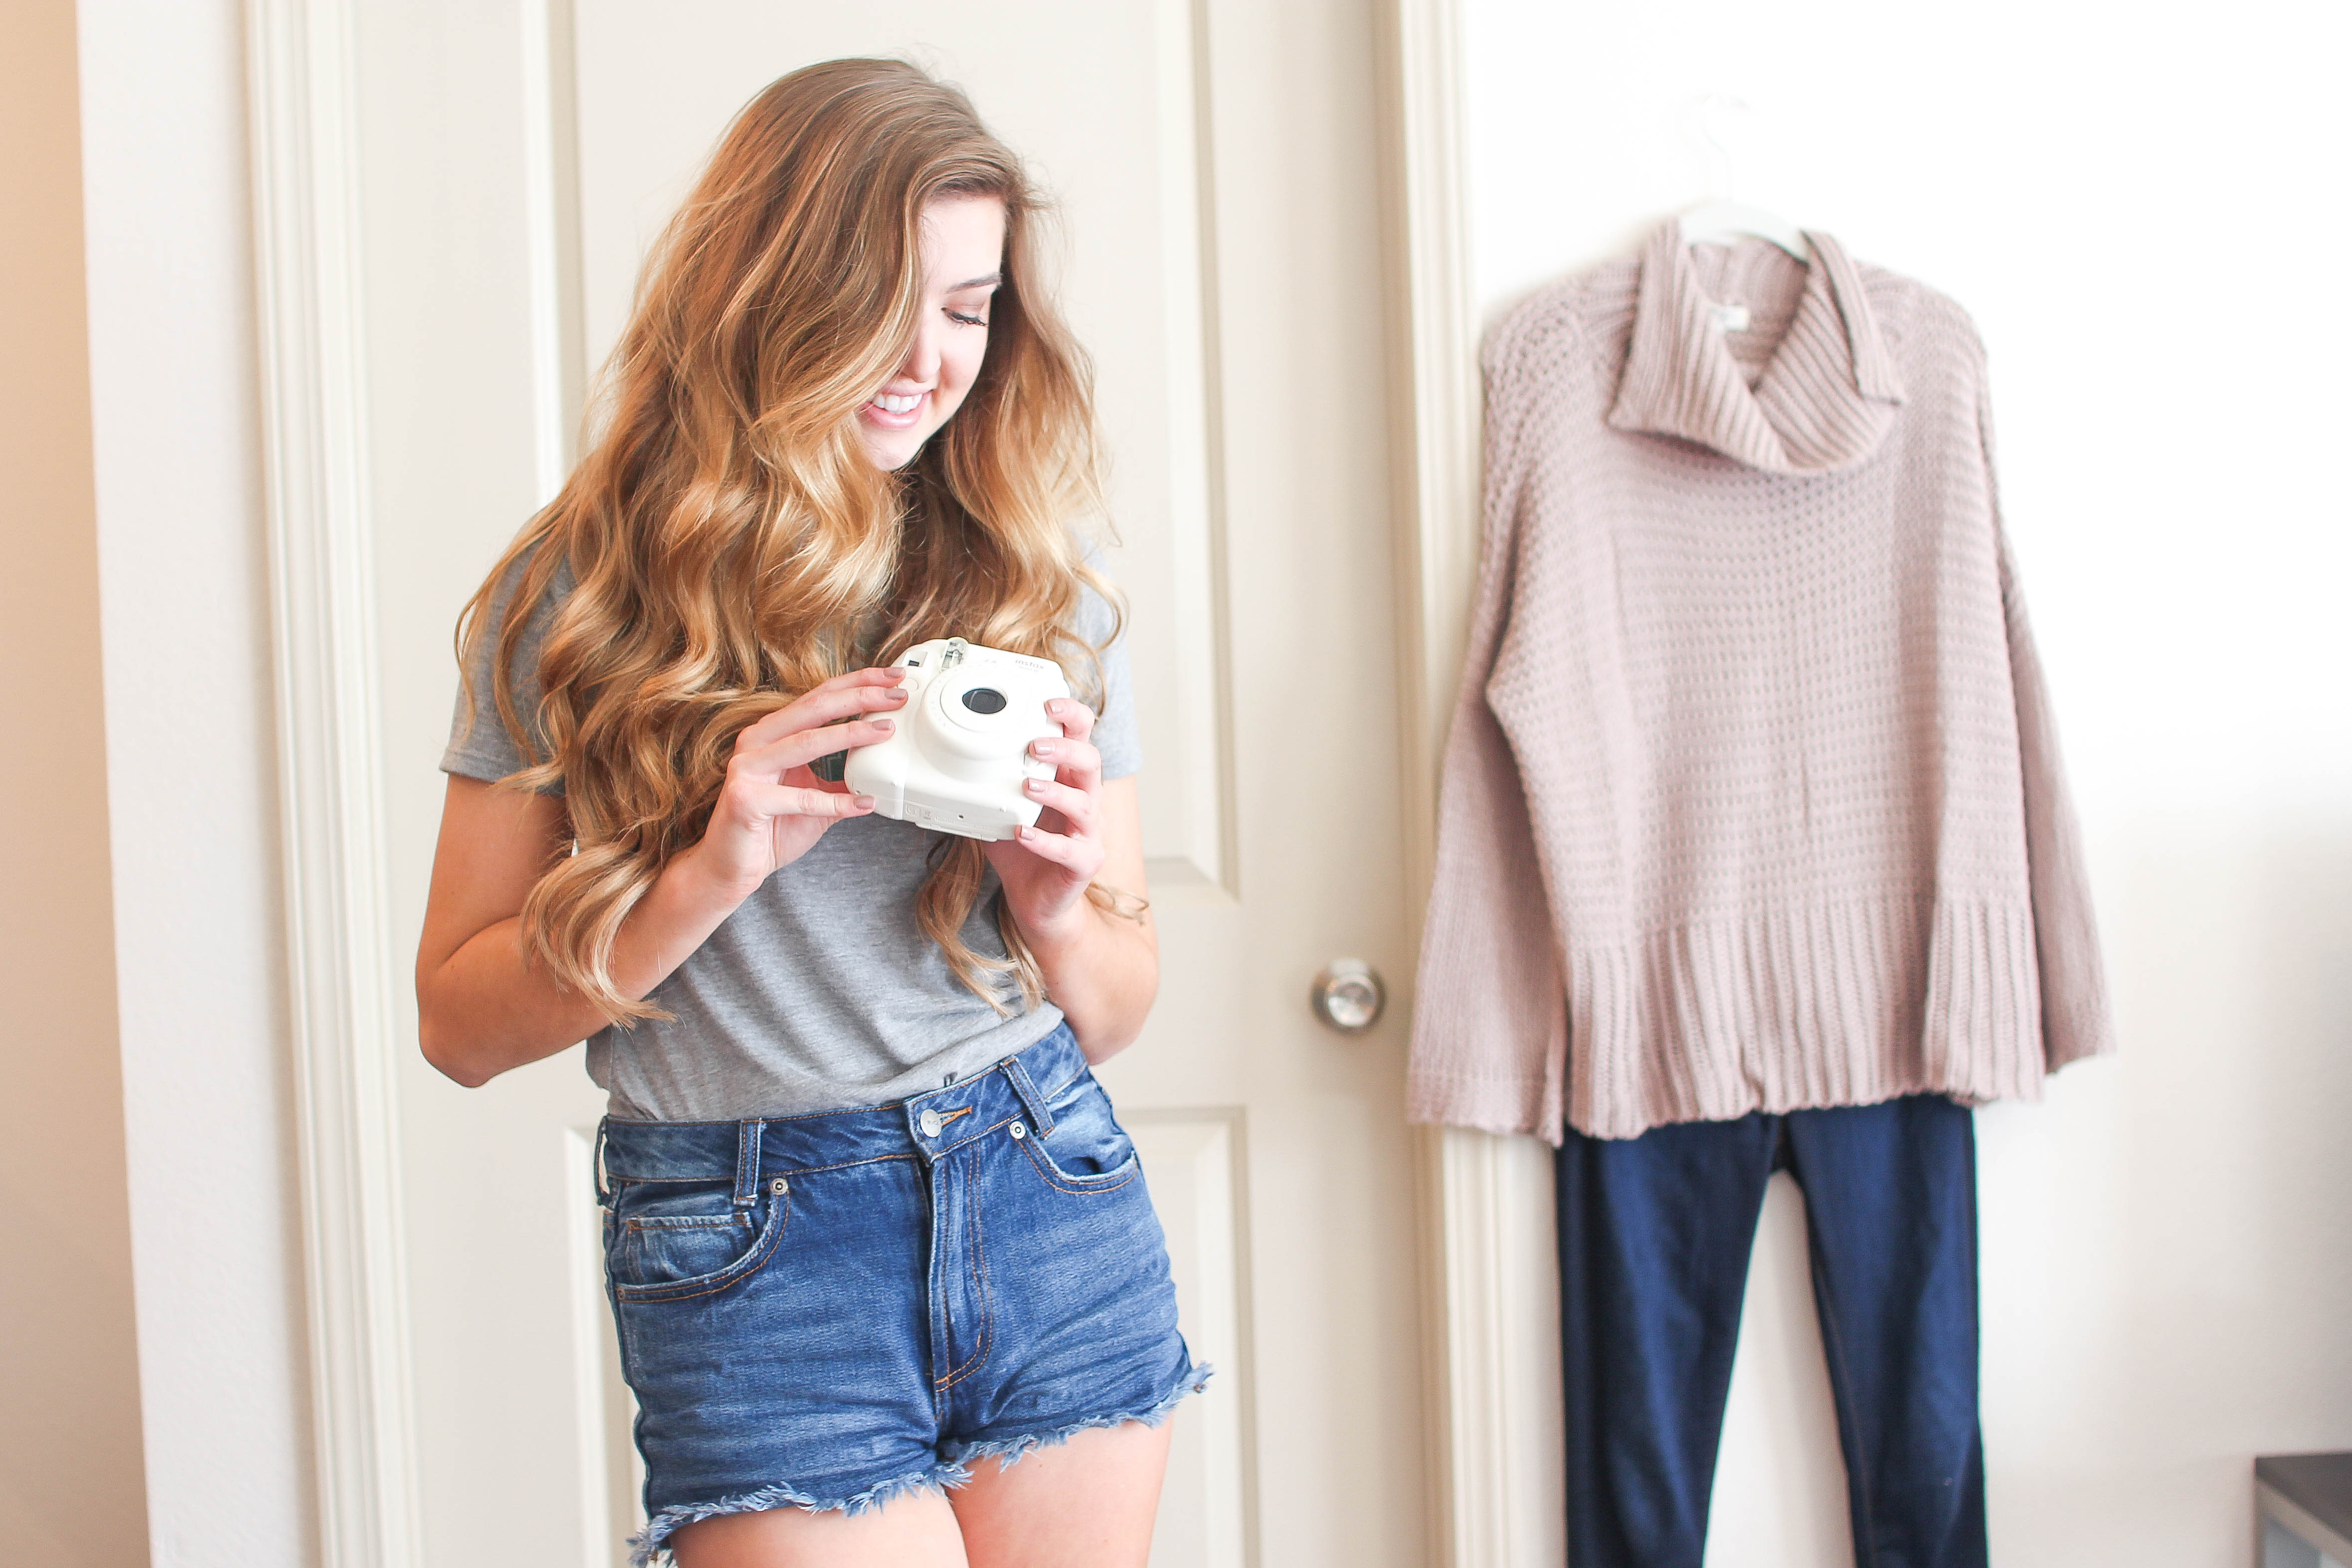
Then I hang up the clothing on my wall and take a polaroid photo. You can see this completed OOTD posts here!


Next I lay out the accessories for each individual post and take a polaroid of those.


I like to write on each polaroid different notes such as “Kendra Scott earrings” or “knee high boots” that way I am super organized and I don’t forget anything when I’m actually grabbing my outfits to shoot on my OOTD days.
#5 I Organize the Outlines and OOTD Photos
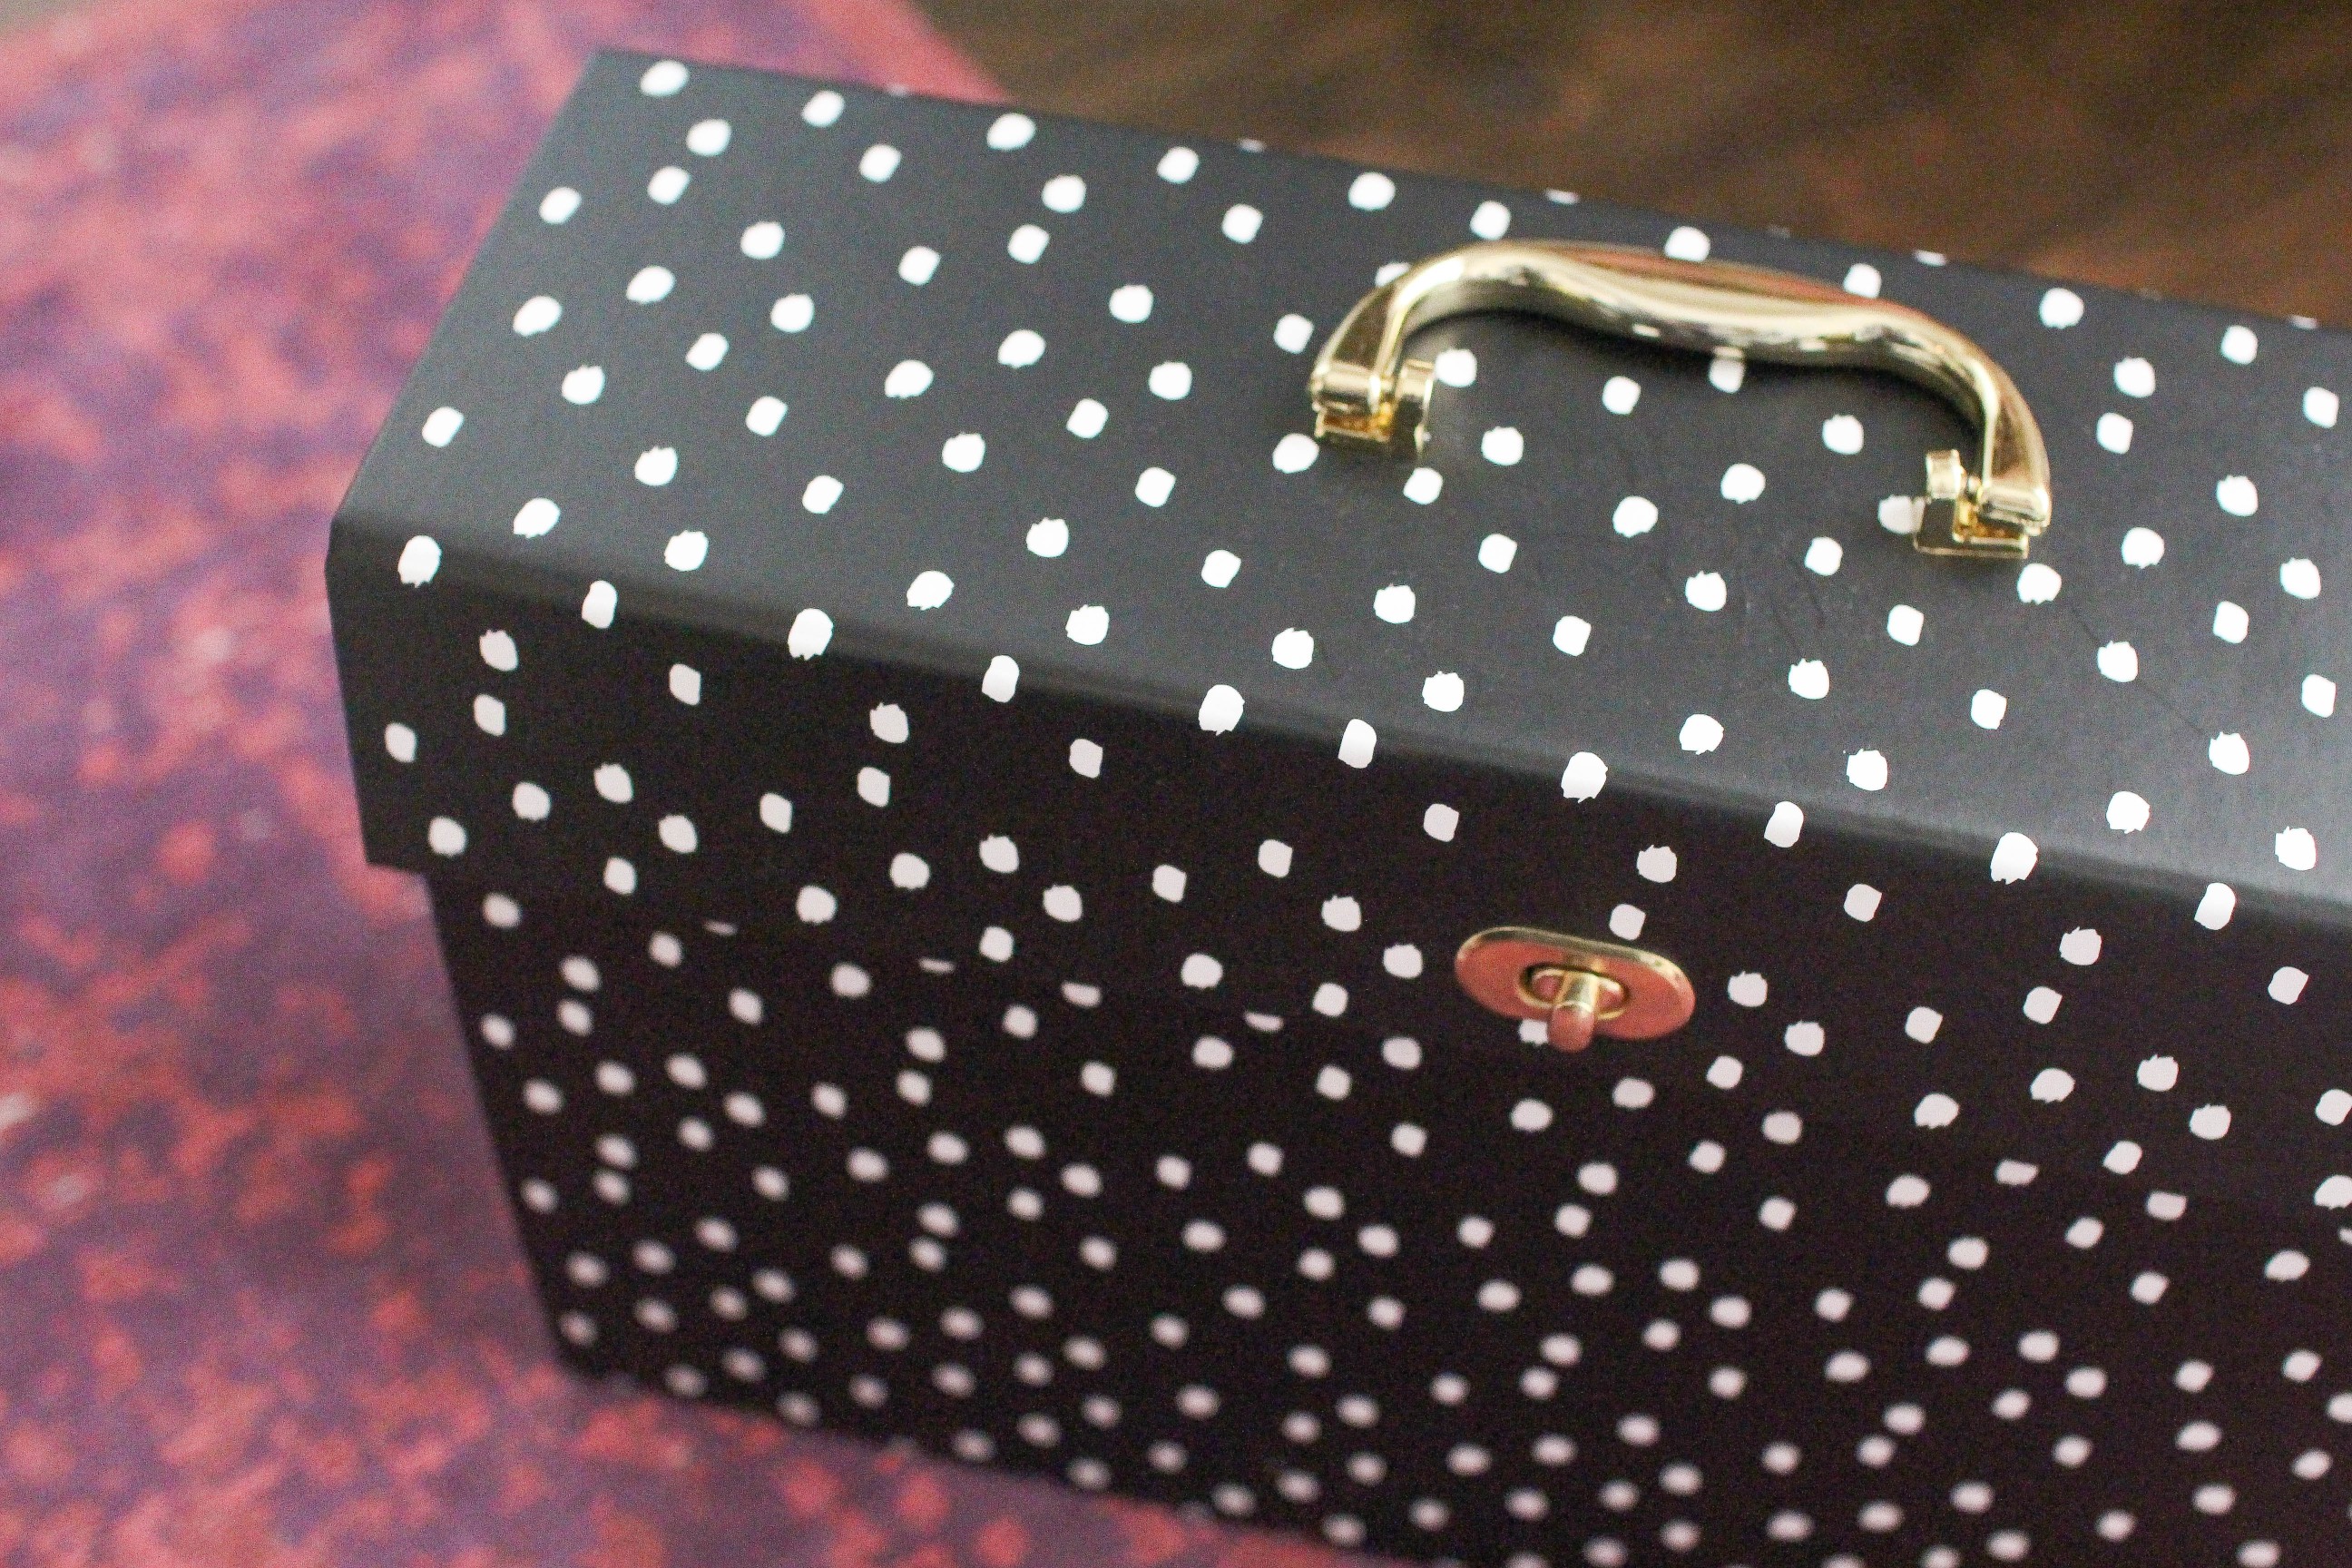 After I am done with all my outlines and my OOTD polaroids I print out my outlines and grab my file folder (link to mine here).
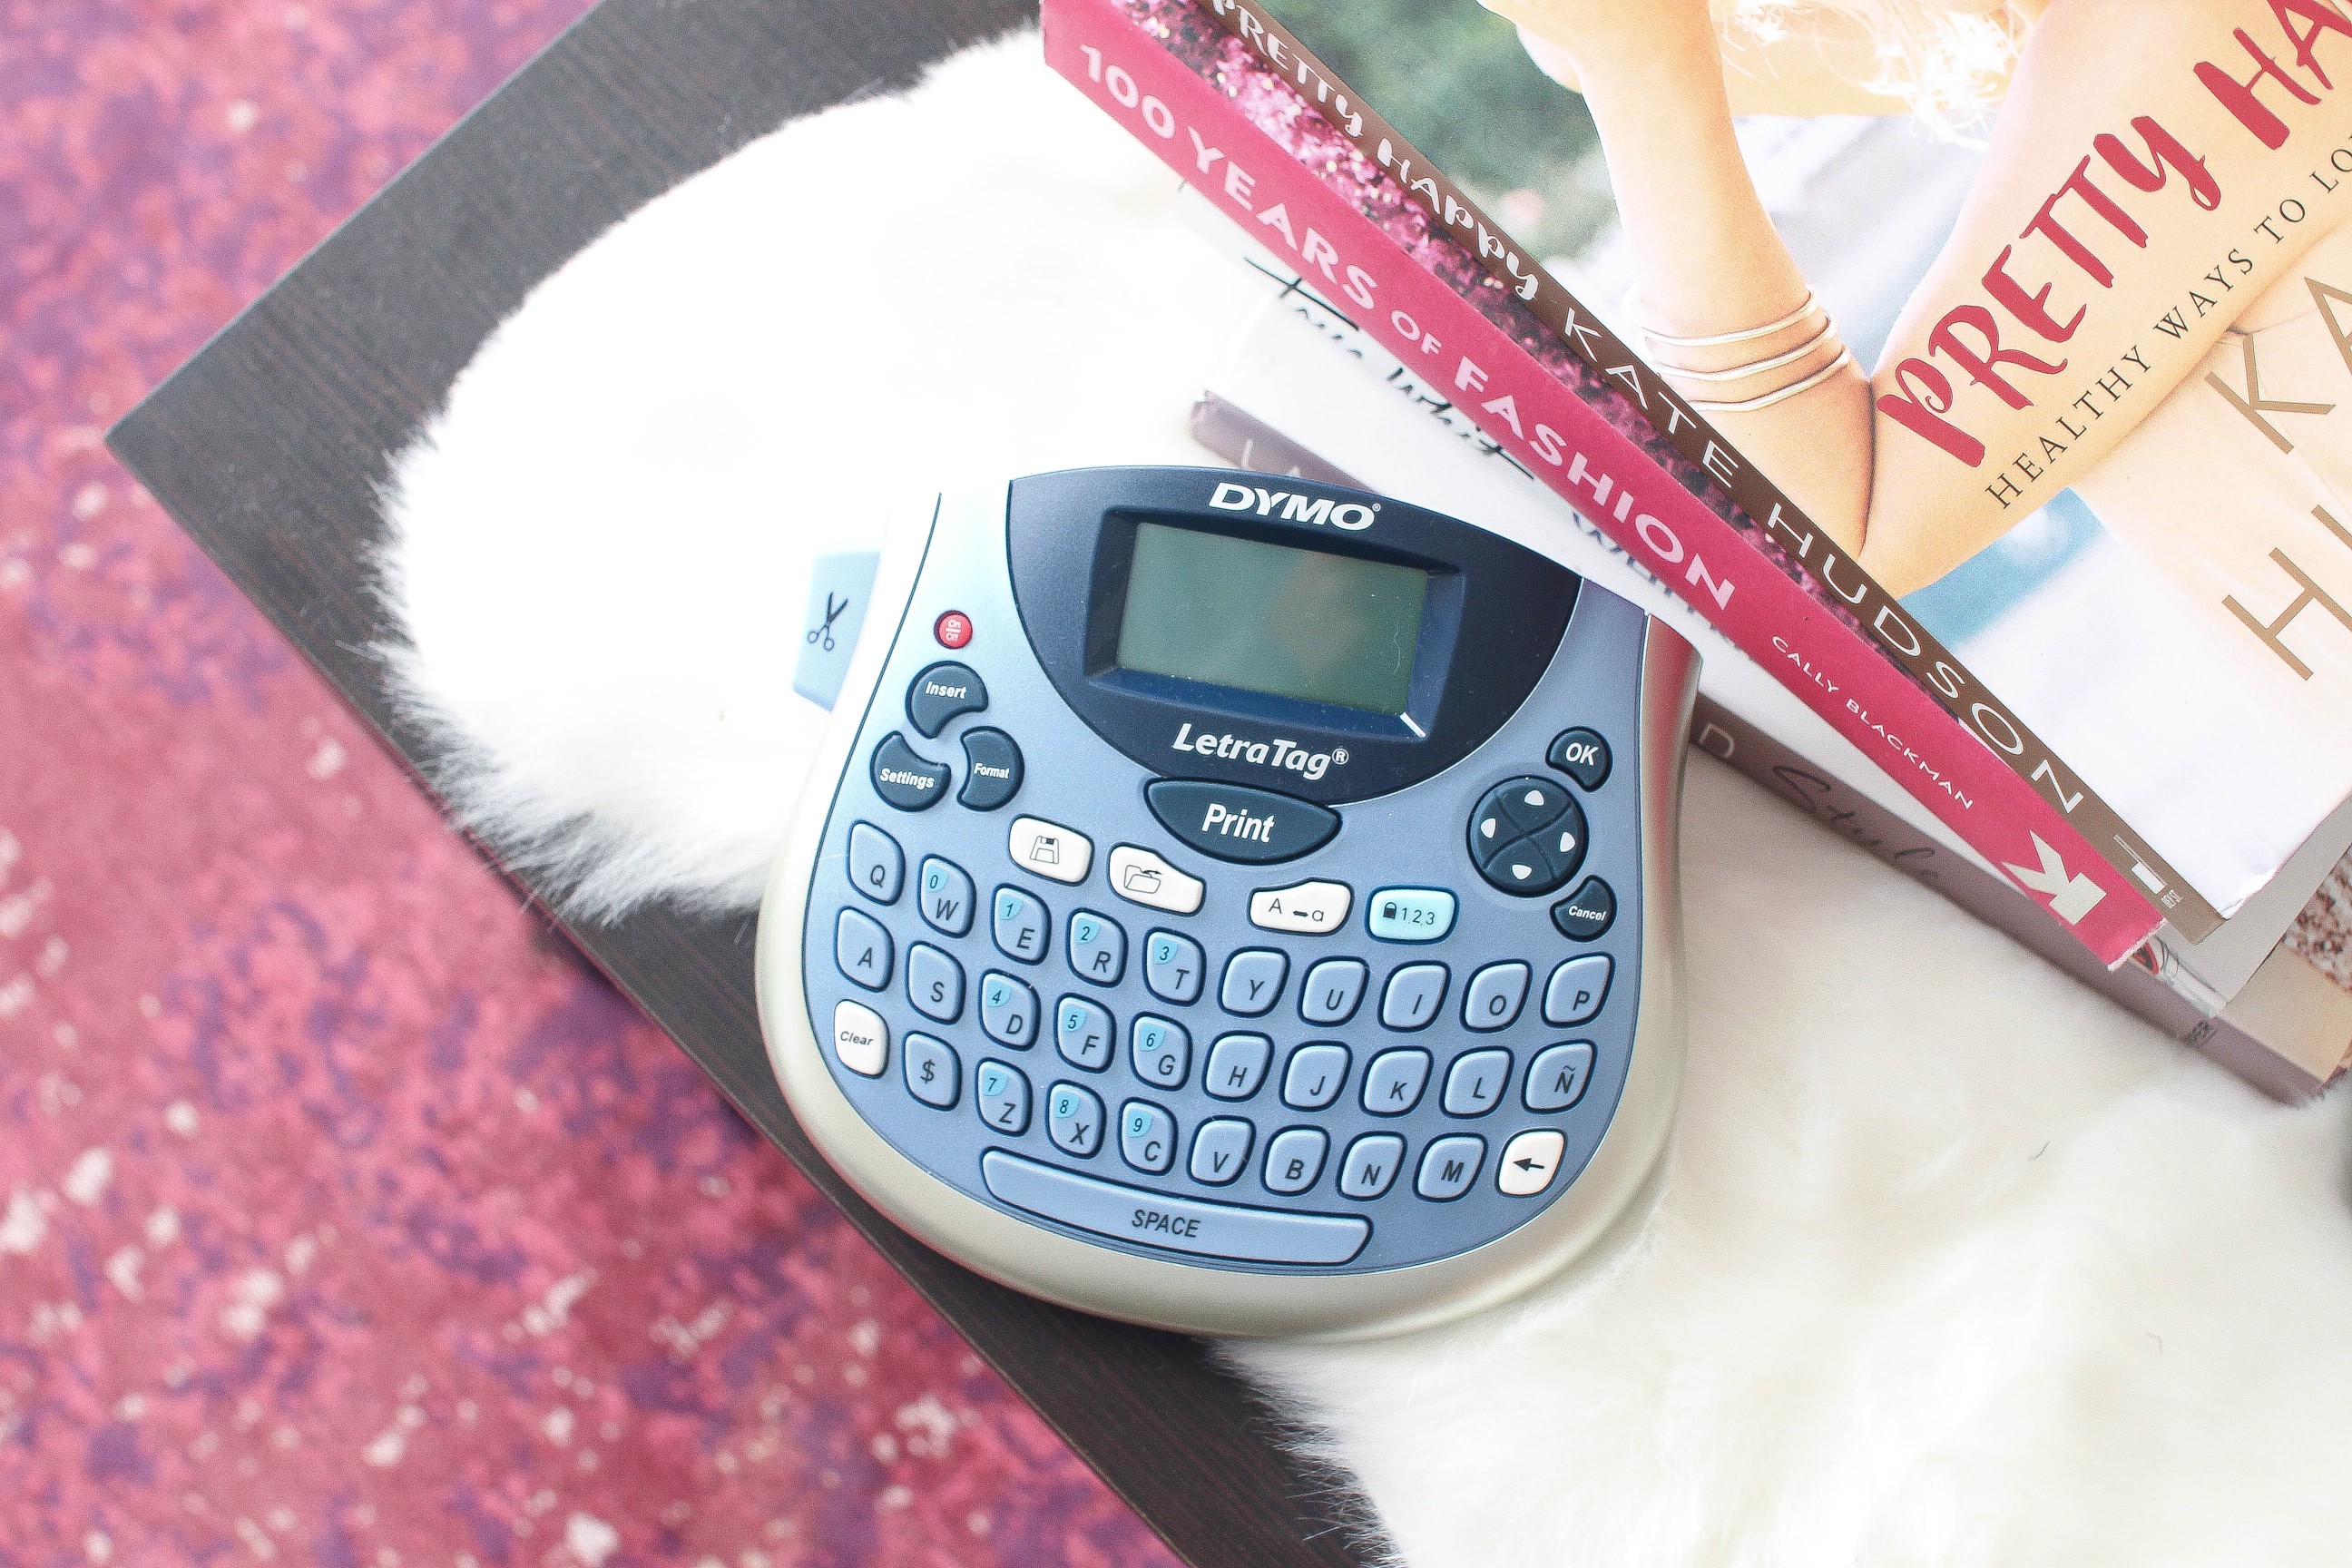

Then I take my label maker and make a label for each different manila folder I want to have in my file folder. I make a separate folder for all sponsored posts, but for all my other posts I just put them in either my “OOTD” folder or “monthly folder” such as “October Blog Posts.”

For regular posts I just stick them in their folders, but for OOTD posts I like to make an outline that says where I purchased different clothing and I paperclip the polaroids onto the sheet to keep them all separated.
I hope you all enjoyed this post! Let me know if you want me to post more blogging tip posts!
xoxo,
Lauren Emily Lindmark
Copyright © 2016 dailydoseofcharm.com
![]()

I love this system! I need to develop one like it. I wish I was this organized
You definitely can! It was tough finding what works for me, but I am happy I did 🙂 Don’t give up!
Love this post! I’m hoping to branch out into YouTube soon, so this was helpful!
-Patti
http://www.simplyluxeblog.com
Yay I’m glad, thank you!! I just started making videos and I think it’s so fun 🙂
Just stumbled upon your blog out of the blue and I’m in love! Thank you for these awesome tips 🙂 I’m always looking to get more organized! xx, Hannah
The Daily Delicacy
Aww thanks so much! That is so sweet 🙂