
Happy Tuesday cuties! I hope you all are having a blessed week. Yesterday I had so many questions about my gallery wall after talking on my stories in front of it all day. I figured it was about time I share it with you guys! I hung these up a few weeks ago and I am obsessed, it add such a fun element to my room! I wanted to take you through the FULL process of how I planned the photos and hung them up. So let’s get into it!
Supplies
Measuring Tape
Pencil
Nails
Hammer
Level
Computer for Planning!
How I Planned the Photos
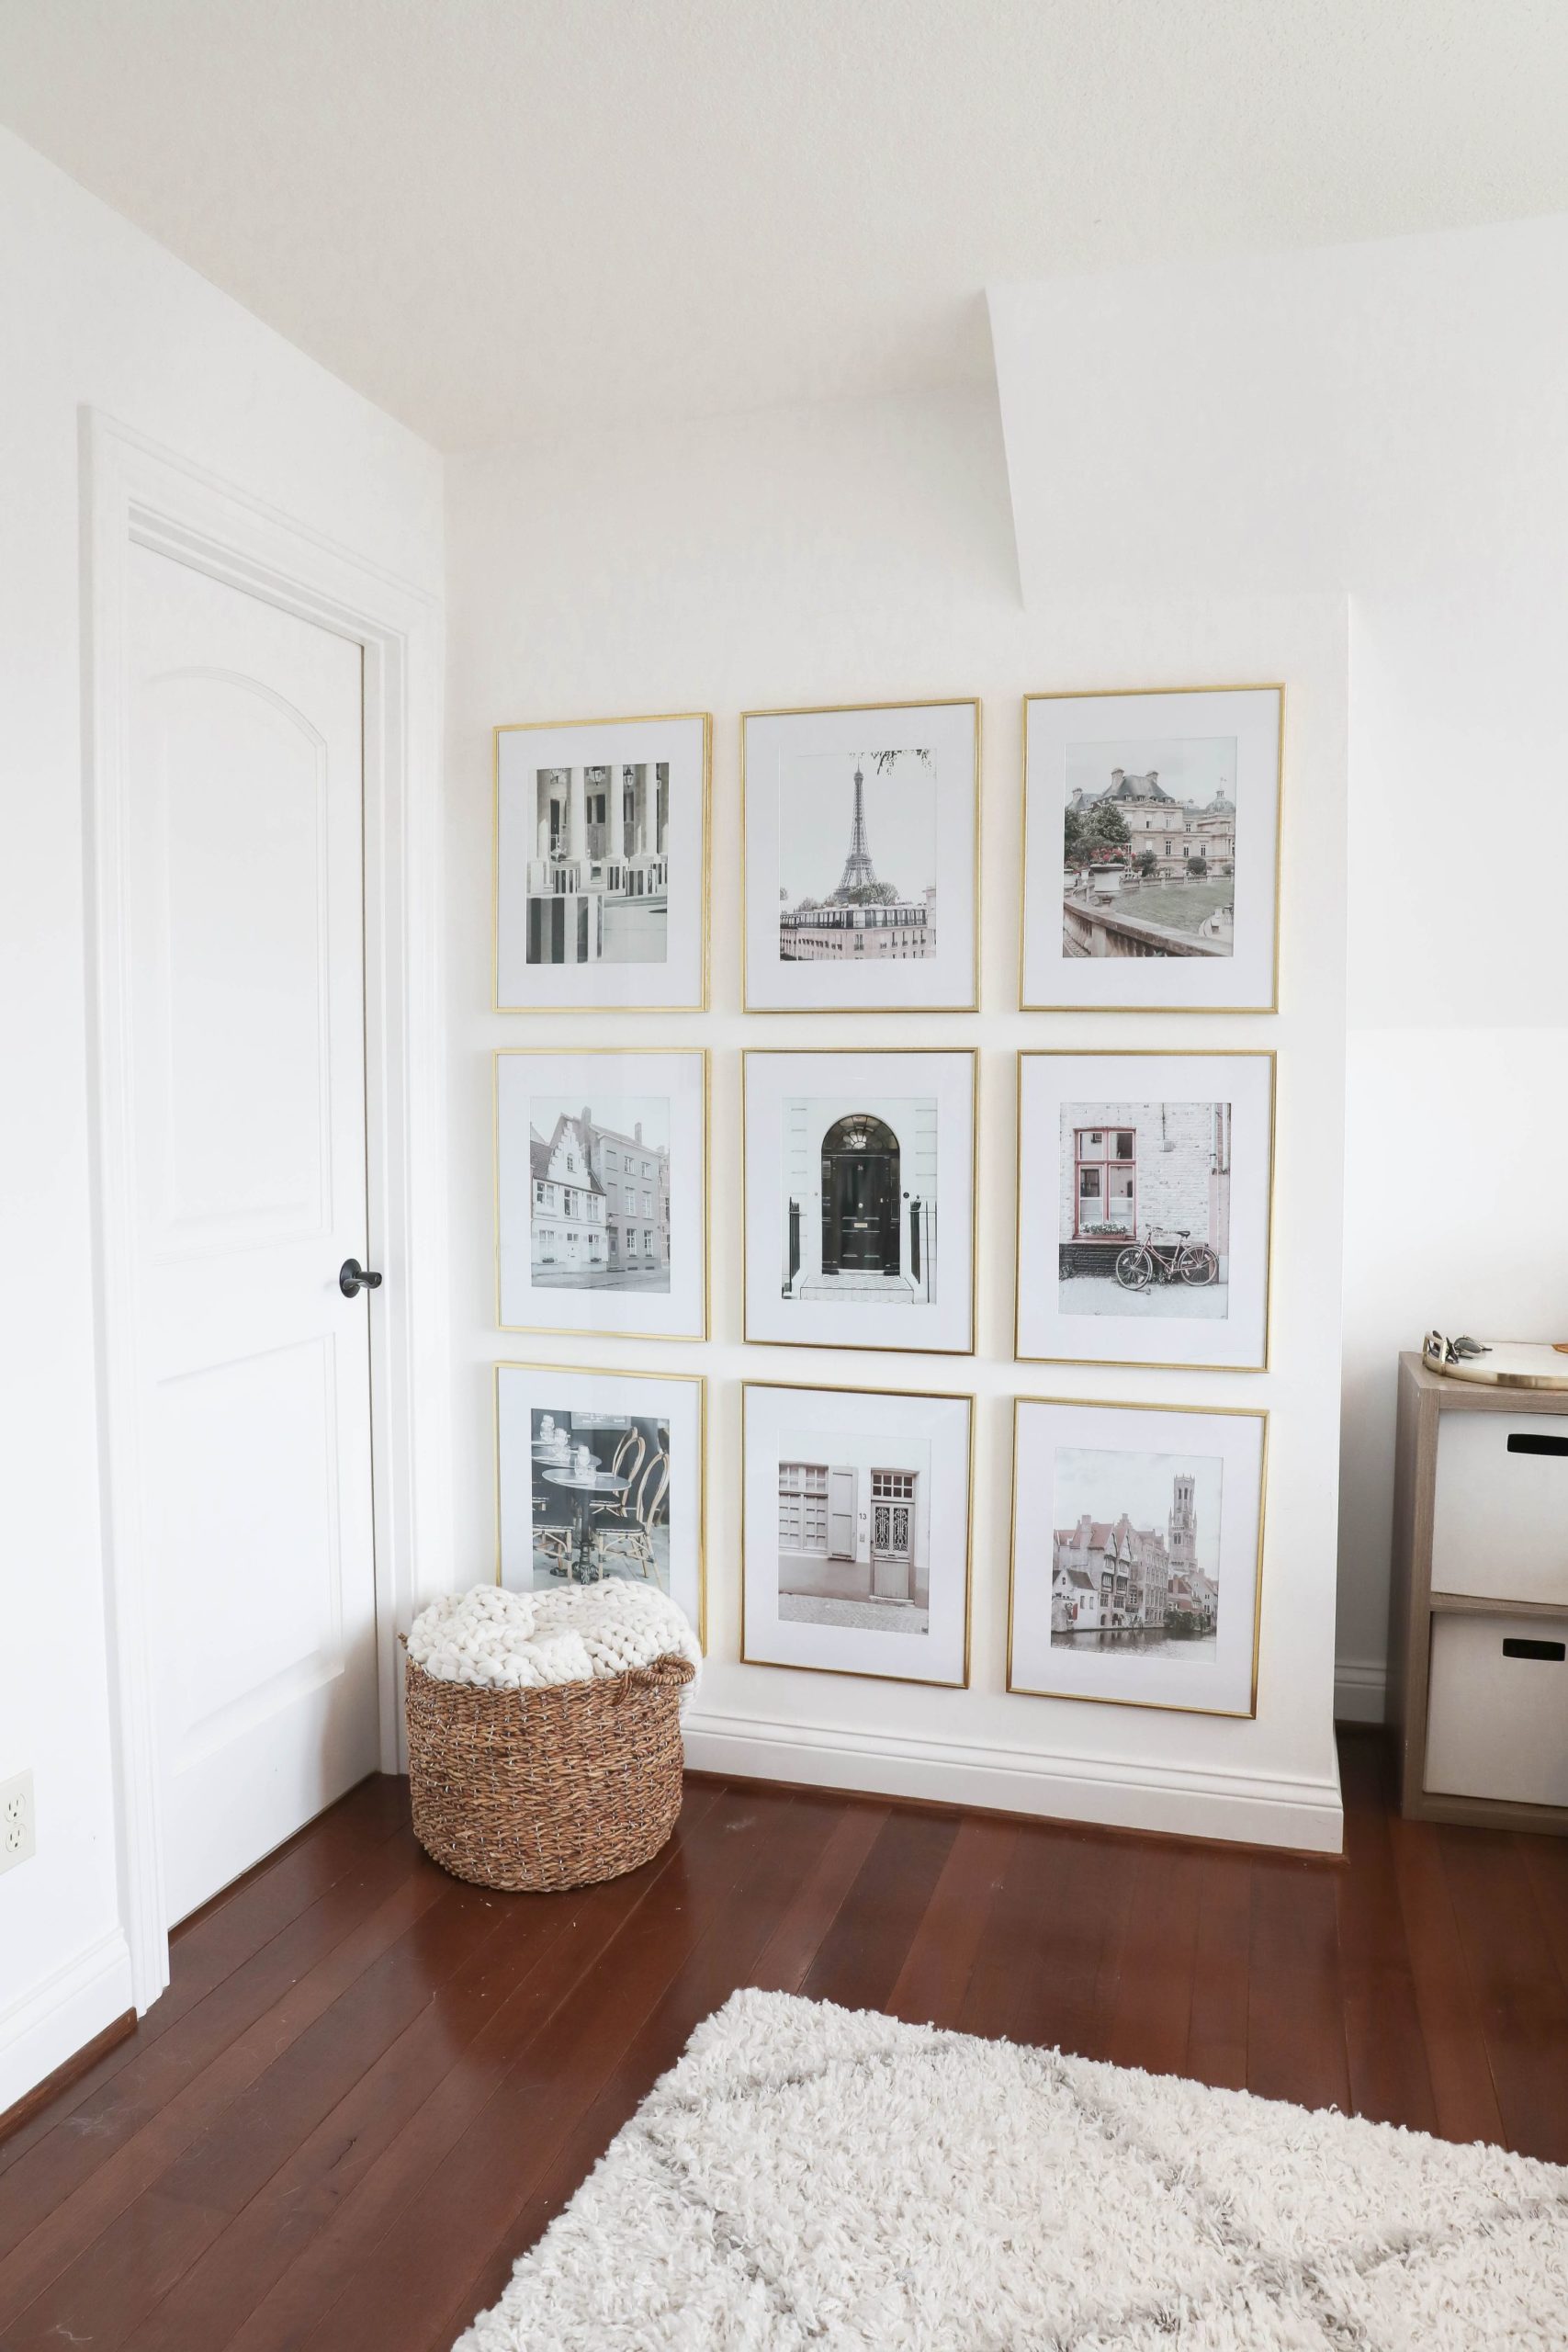
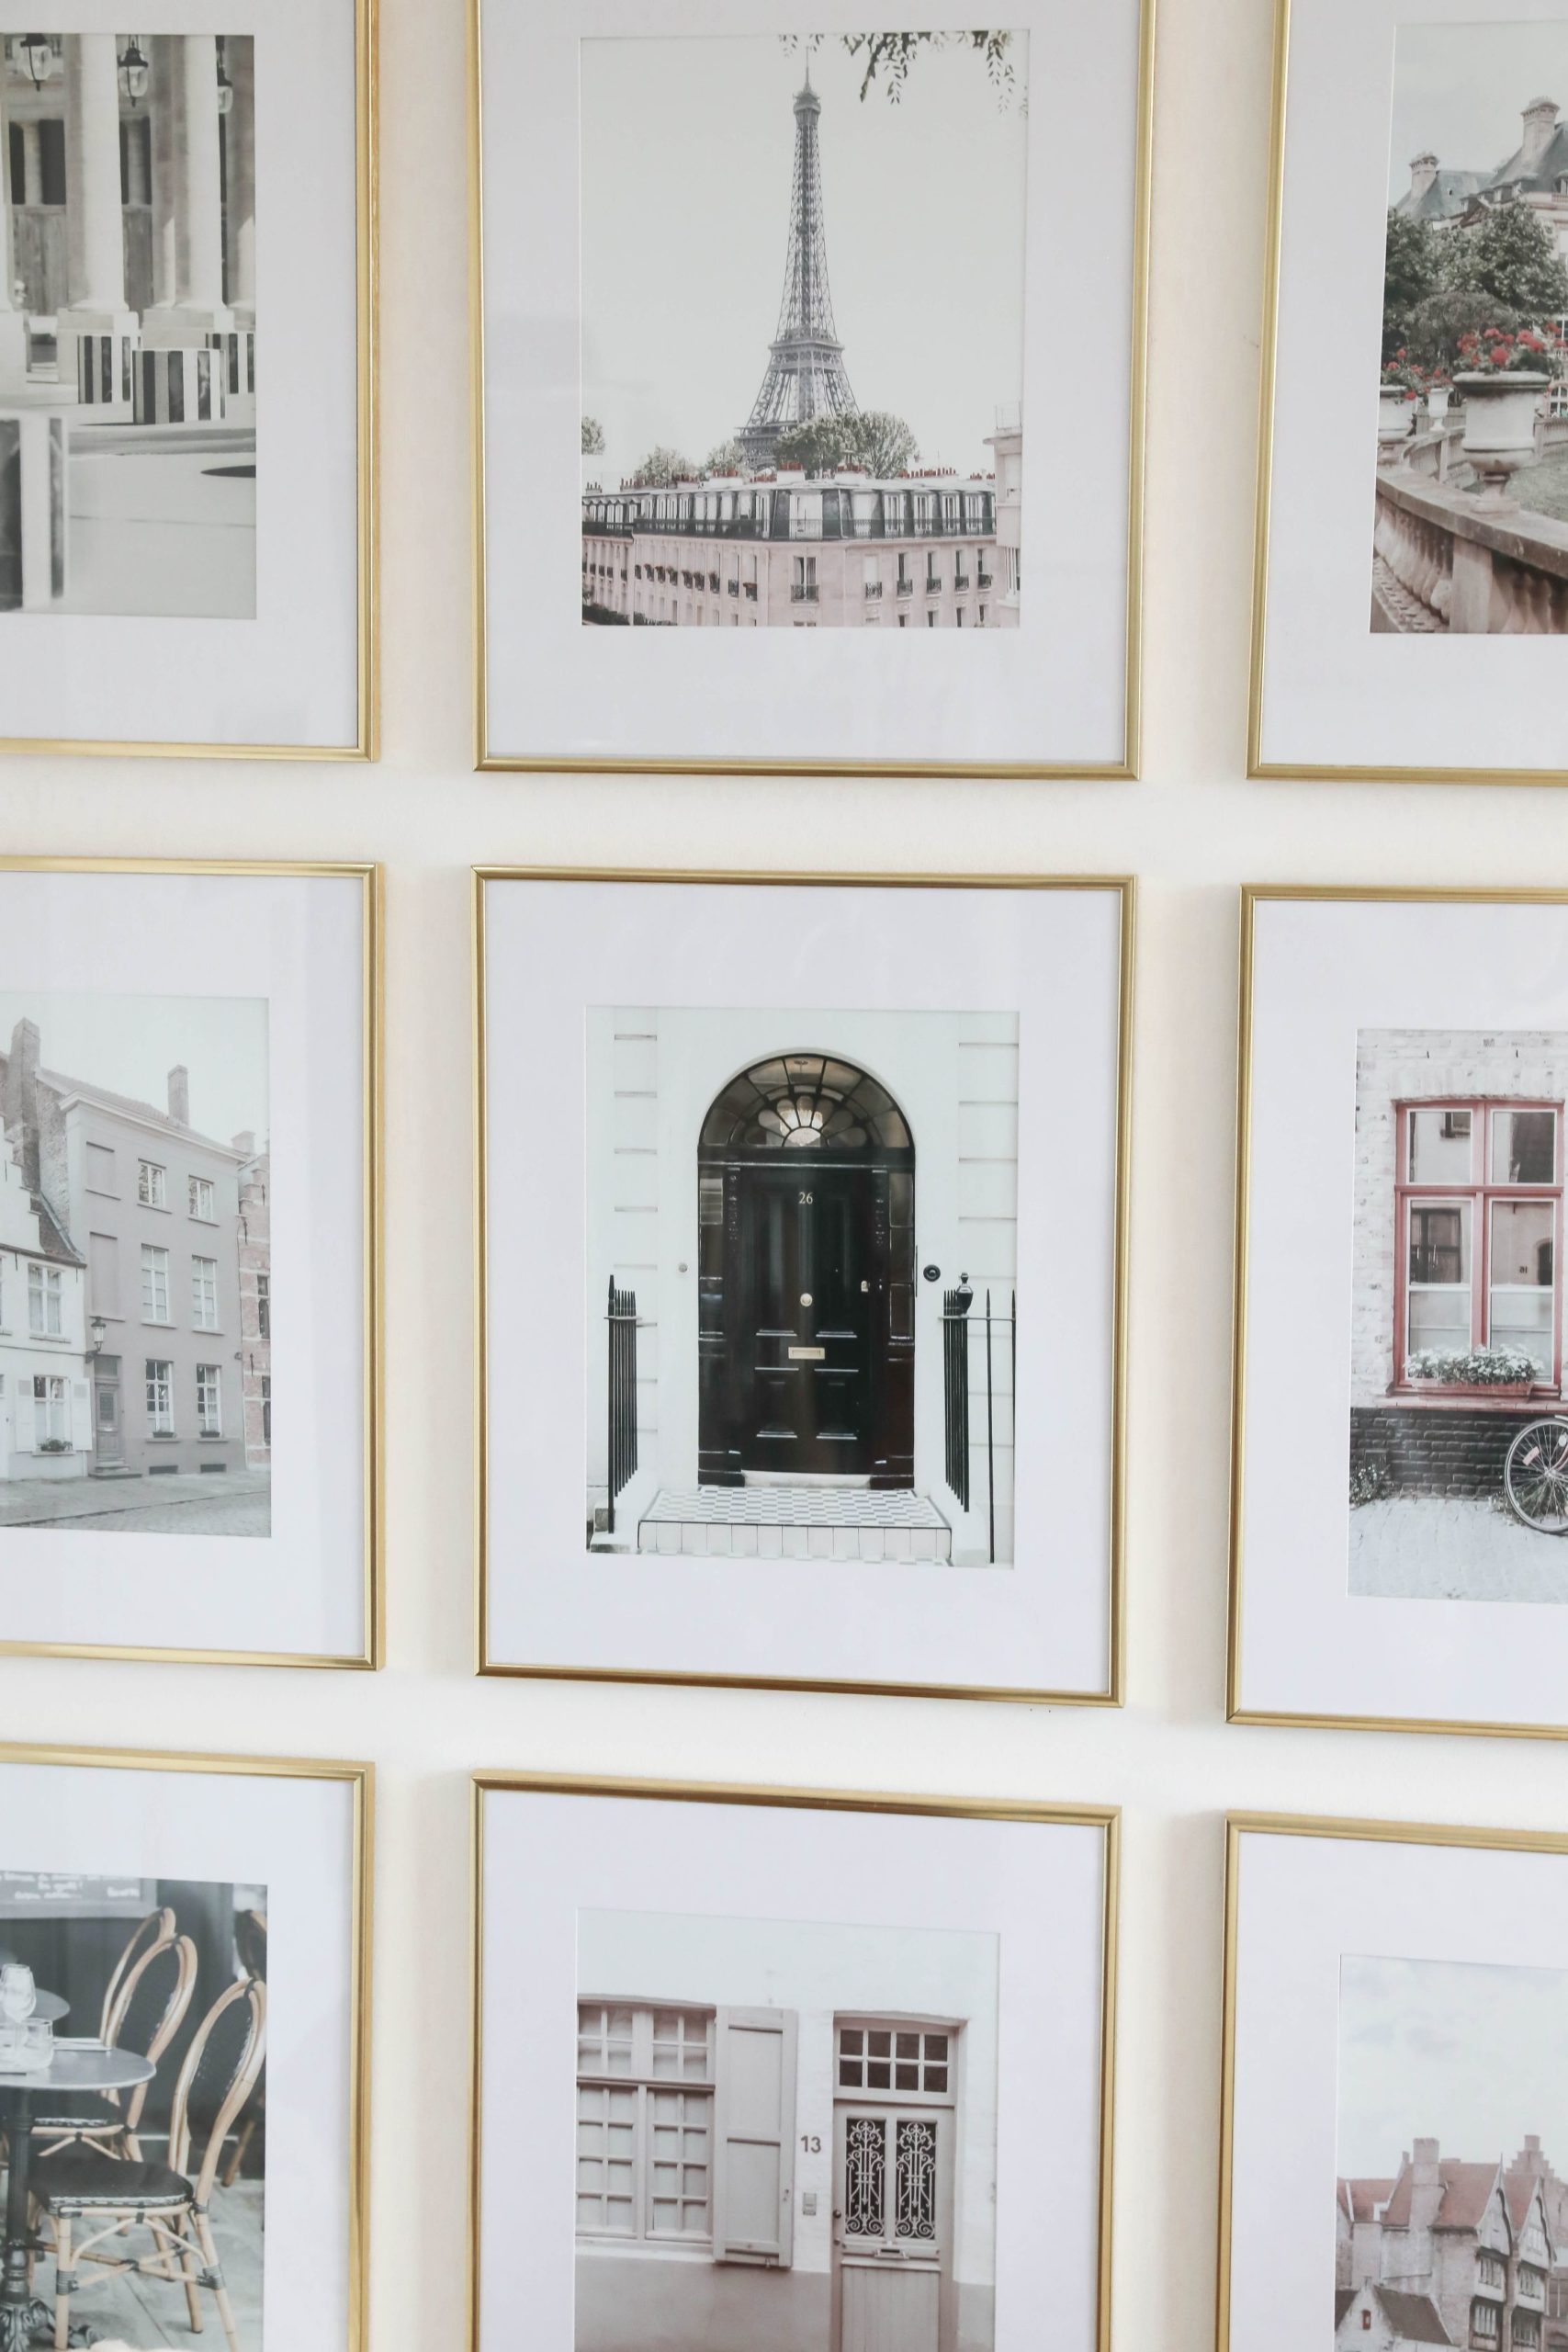
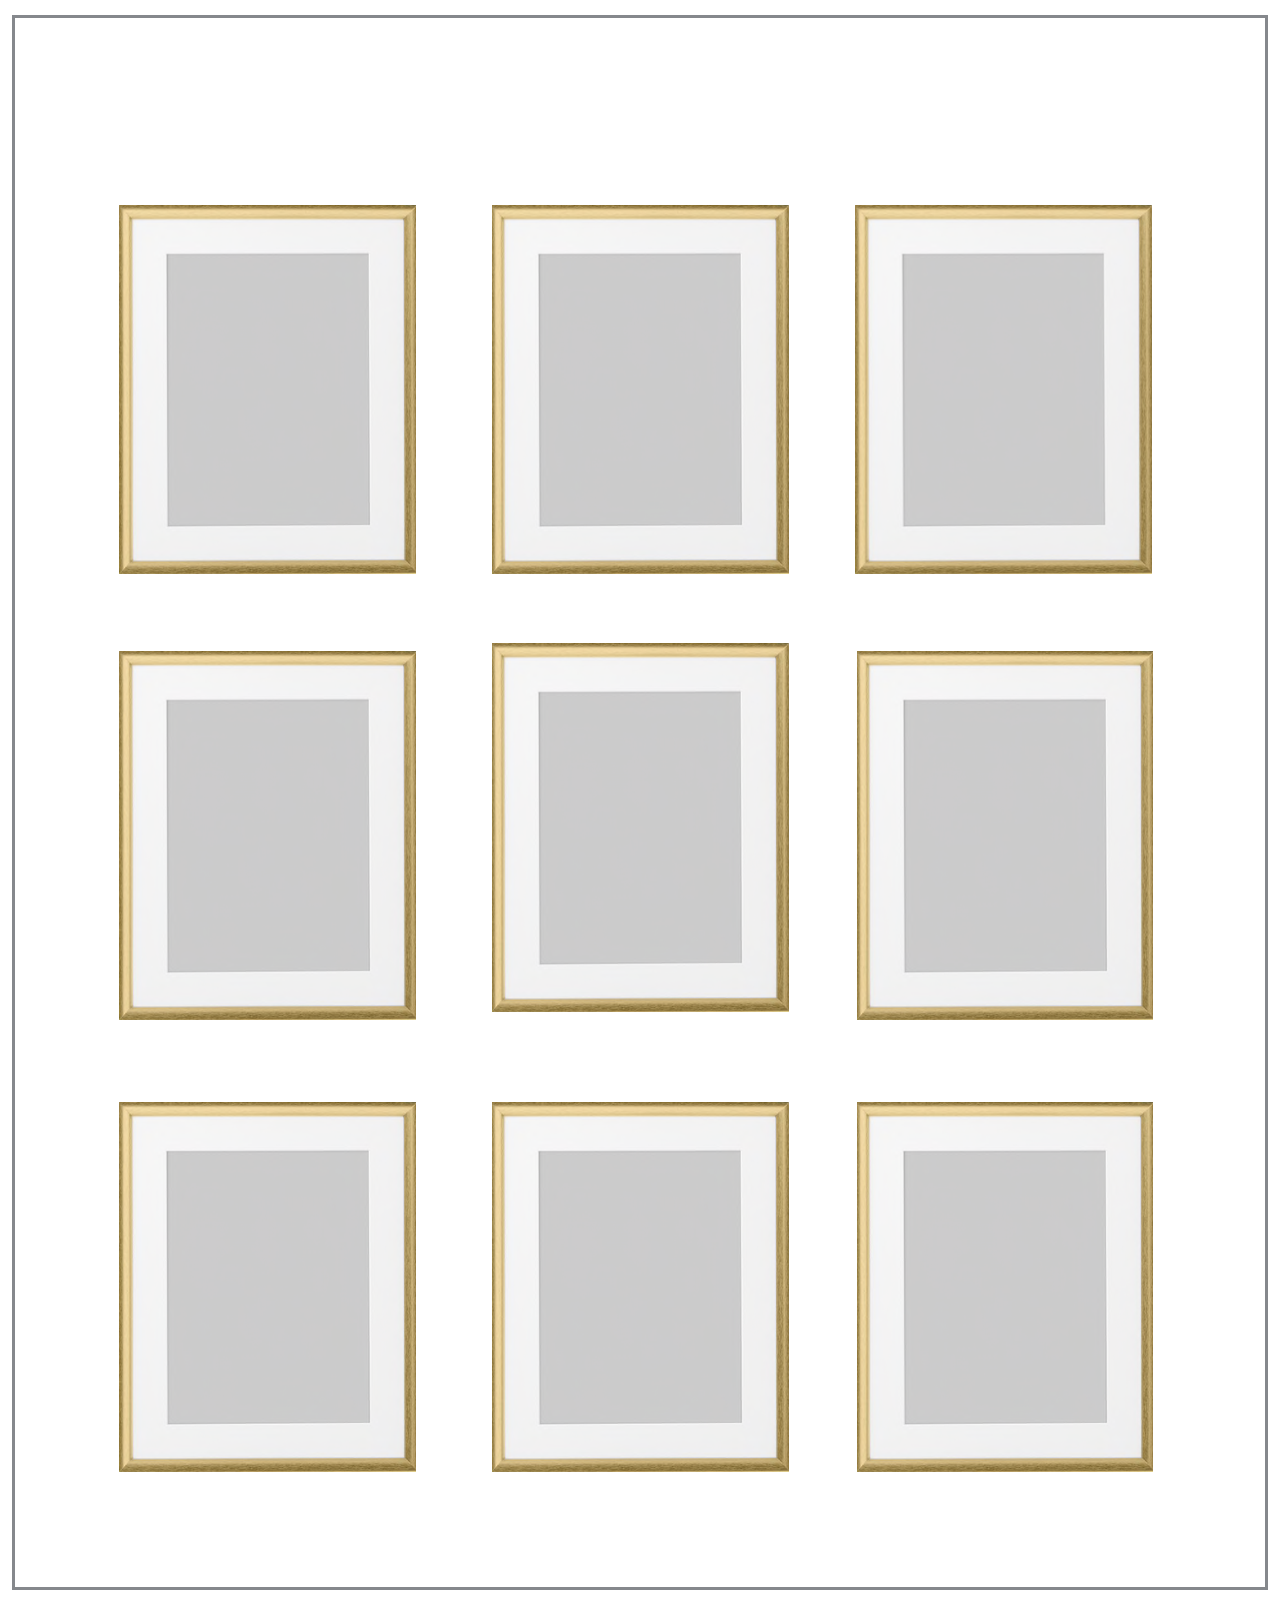
Okay, so the first step to creating a gallery wall is measuring the wall and choosing the frames you want. I decided to put nine frames up against this little wall by my bathroom! The frames I chose are 16″ x 20″ and I love the look and size! I actually ordered mine from Wayfair, but half of them came broken. I was so bummed. They were awesome and sent me new ones, but I found the same exact brand from Amazon so I decided to link those in this blogpost!
Then it was time to plan the photos! I opened a new Pages Document (Apple’s version of Microsoft Word Document) and I pasted nine photos of the frames. For some reason I actually used the IKEA Gold Picture Frames photos for planning, but I didn’t end up buying those. Those would be a great option to buy too though!
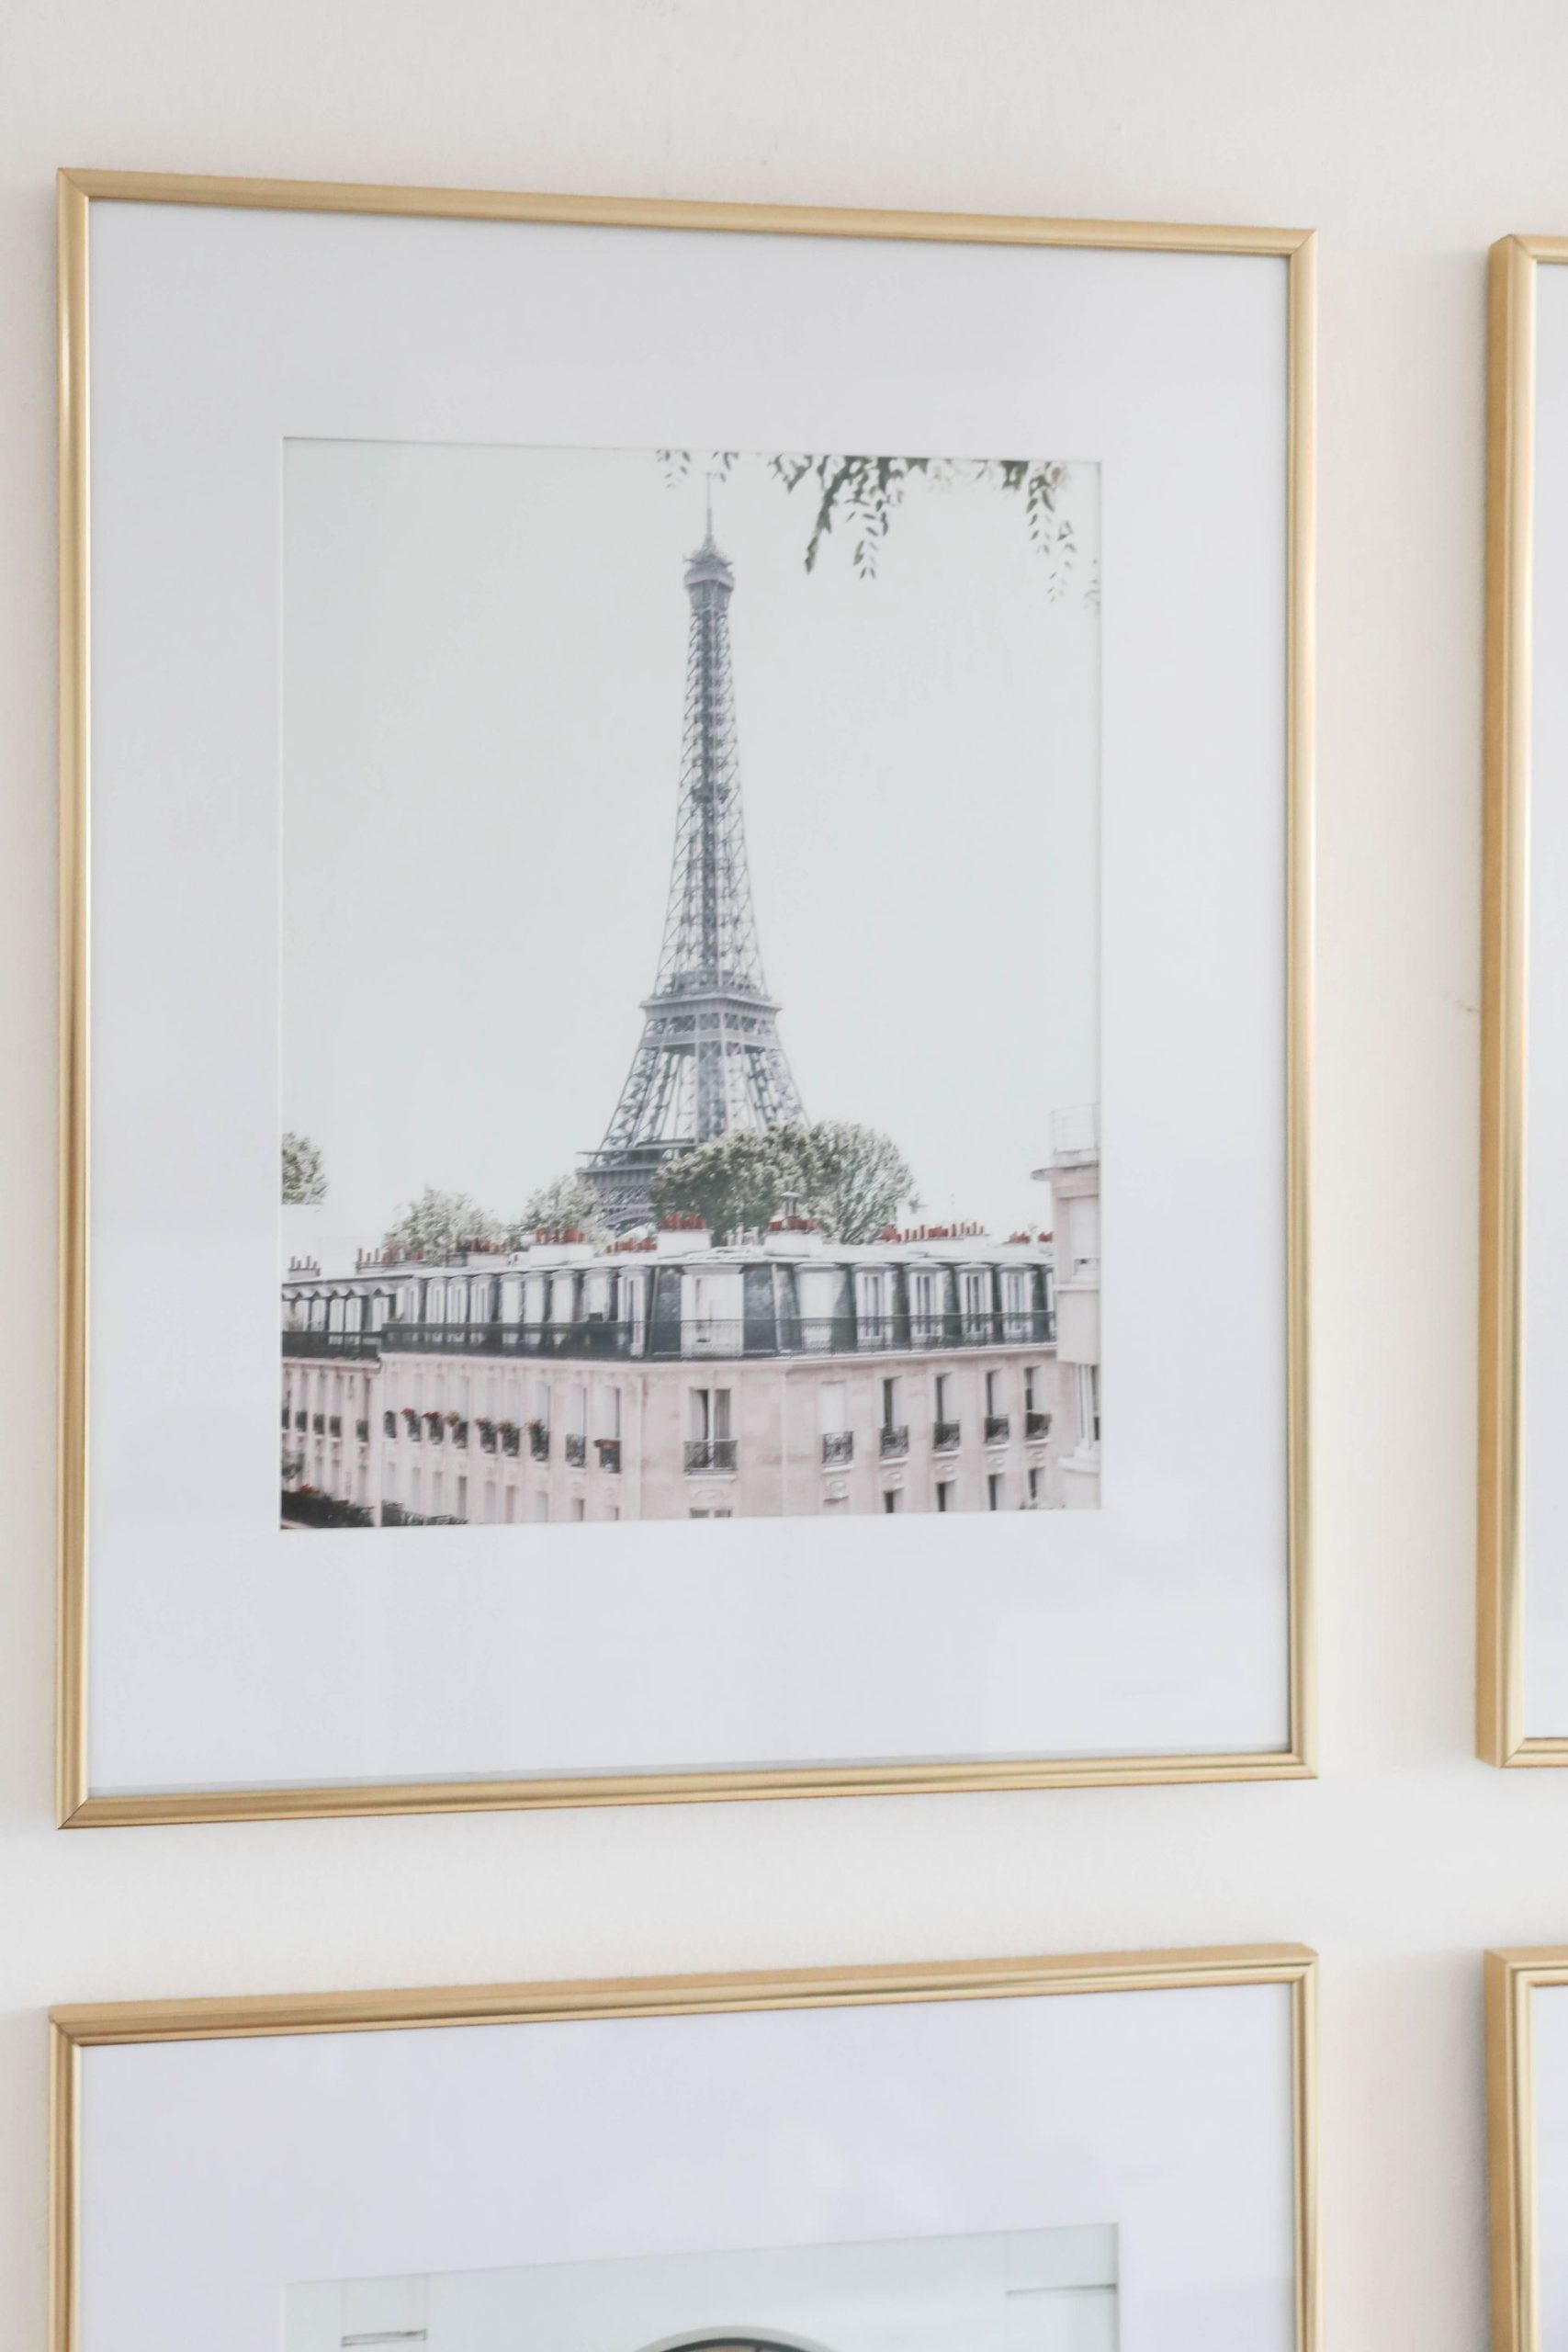
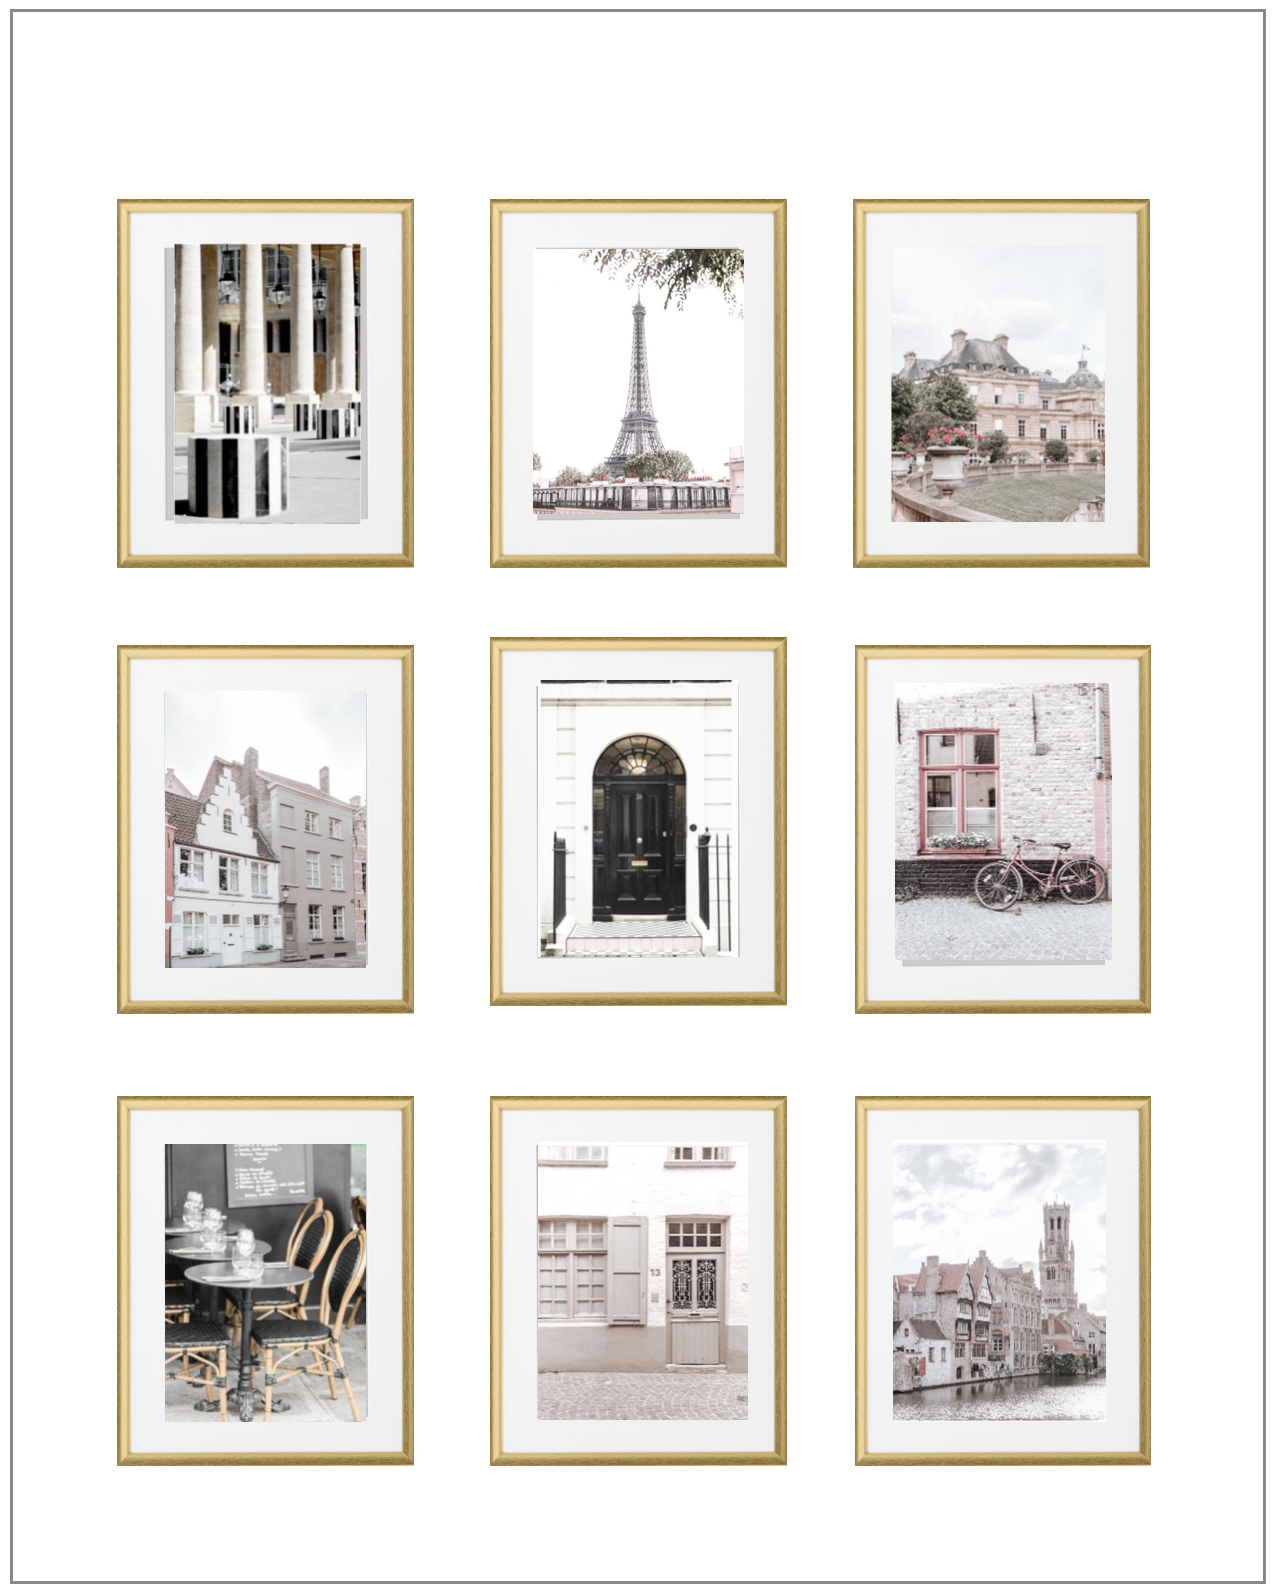
After you have your wall pattern done, it’s time to search for prints! If you have your own photos you want to use, now would be when you paste them into the document and switch them around, try out new ones, and find the perfect look! If you’re like me and want to use prints instead of personal photos, Etsy is the best! I found all of my prints from 527 Photos on Etsy – they have a ton of amazing travel prints! I started screen-shotting their photo previews and playing around with what I liked best. I will say, they are more muted (as shown in my photos) than they are online – which I ended up loving more in person!
And this is what I came up with! I ordered all the prints and frames then it was time to hang! Also, I ended up accidentally ordering the wrong size photos for the frame (11 x 14 pictures) so I also ordered different matting to put in the frames!
How I Hung the Photos
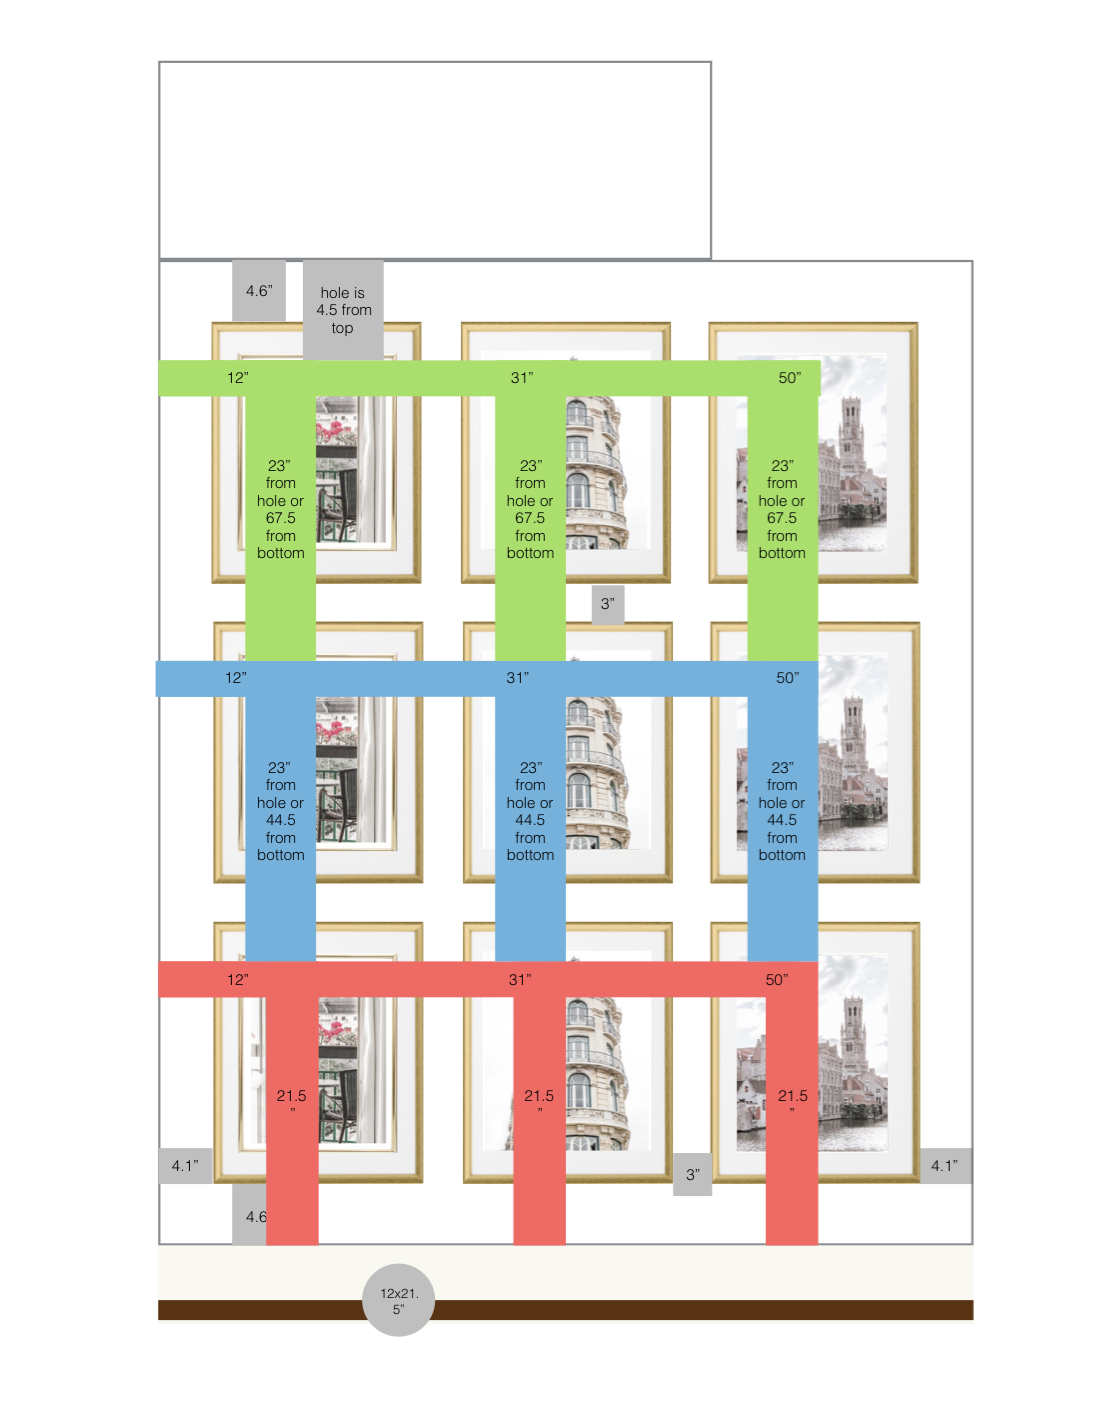
When everything arrived, I put the photos in the frames and got to planning. I carefully measured the wall and frames, then pulled up a new document and scaled everything down! This is going to look super confusing, but on the document I measured:
– How many inches apart each hole needed to be from each other
– How many inches from the ground the holes needed to be (on each vertical row)
– How man inches the left wall the holes needed to be (in each horizontal row)
Then scaled it back to normal size, measured, and hung! Another way to do this would be to cut out poster board or cardboard in the size of your frames and tape them up! Either way, measure it out and mark with a pencil where you want the holes!
I am going to be honest, even with careful planning it wasn’t perfect. I was hanging them by only using one nail in each, but it would have been better with two. Definitely have someone to help you if you can and use a level! It’s easier to measure and mark with two people. Worst case, hire a professional haha!
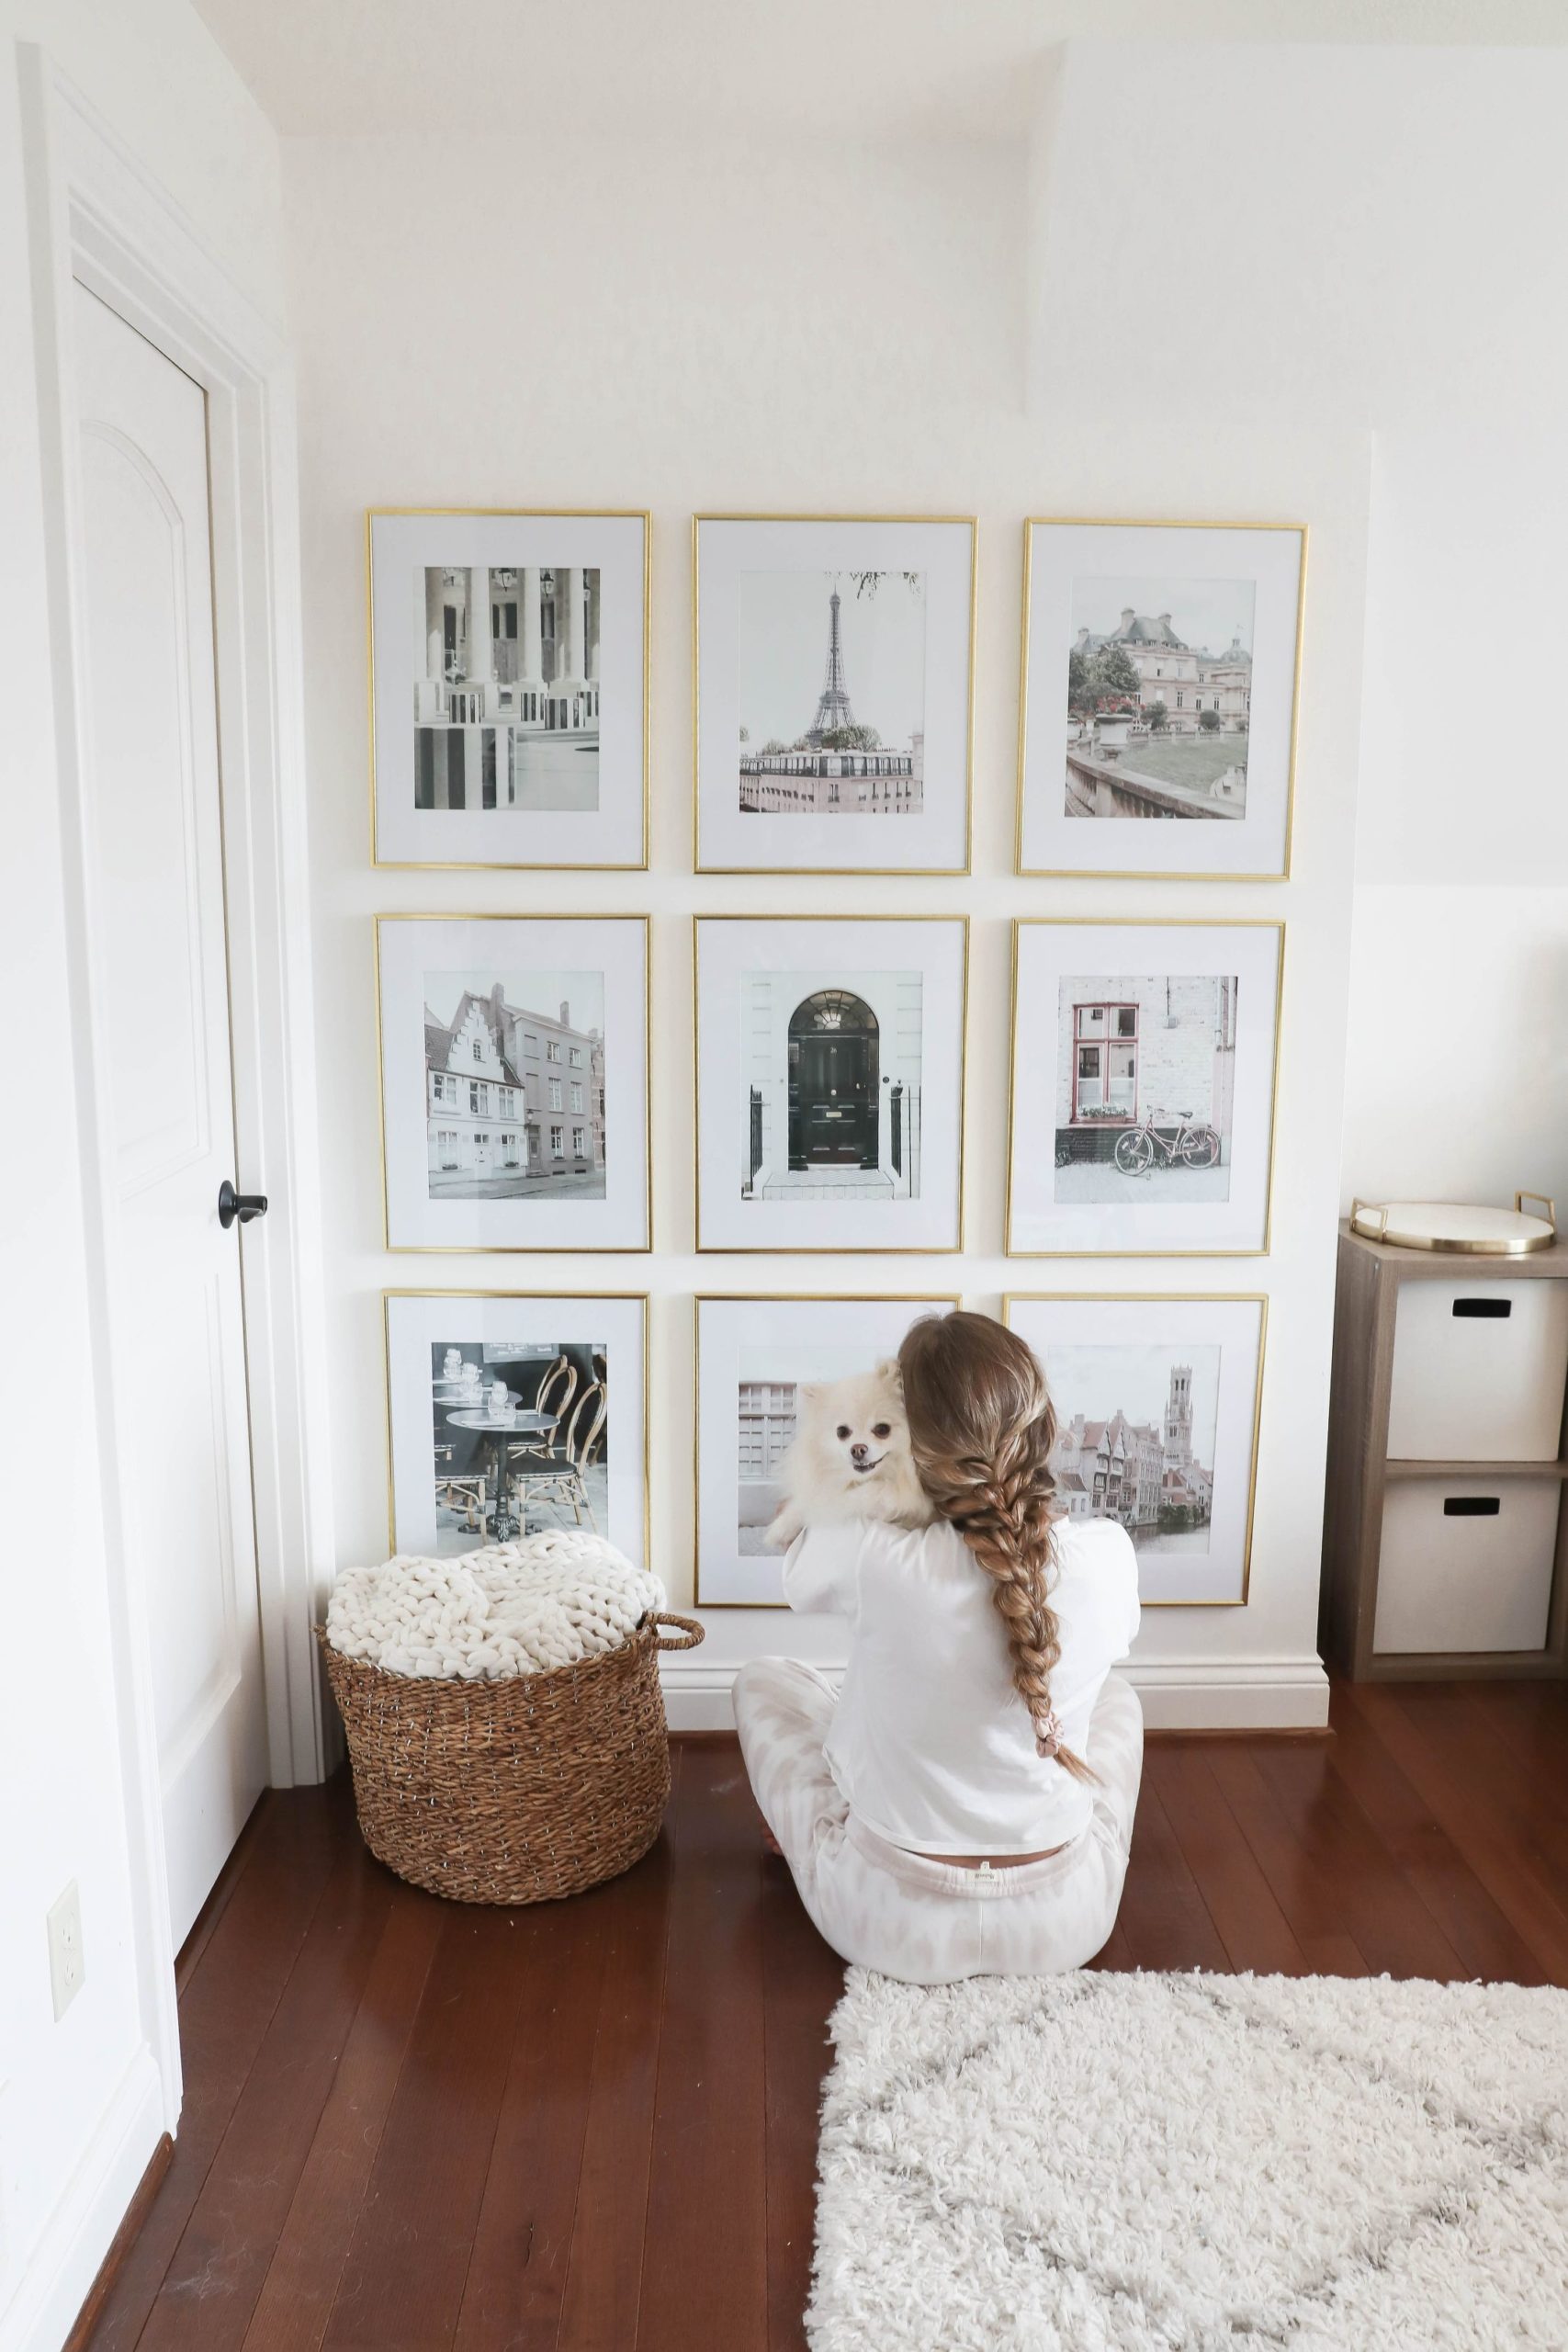
Finished Wall!
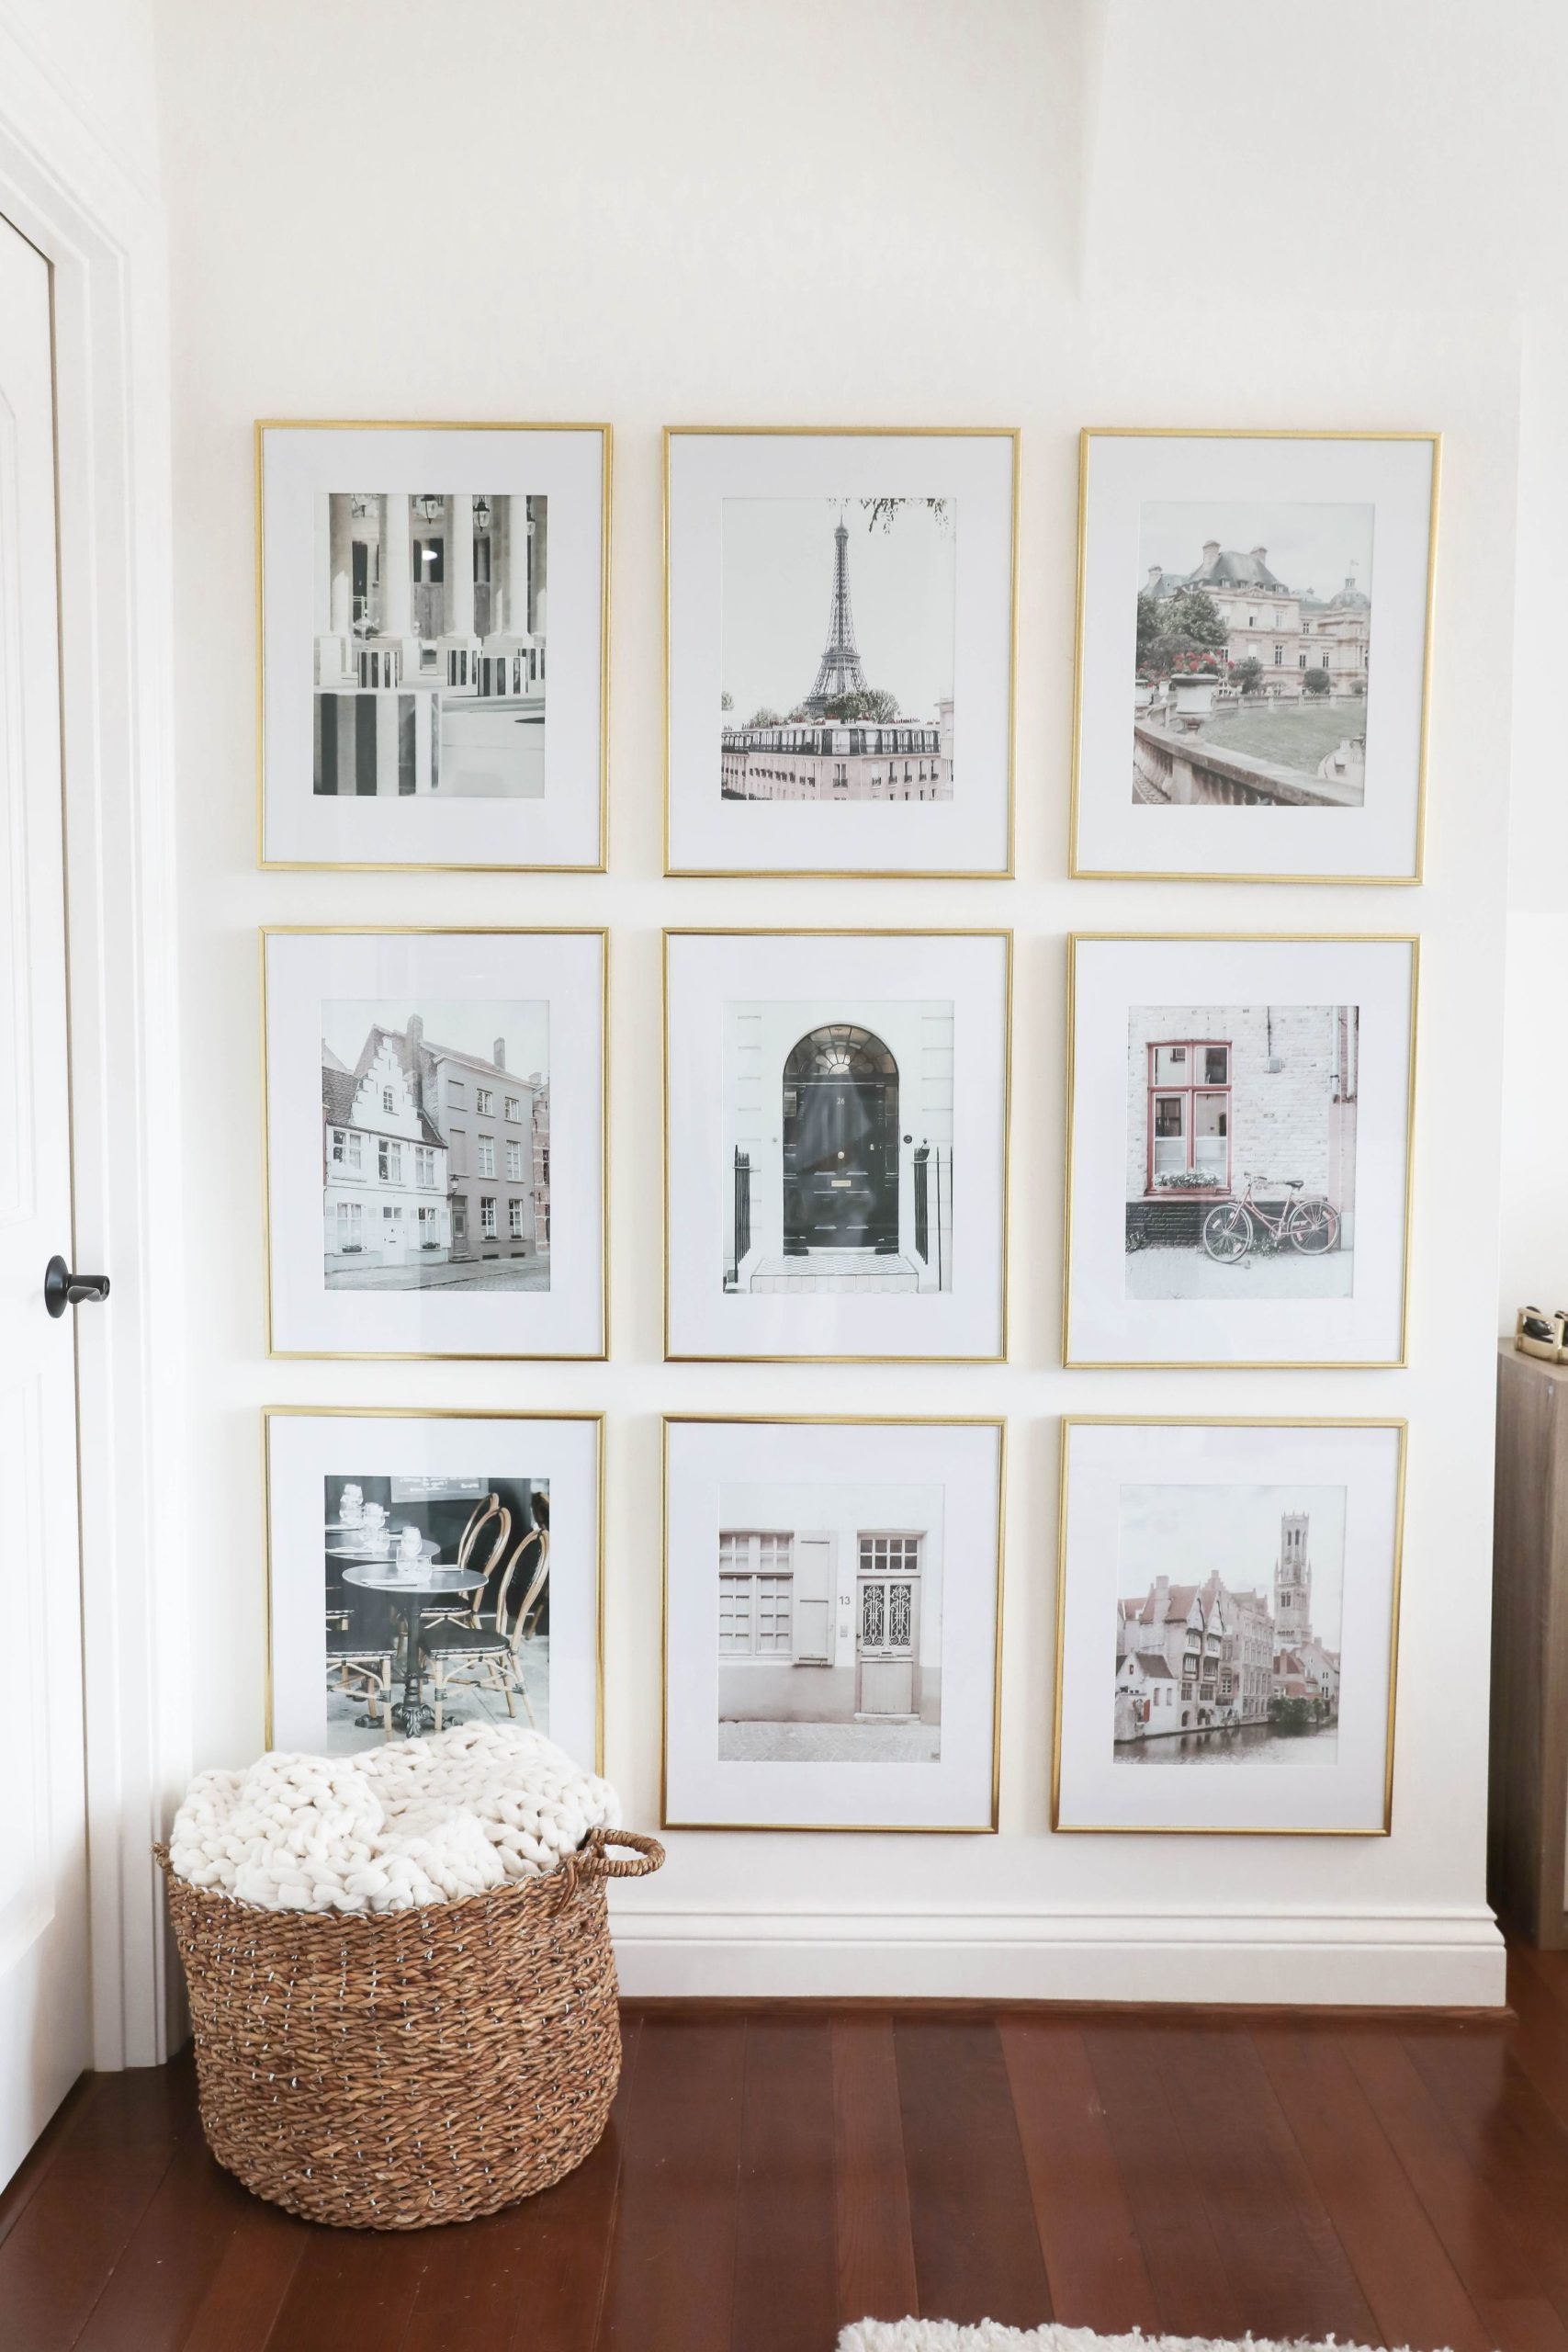
Then viola, you’re done! I hope you all liked this post, I had so much fun making this wall! Let me know if you end up making one as well. Have fun!
xoxo,
Lauren Emily Lindmark
Copyright © 2020 dailydoseofcharm.com
![]()

How many inches did you space apart?
3 inches 🙂