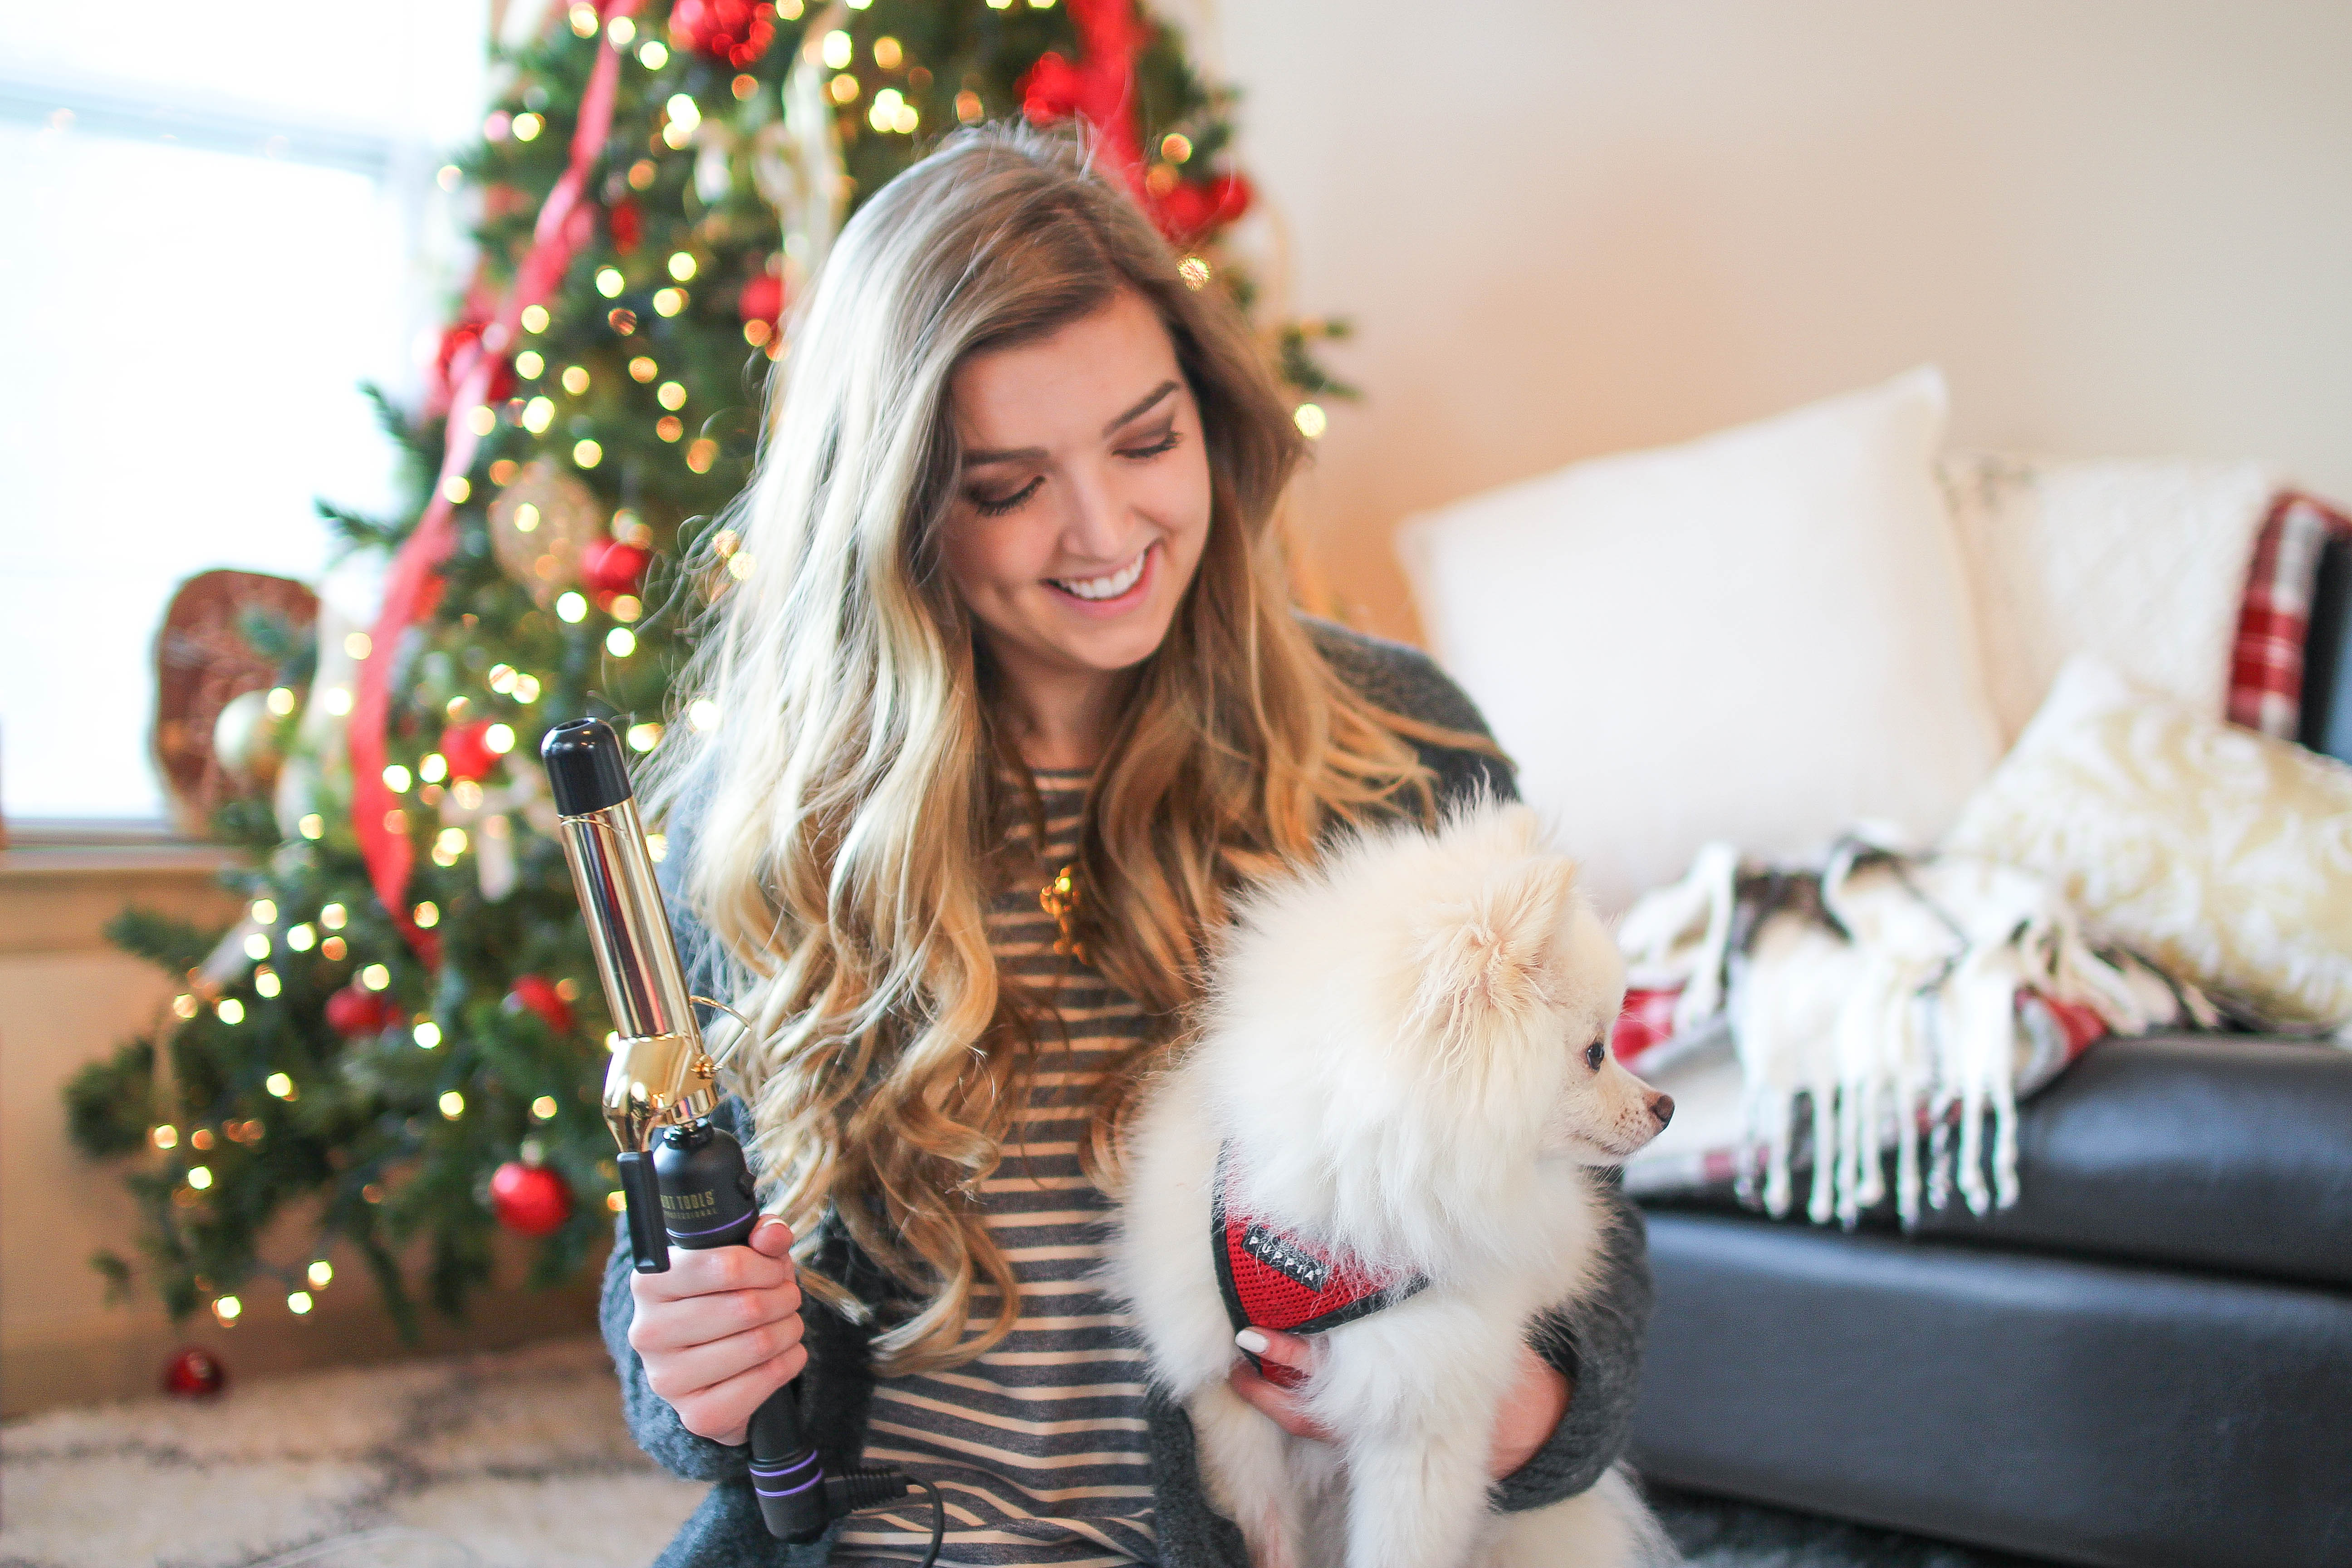
Today’s post is something I am so excited about because I am going to share all my hair secrets! First let’s chat about Luxy Hair because y’all – I am OBSESSED! I’ve been using hair extensions since I was in 8th grade. Let’s just say I did not know much about hair back then because they did not look good – haha! I had super dark hair extensions and ended up dying my real hair to match and I still jokingly get mad at my friends and family for not stopping me back then! Now that I’m older, quality and color is so important to me and I know how to find extensions that look good. I had been wanting Luxy Hair extensions for awhile so I decided to contact the company for a collaboration, lucky enough for me they agreed and I was able to try their amazing extensions!
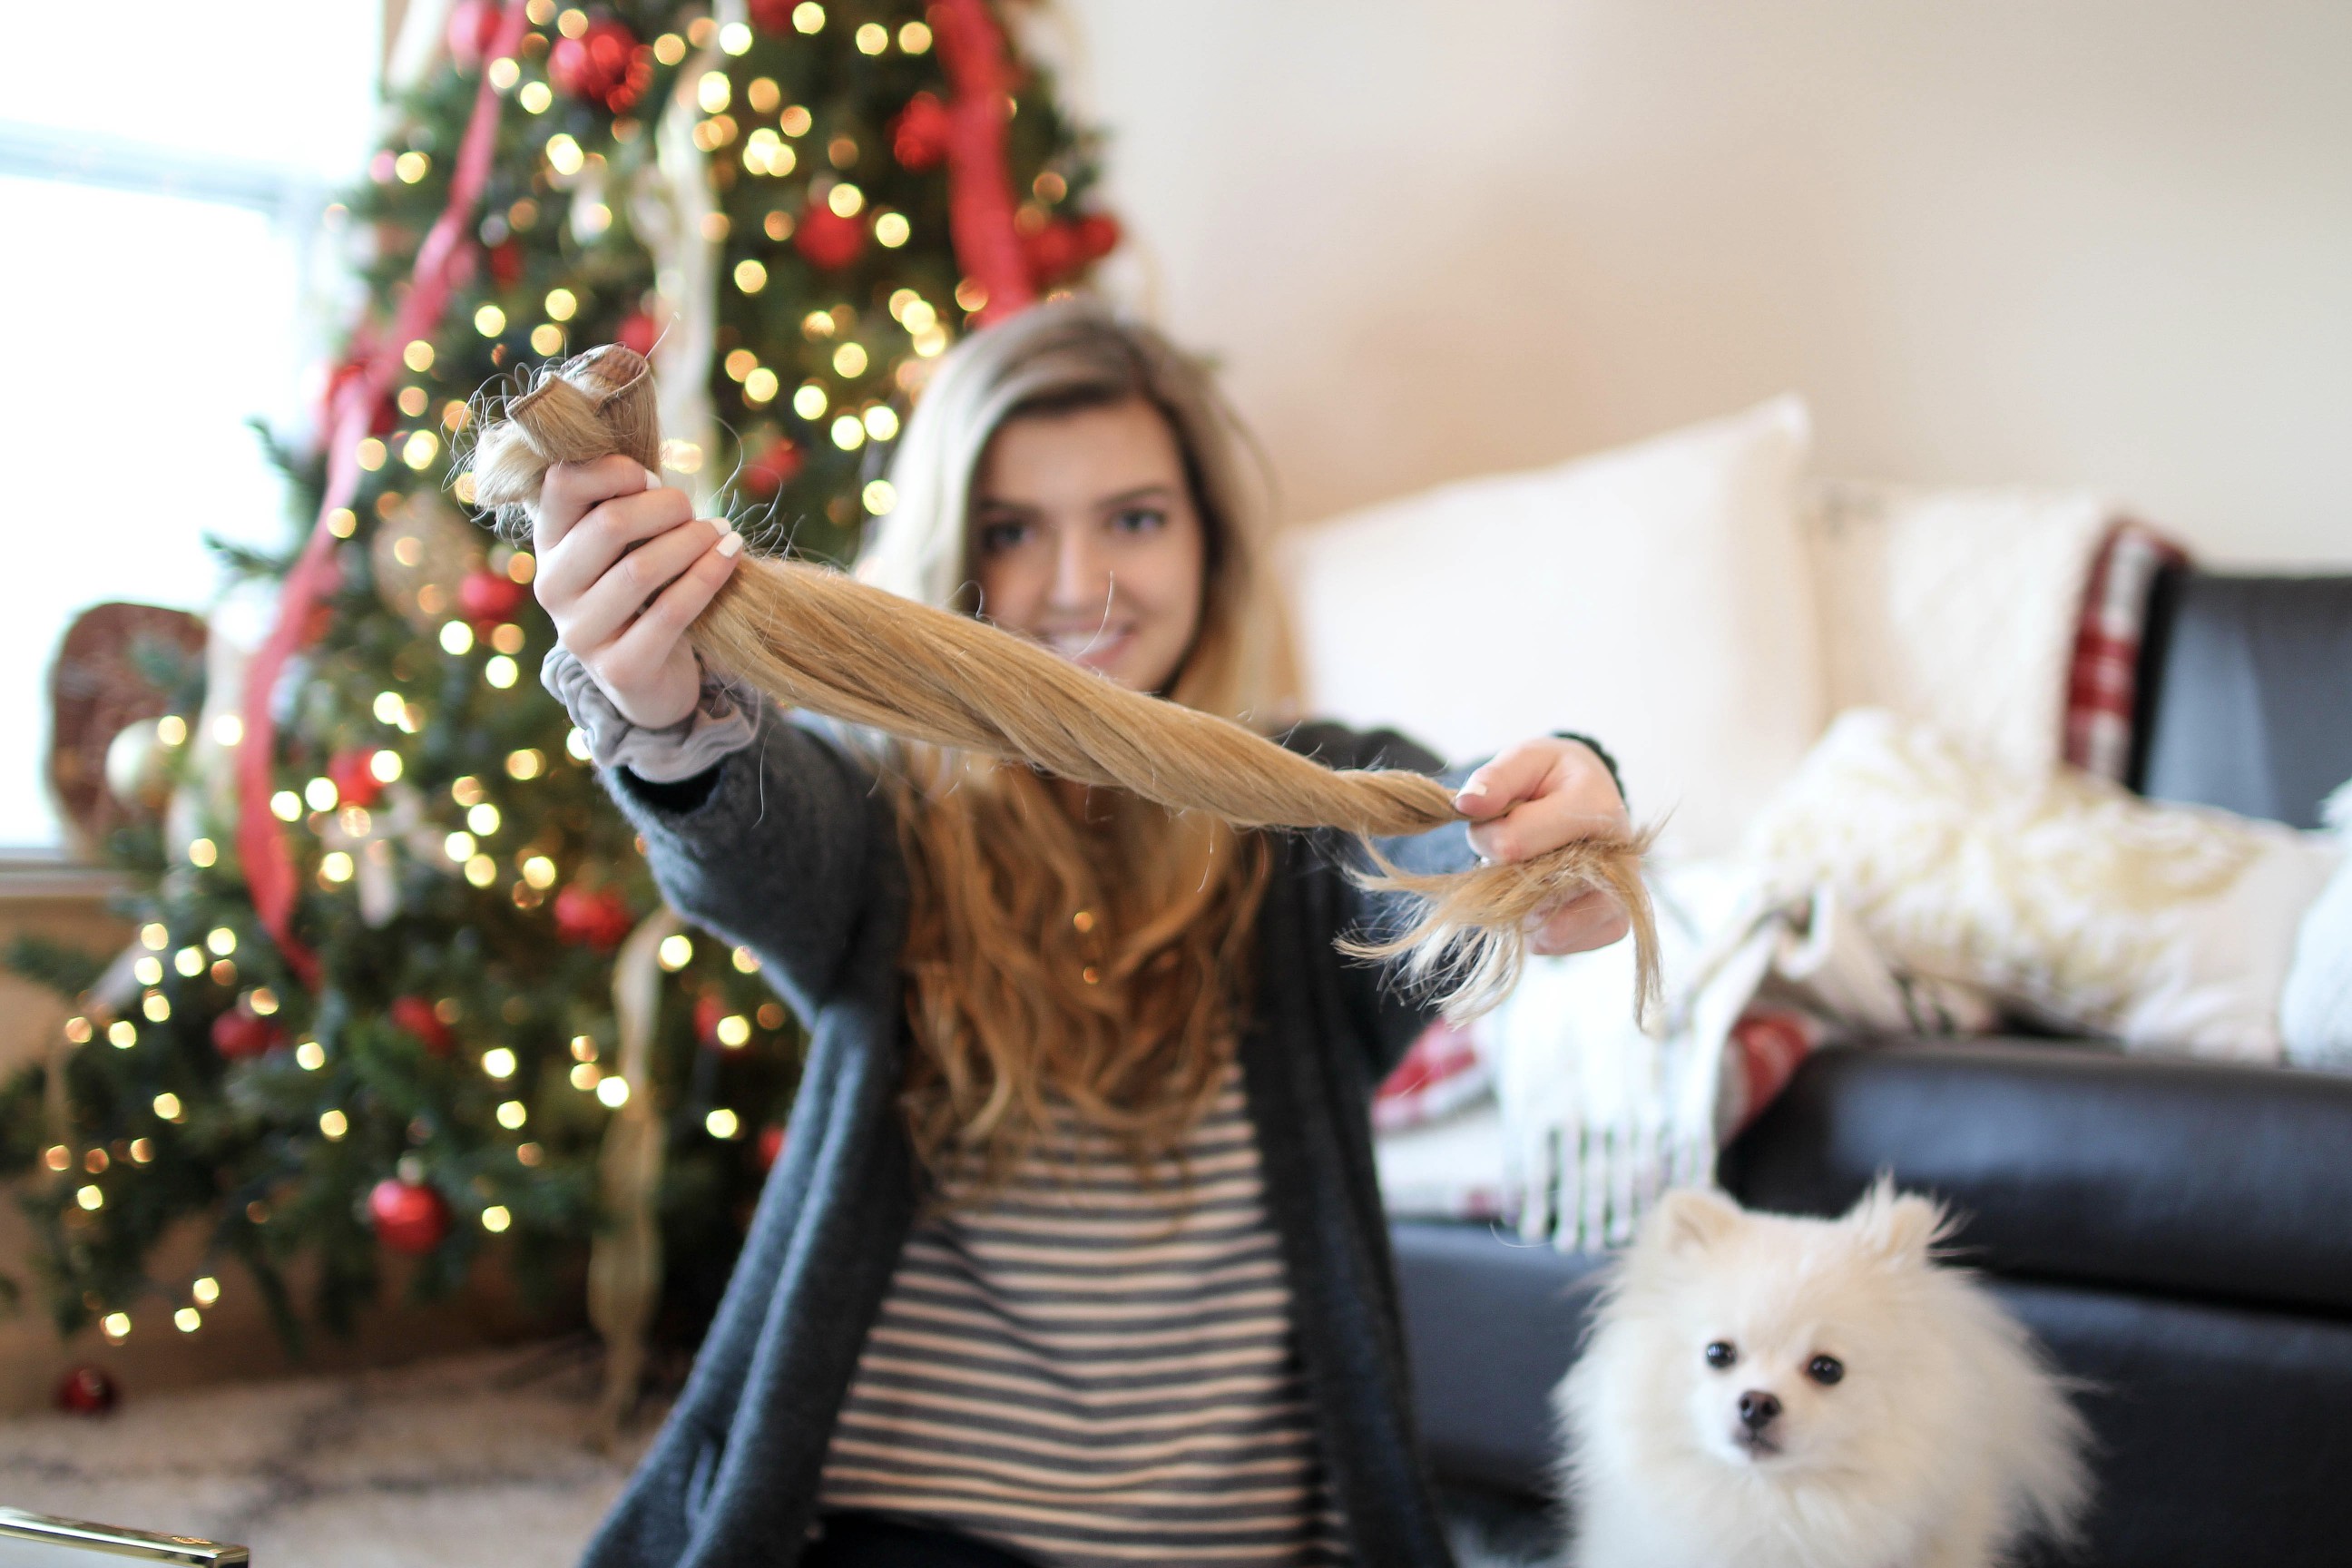
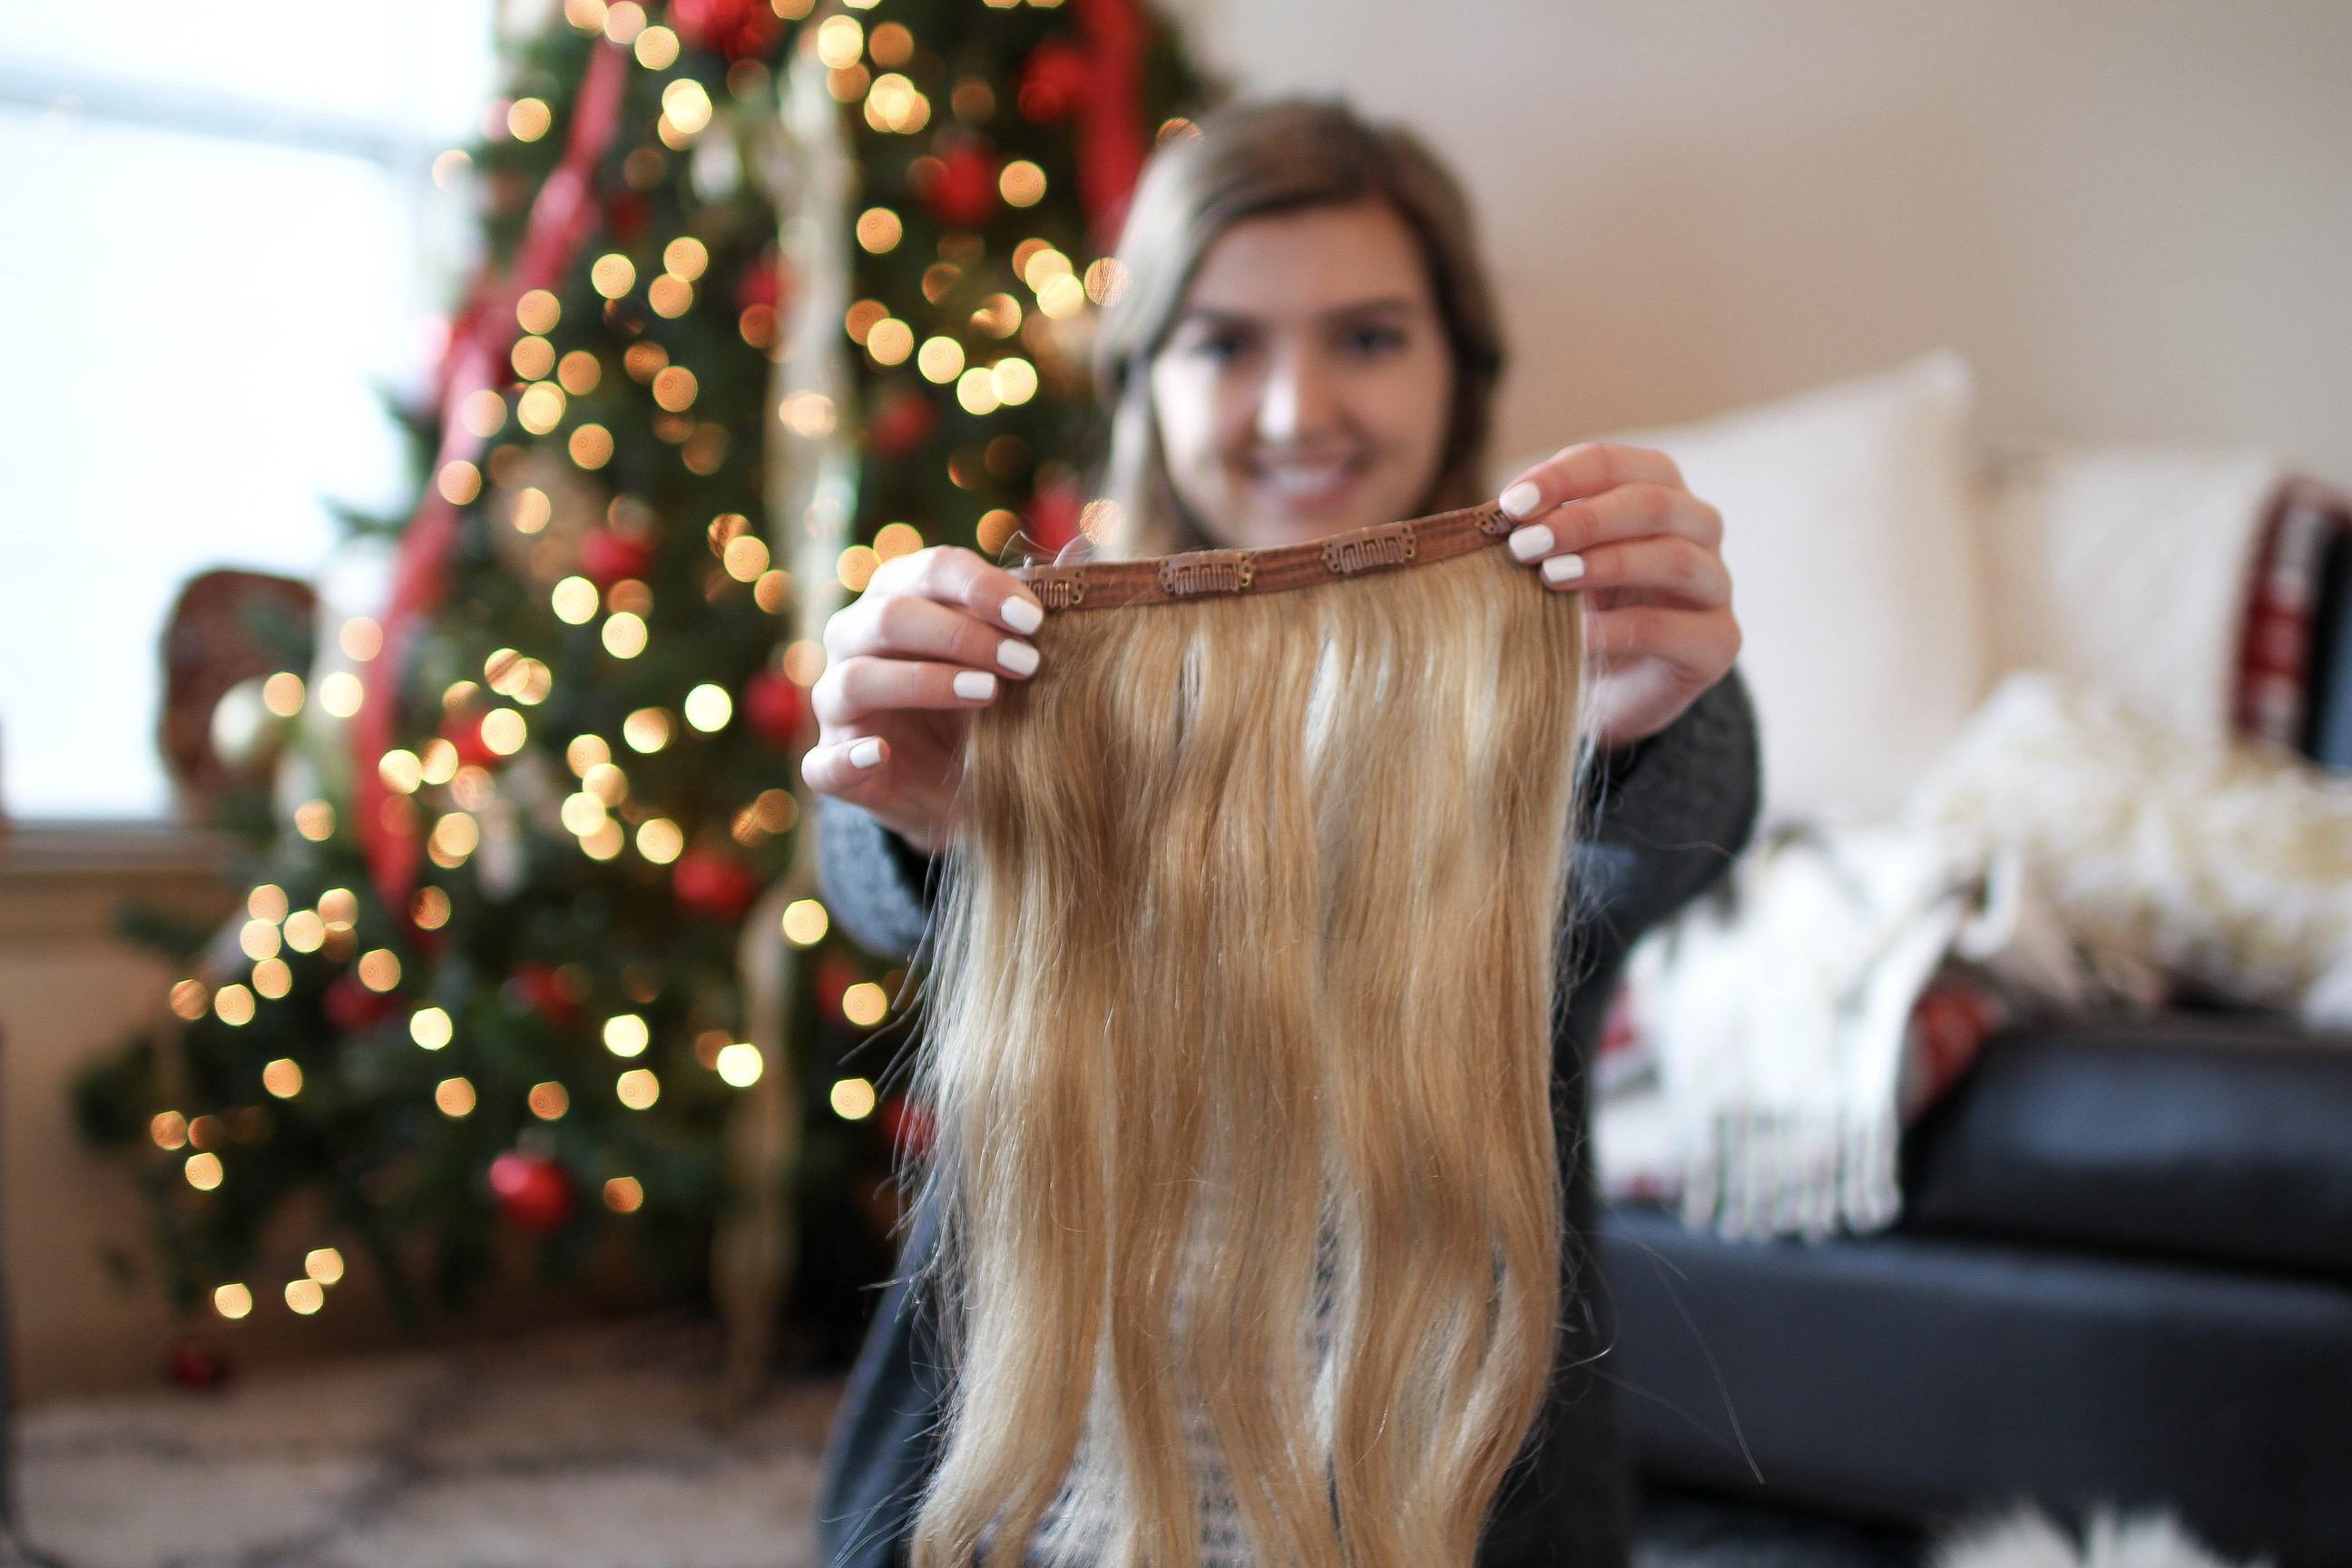
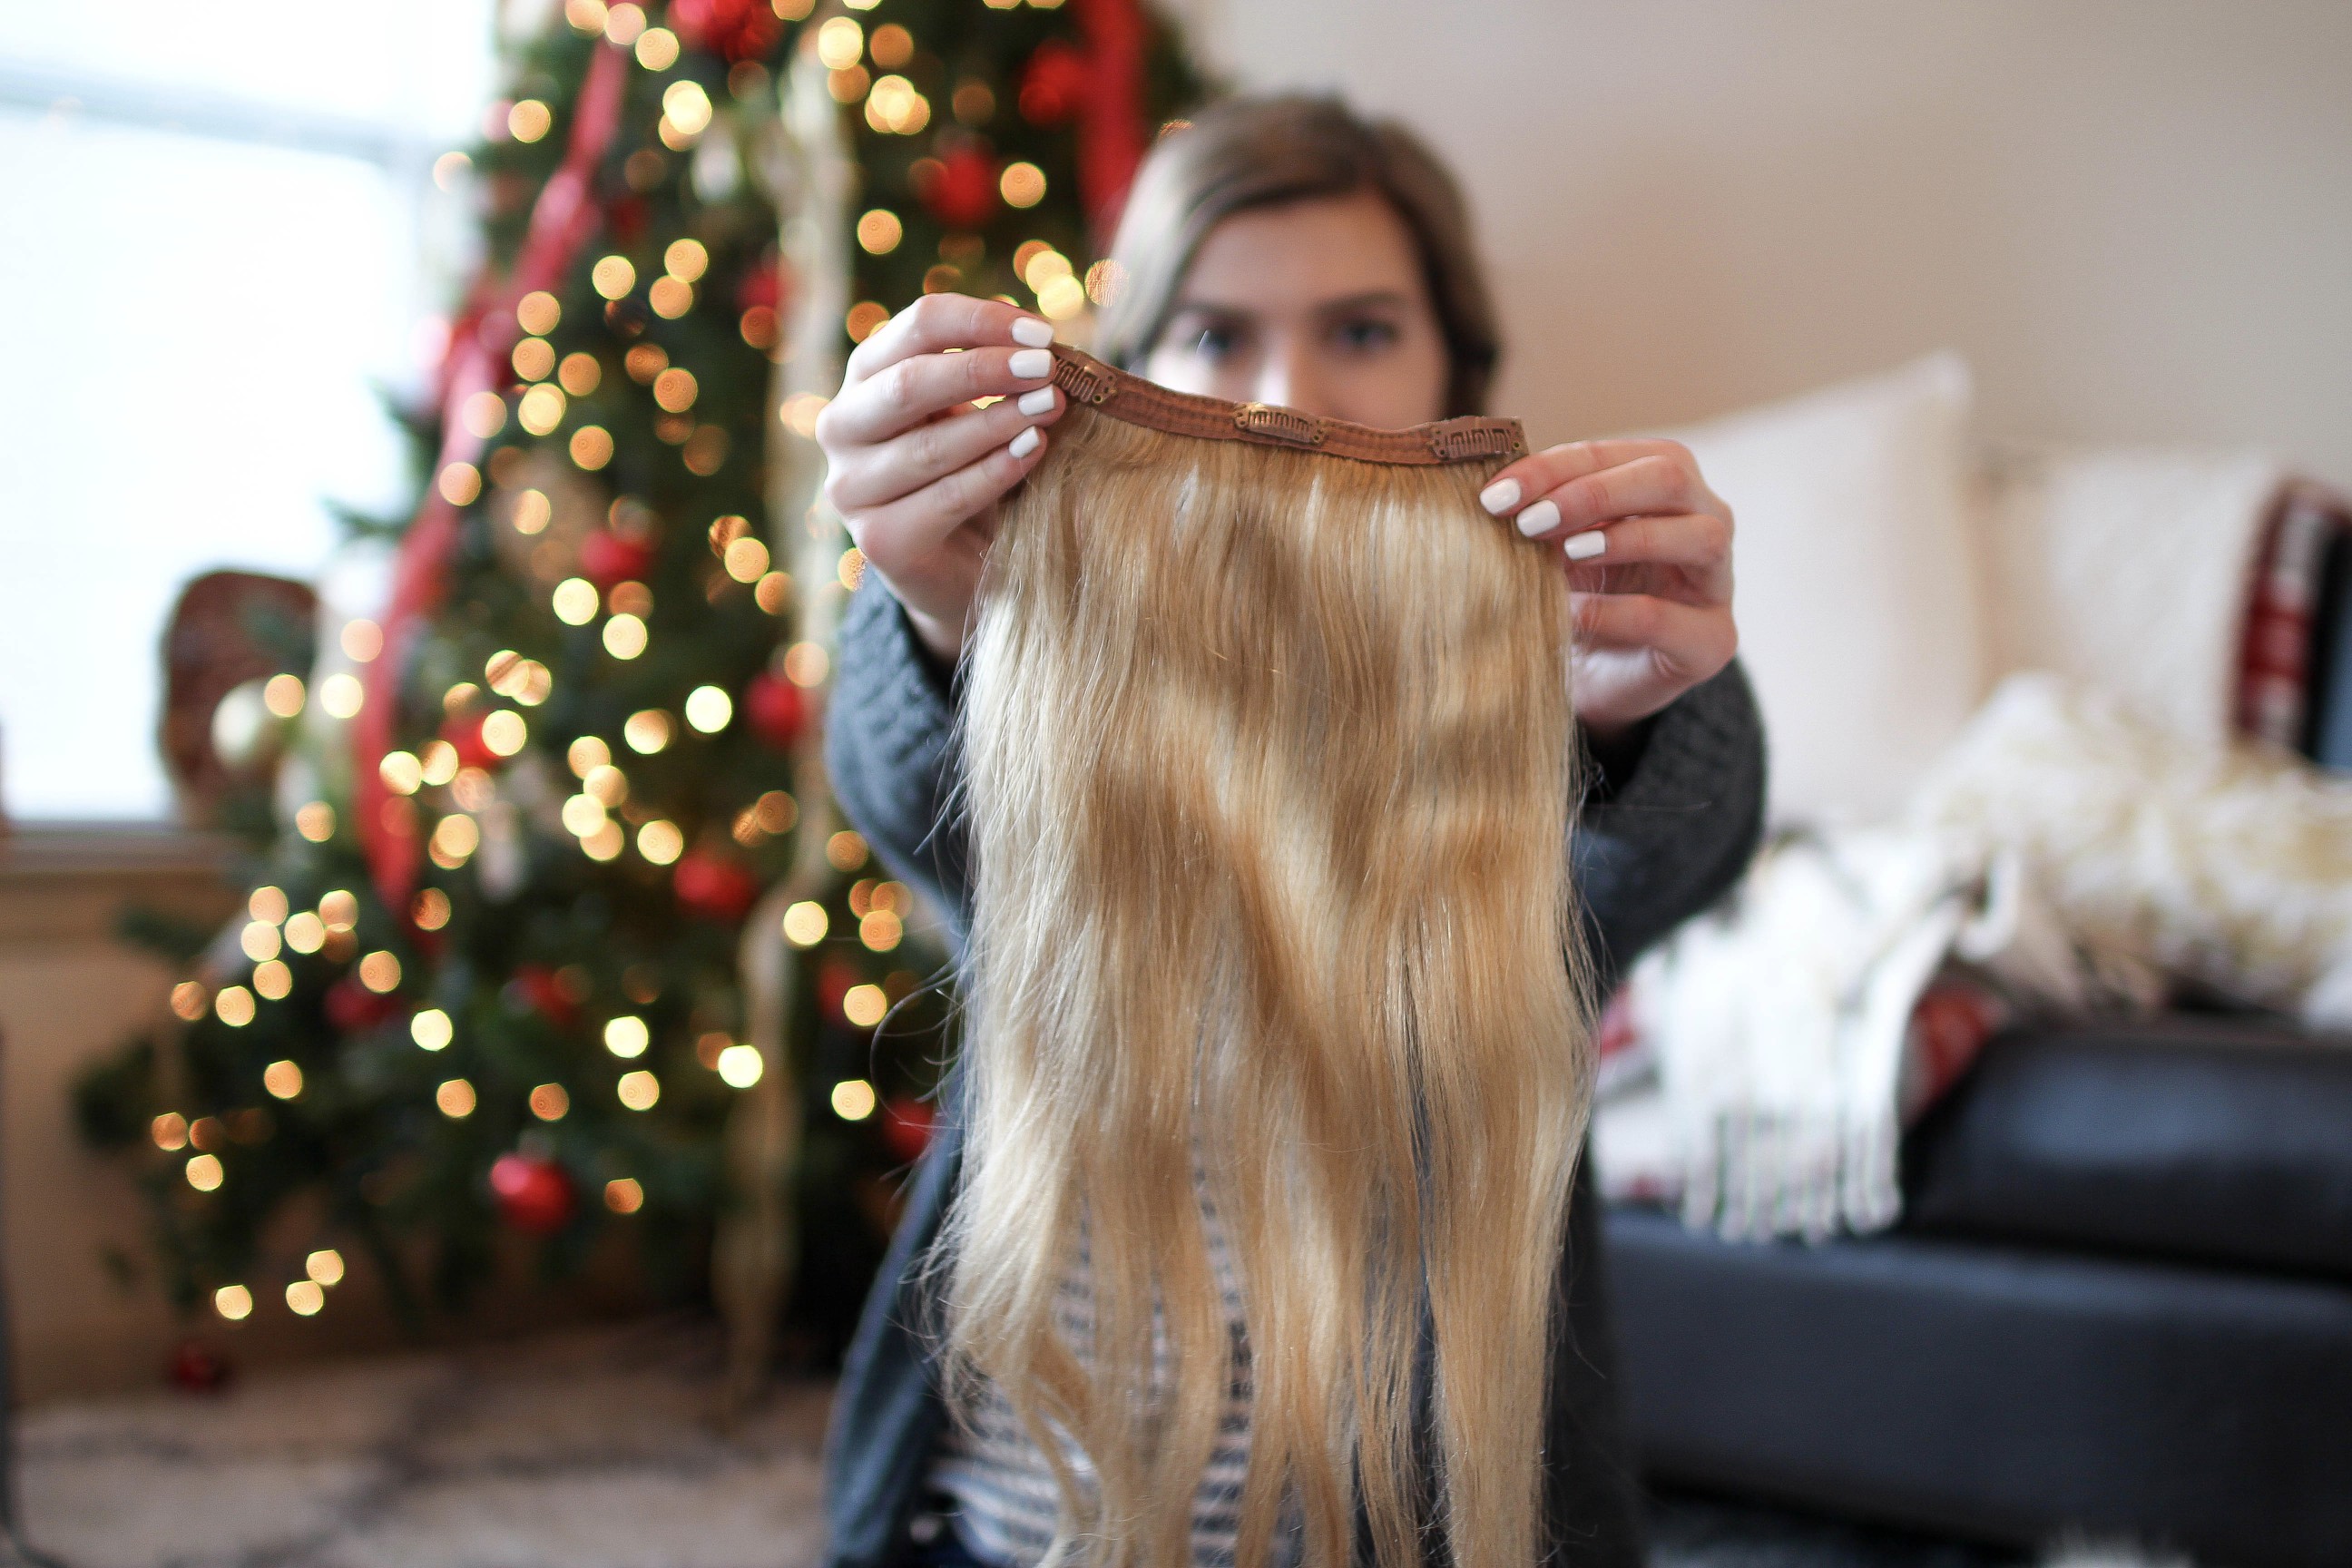
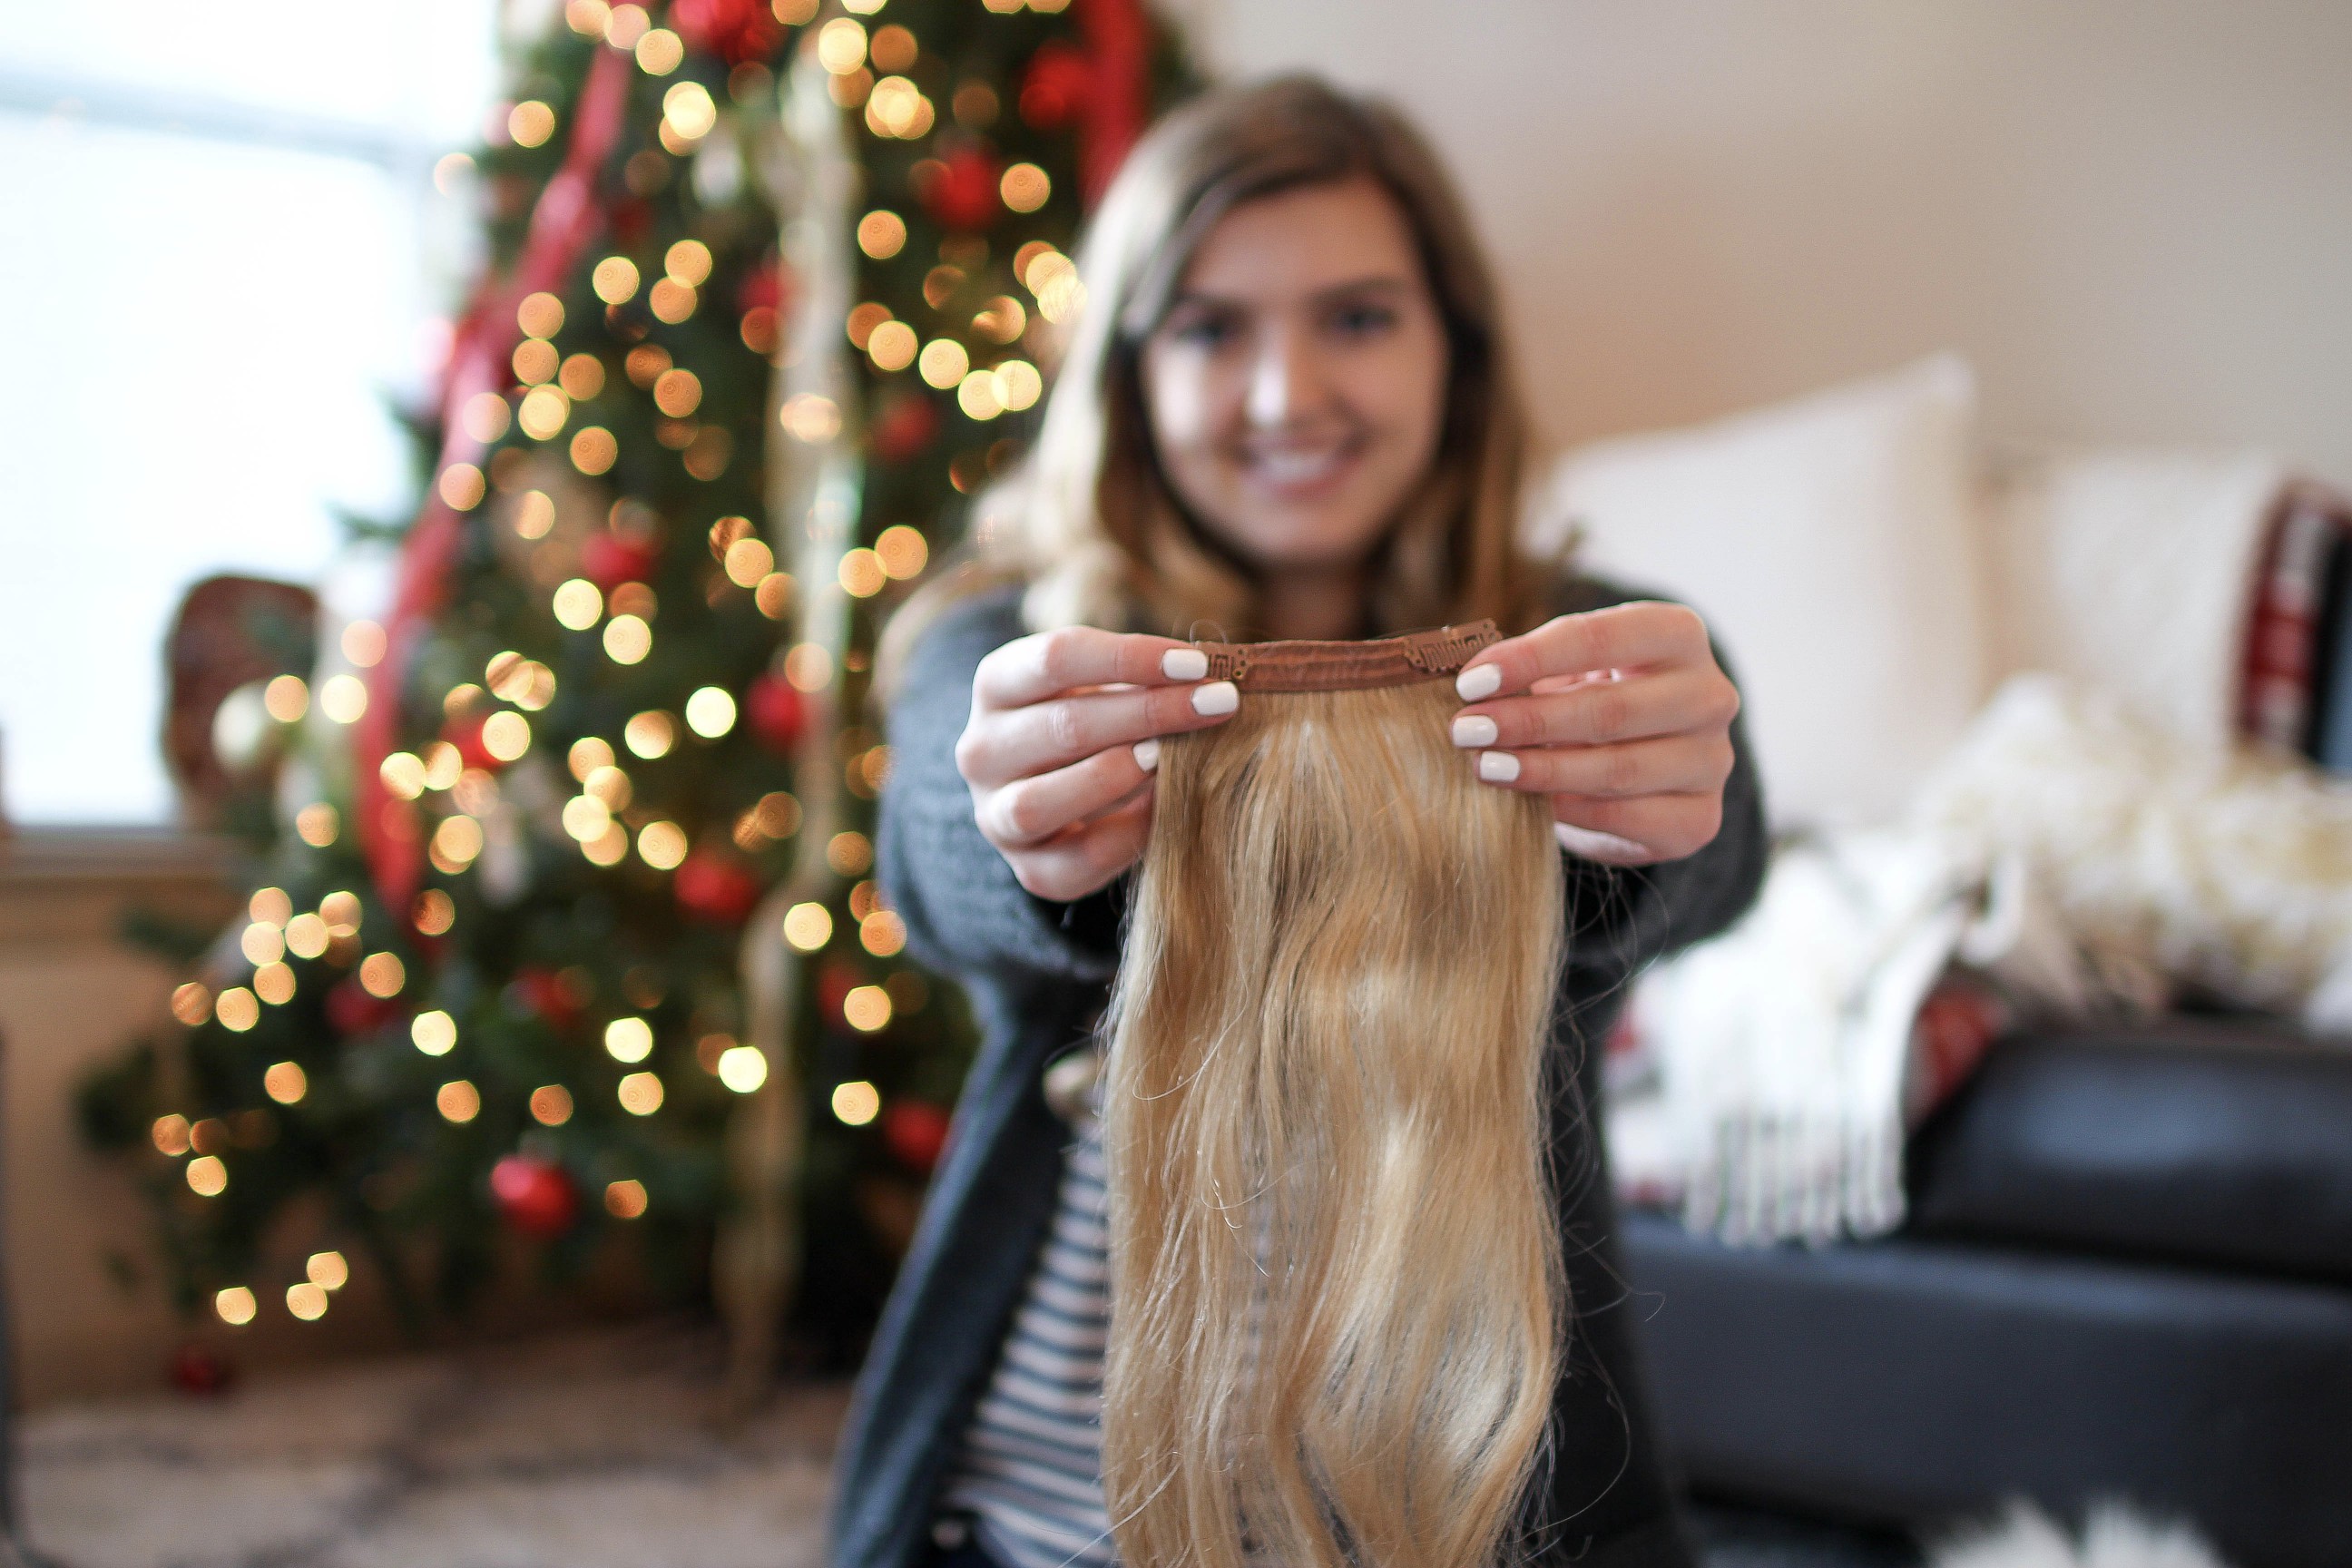
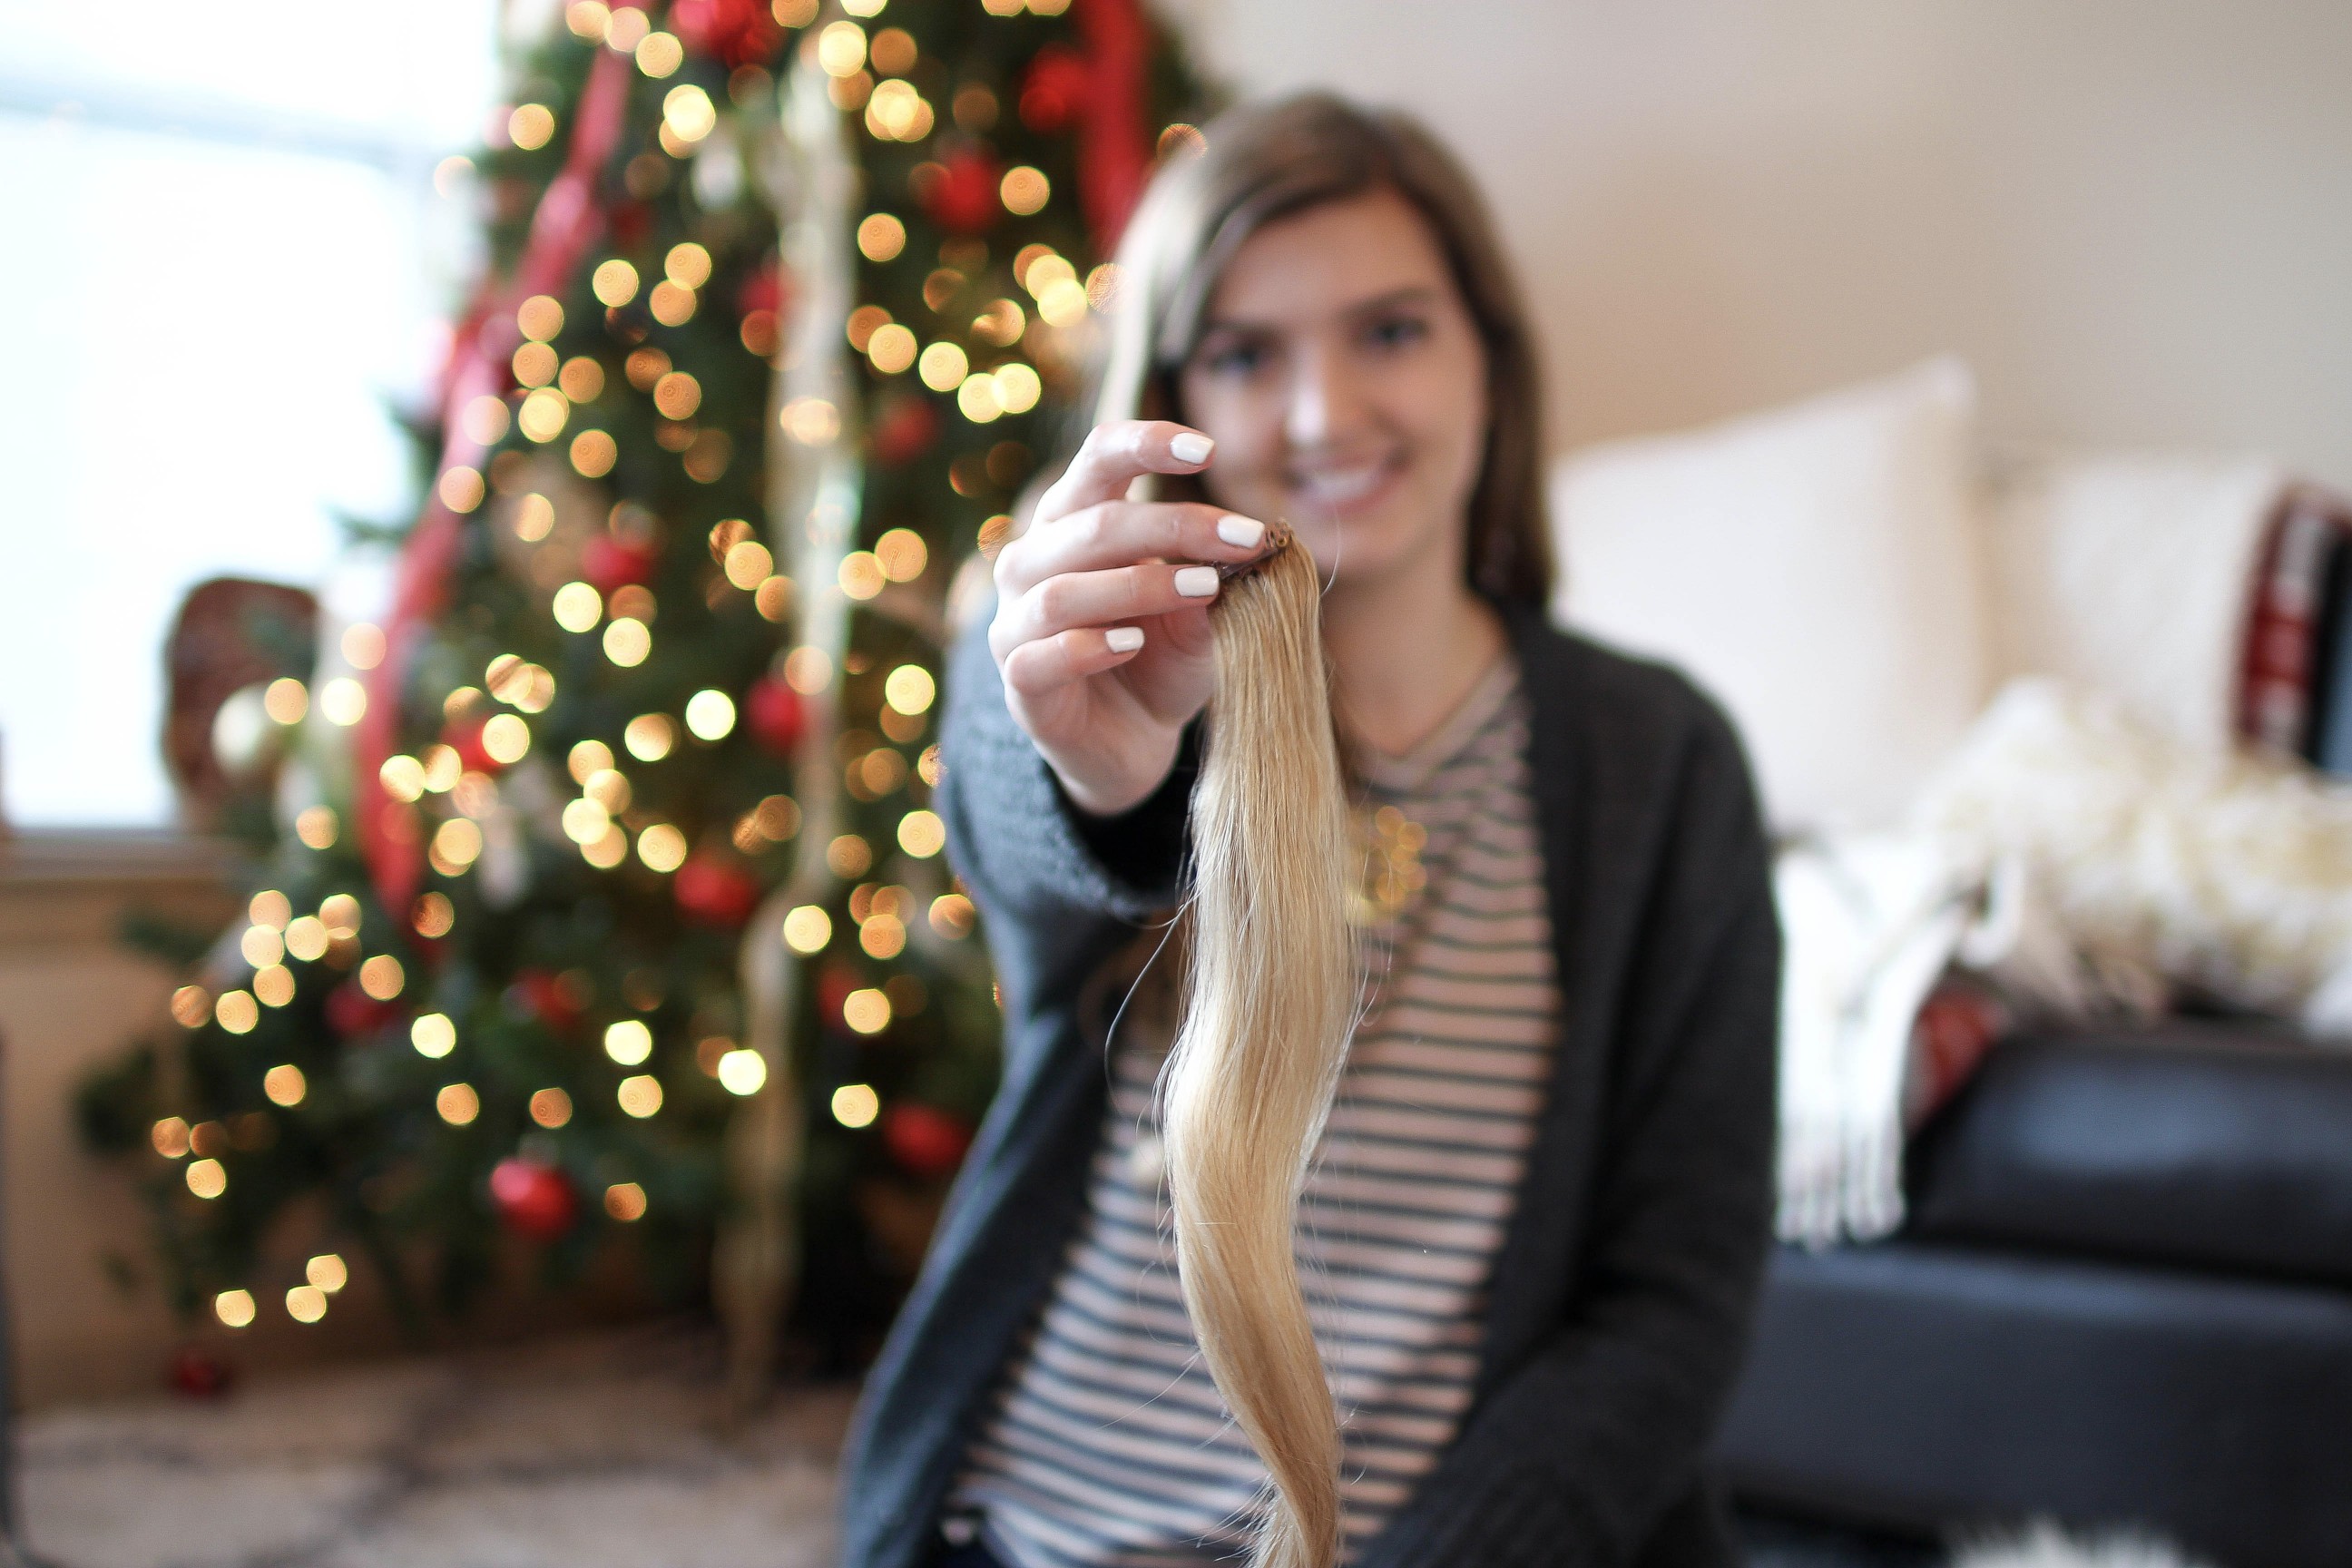
My Extensions: 220g of color #18 Dirty Blonde
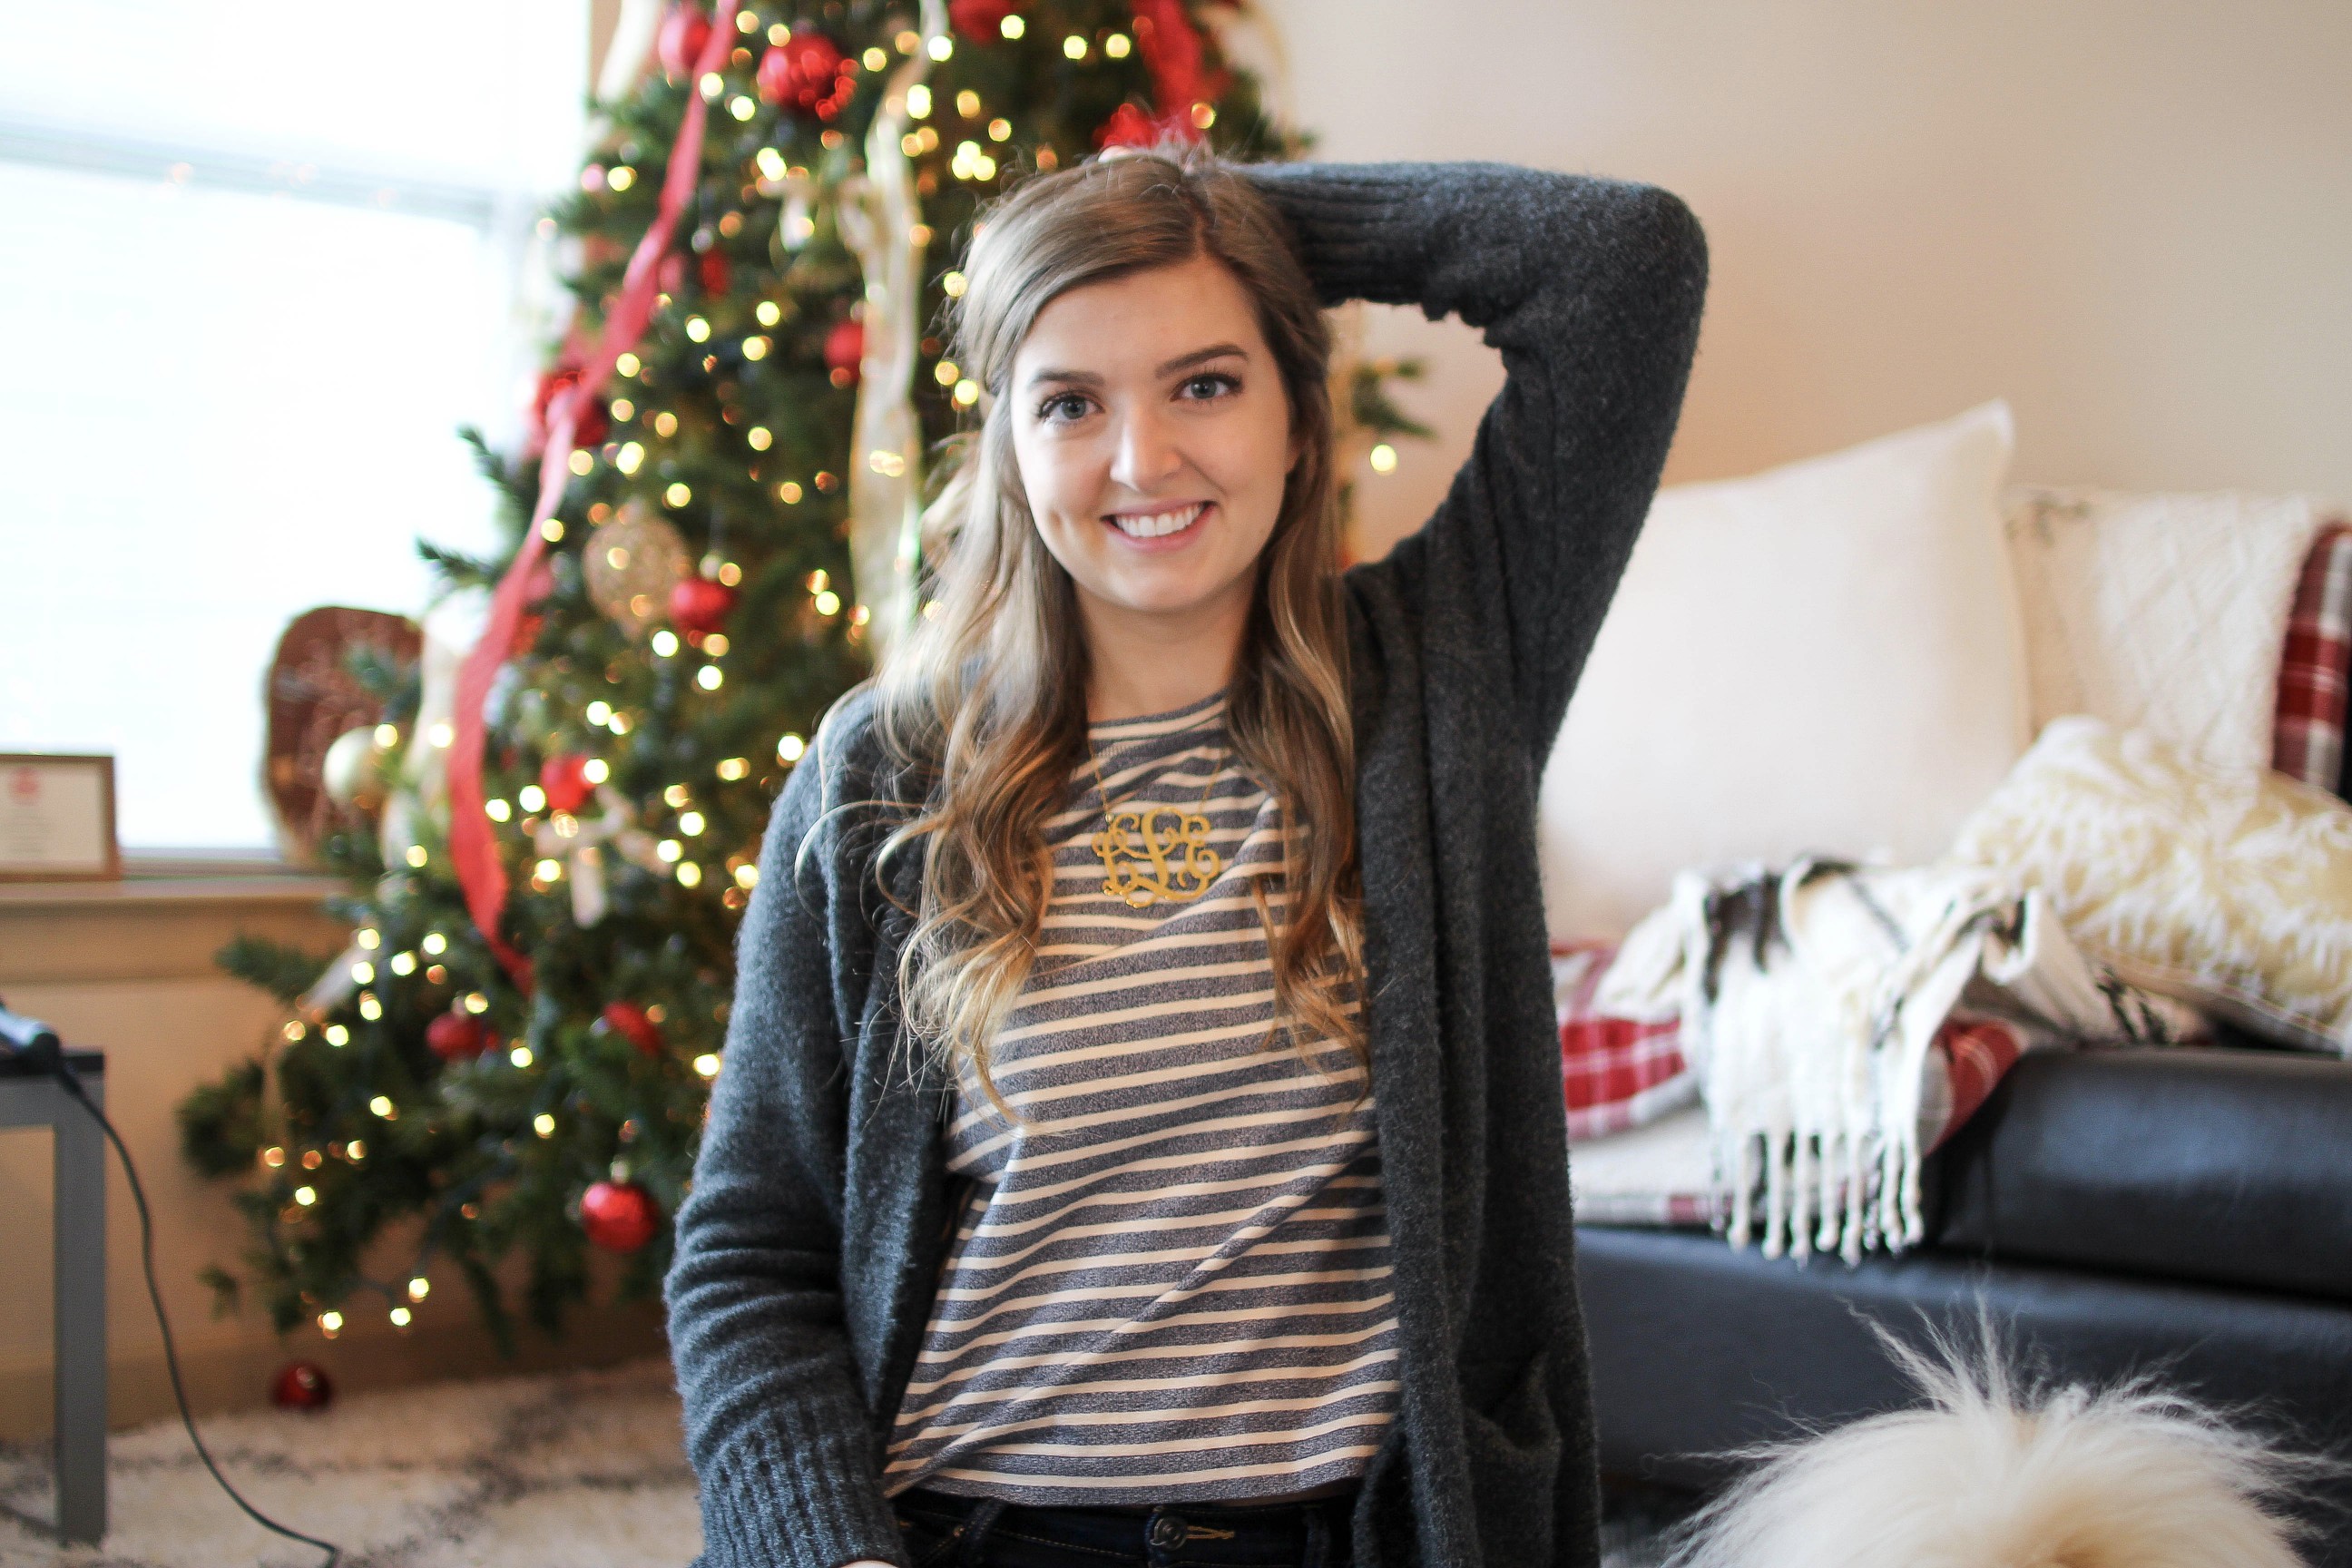
So disclaimer, this photo above actually isn’t all 220 grams, I’m only holding up about 3/4 of the hair I have because that’s all I wear! The 220 grams is amazing quality and the I was so happy with the thickness so I don’t even need all of it. I was also so amazed that color matched me perfectly! Luxy Hair’s extensions blend really well with your natural hair, so although my hair is a brown/blonde, my little sister who is a full blonde wore my hair extensions and they still looked amazing and matched just as well! If you email the sweet girls that Luxy Hair they can help you find the best color match for you, which is awesome because it takes the guessing out. Plus when they send you the extensions it comes with a “trial piece” you can take out first to see if the color matches, if it doesn’t then you can return it!
I was requested on Instagram to show you all how I curl may hair so here are the steps below! I am planning on also making a video soon to better show the steps so let me know if you are interested! Also if anyone wants to know how I put him my hair extensions or do other hairstyles please request below! P.S. my code to get $5 off Luxy Hair extensions is LAUREN5 !
Step 1: Use Heat Protectant.
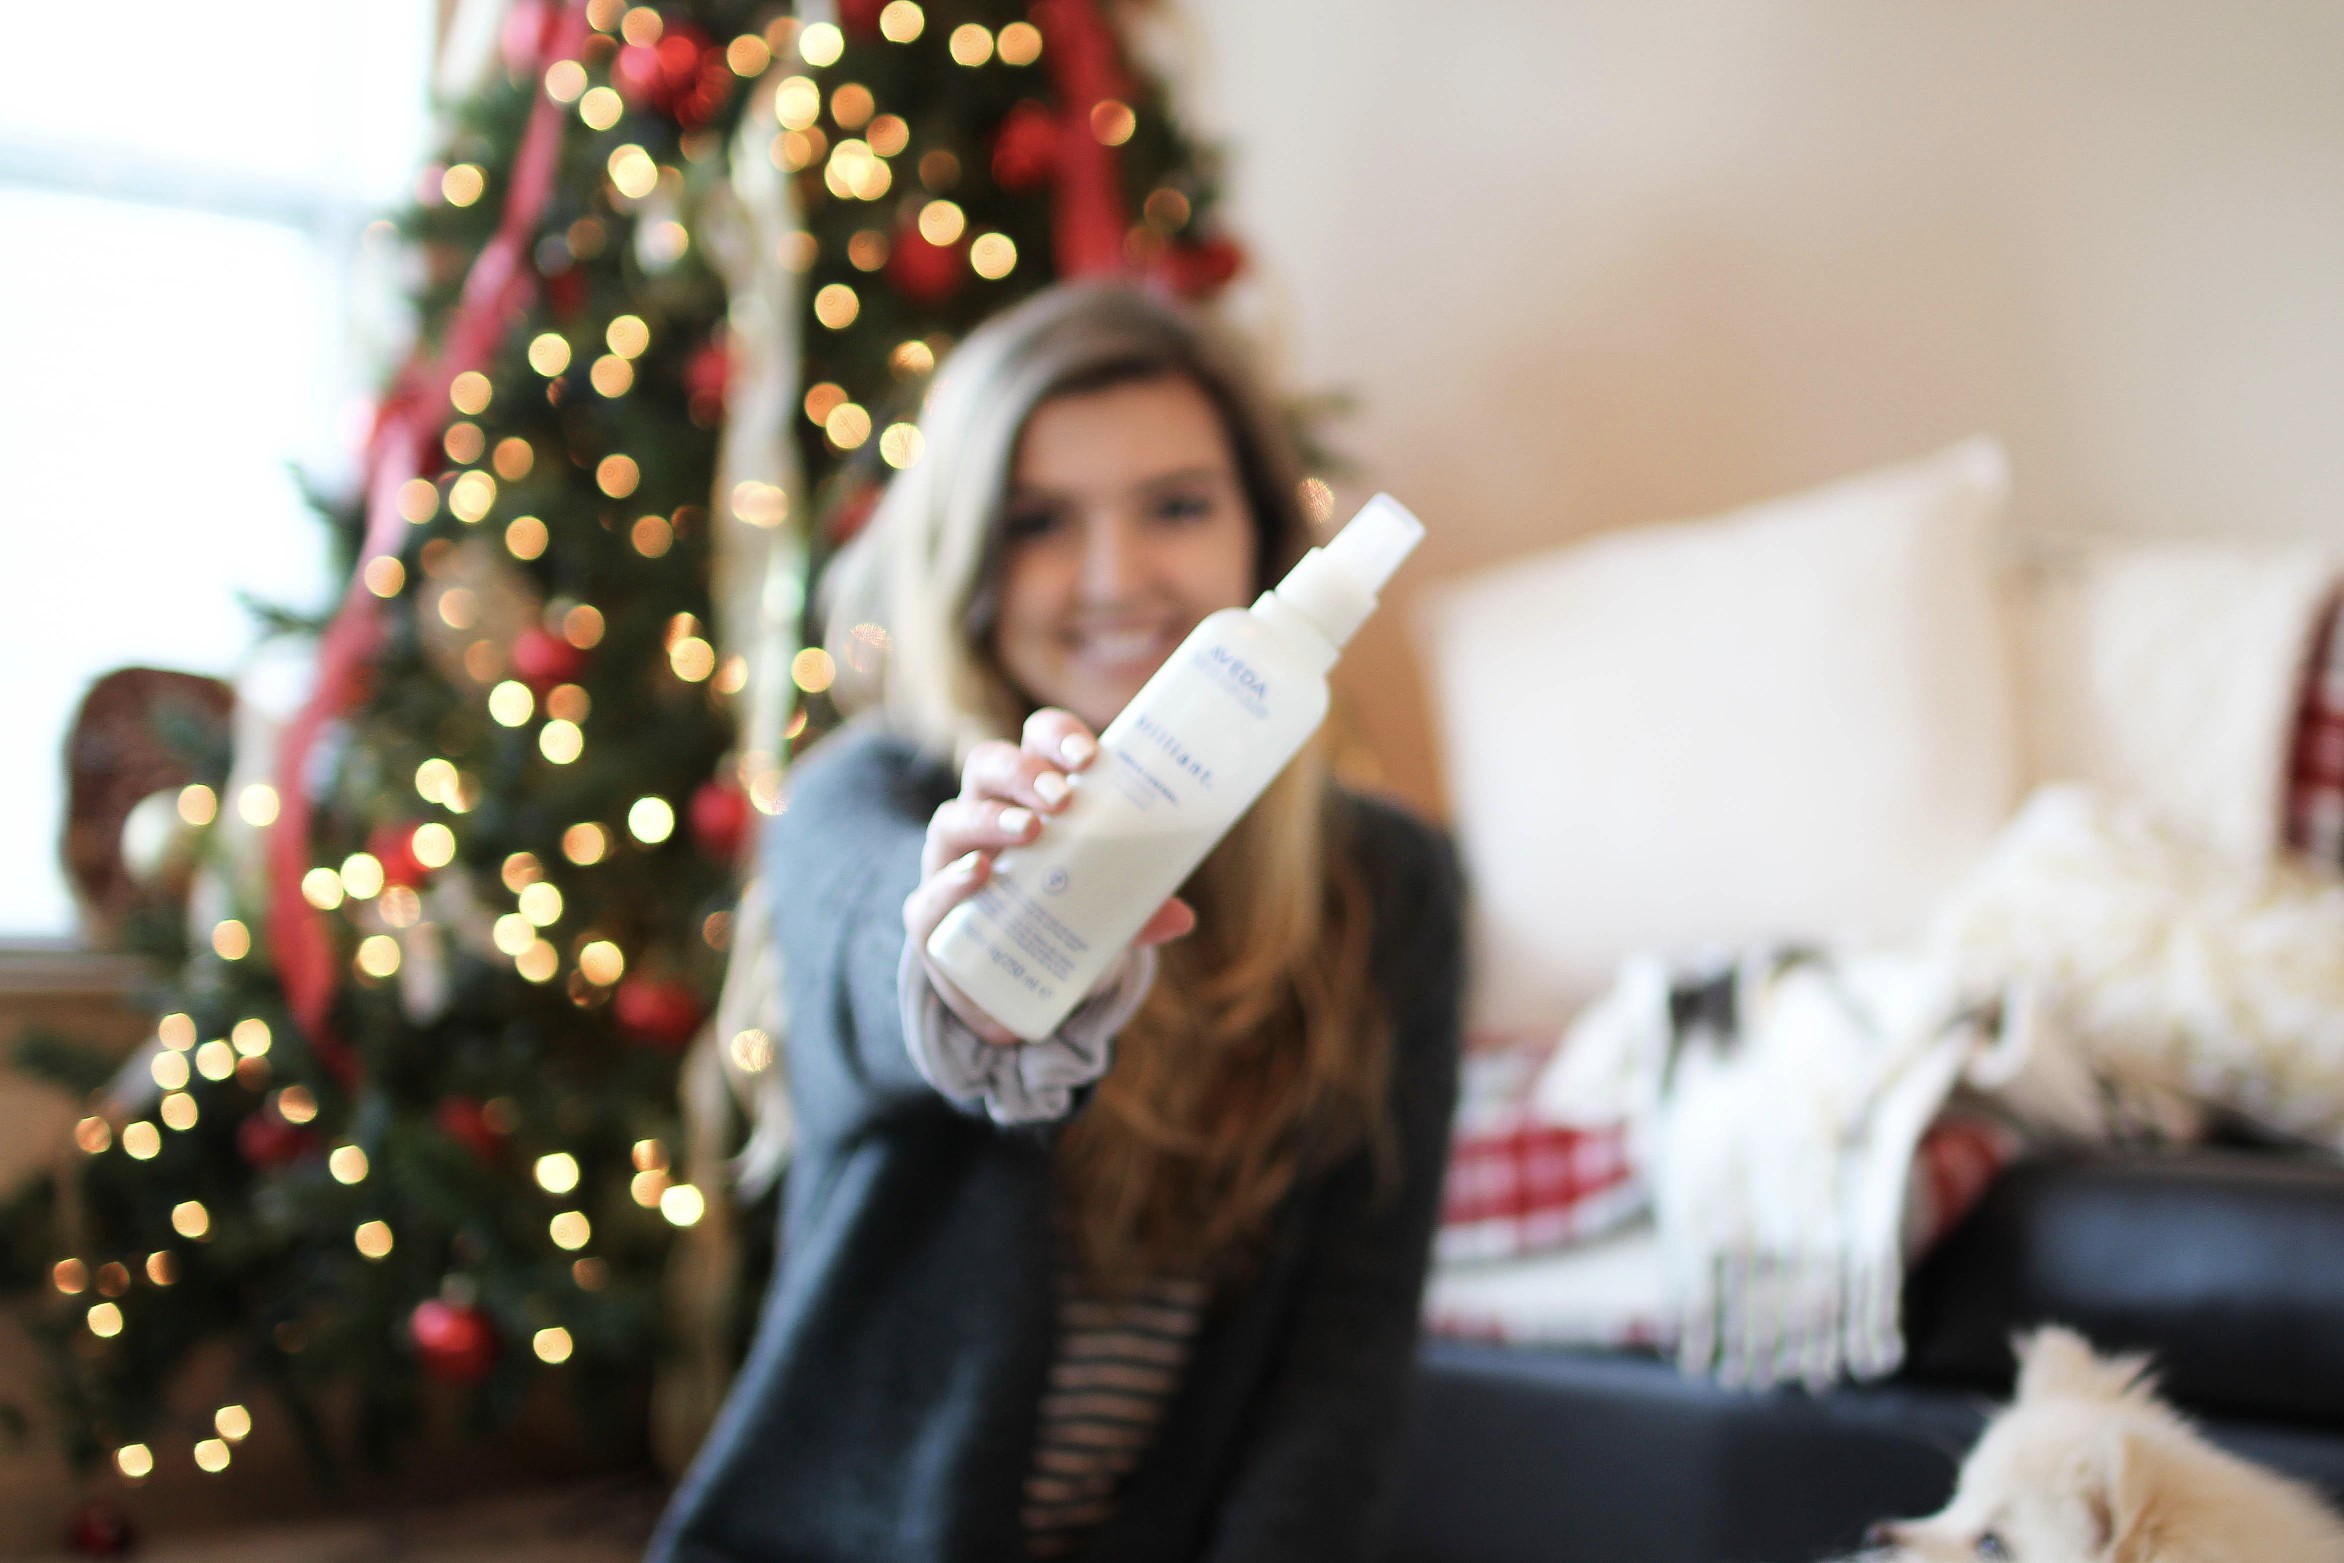
Using hair protectant anytime you use heat is so important. My amazing hair stylist recommended this heat protectant by Aveda called Aveda Brilliant Damage Control and I’m now on my second bottle because I love it so much! I purchased my first one in April and my second in August so they definitely last awhile. I use this every time I shower then again right before I use heat. I just spritz a little on and let it dry for a minute or two!
Step 2: Brush Your Hair.
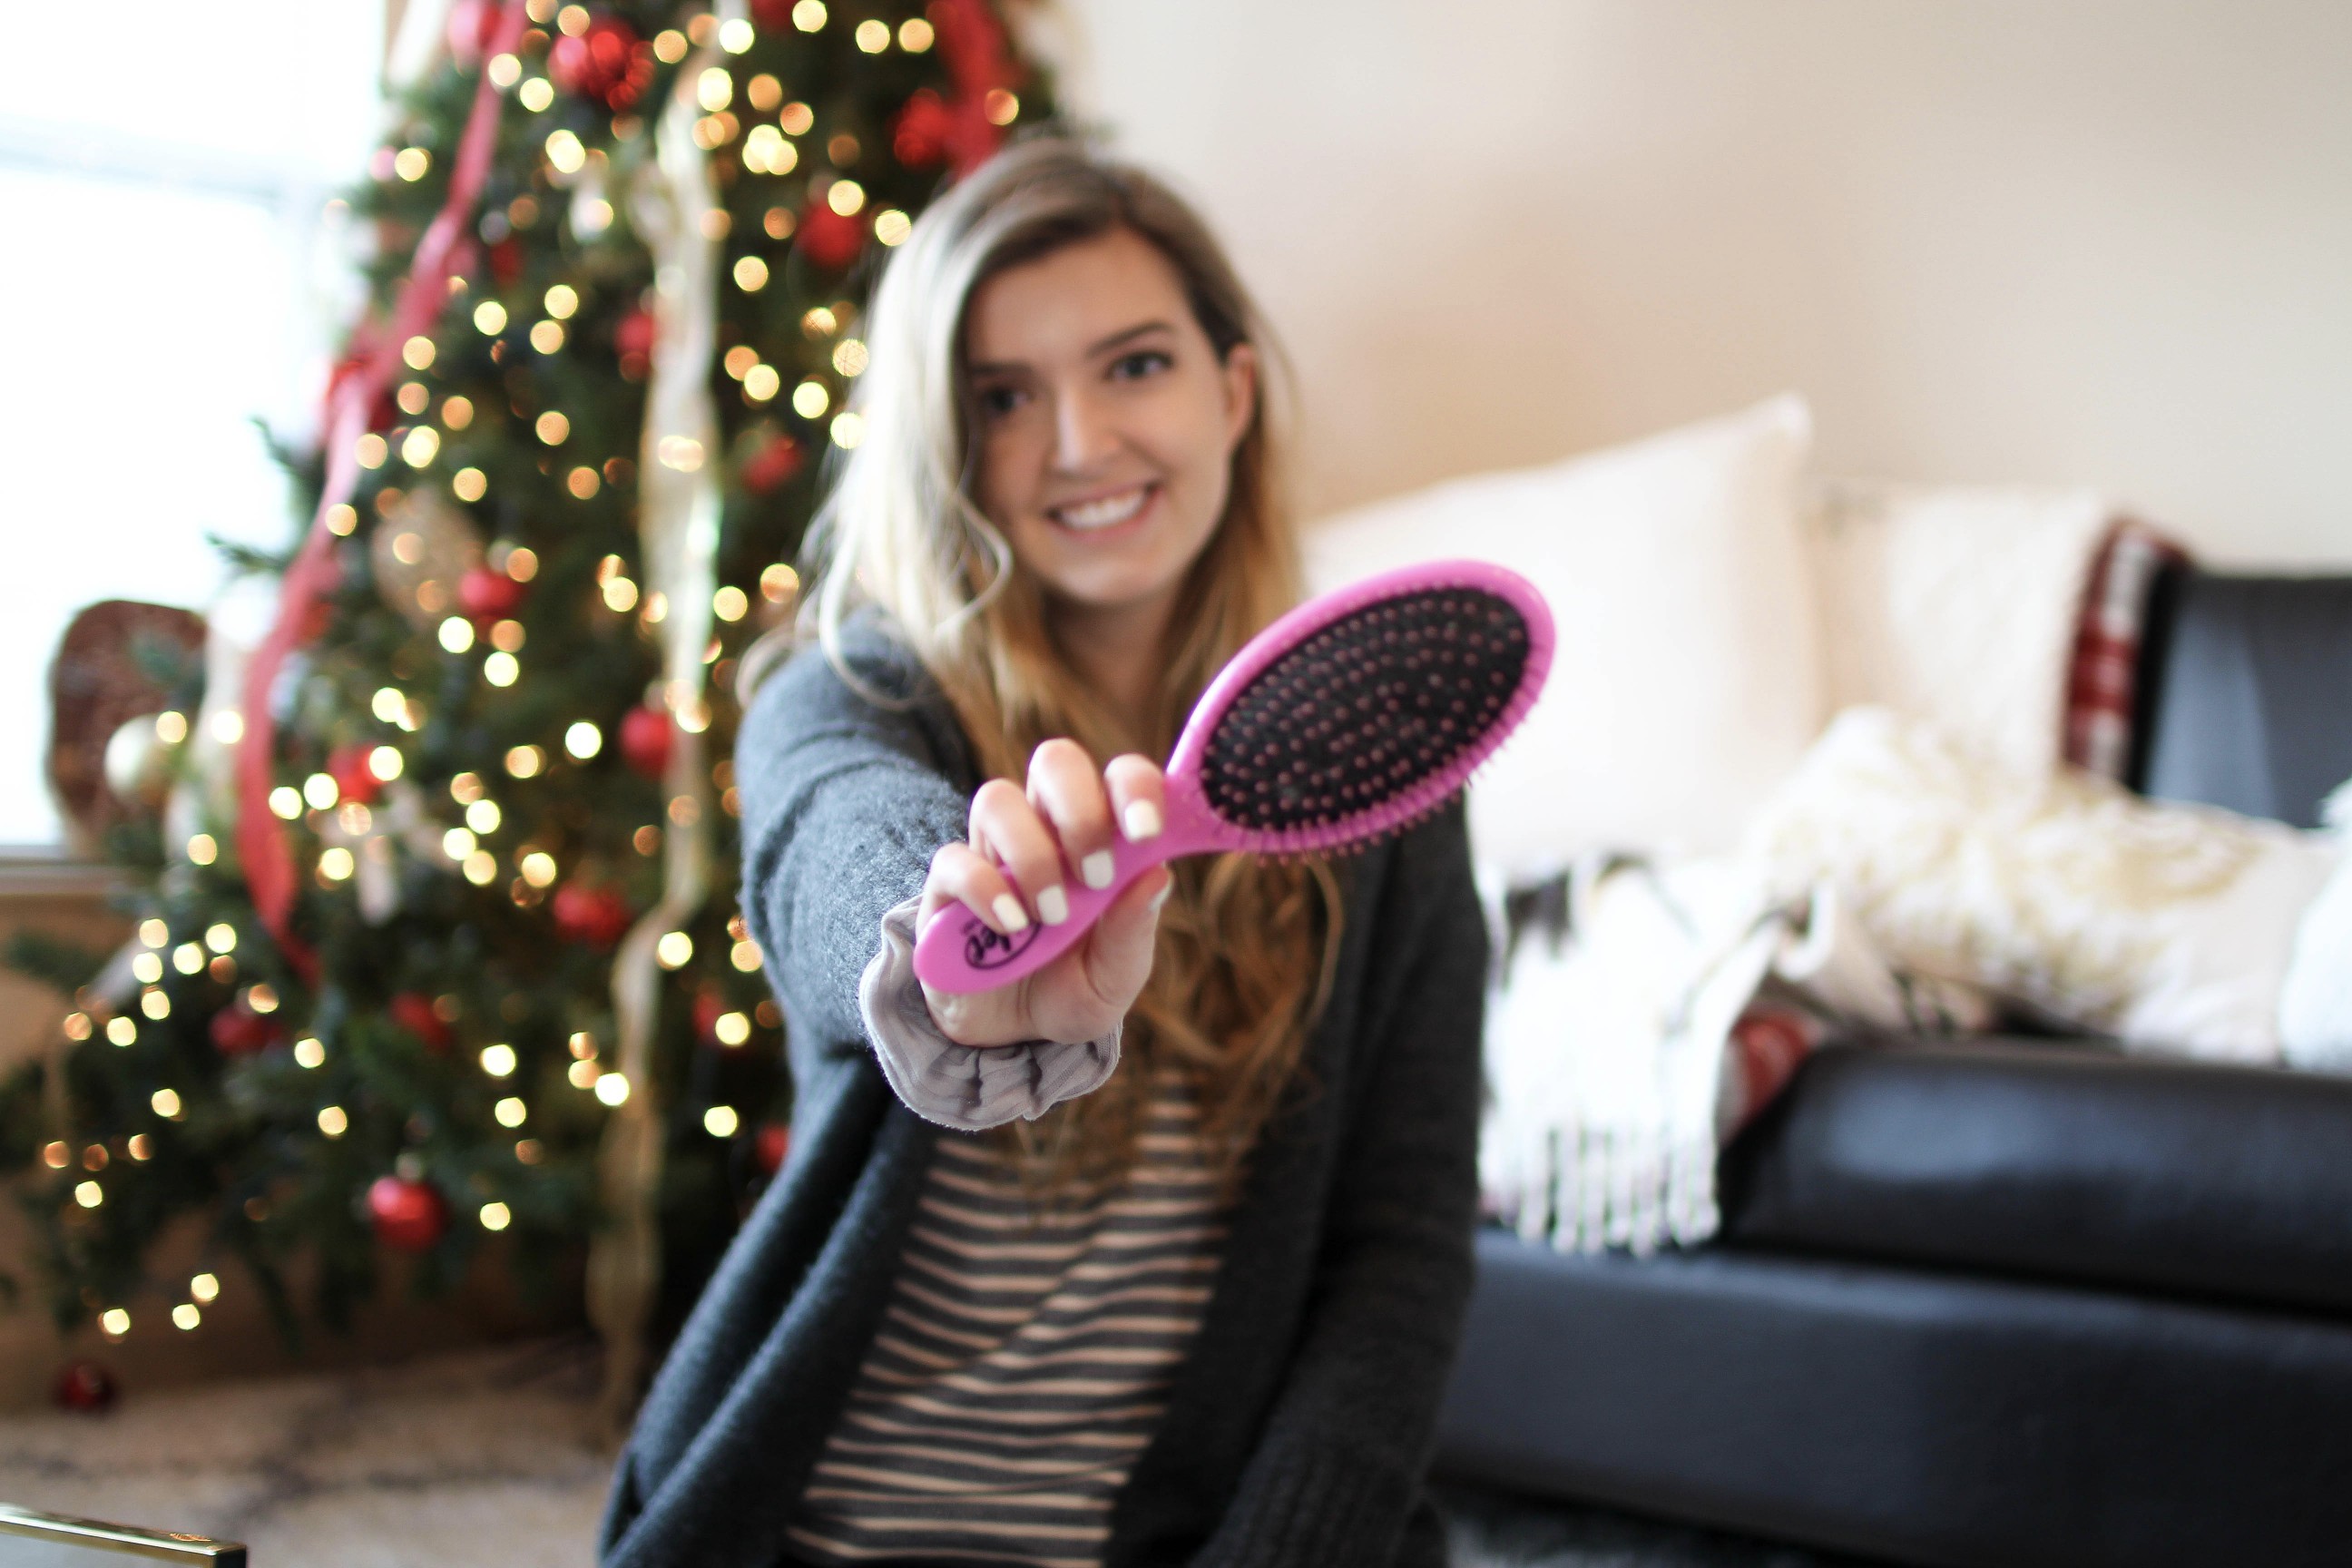
The best tip I have for curling your hair is make sure it isn’t tangled and messy. You want the curls to be formed and not uneven and tangled, so make sure it is thoroughly brushed out. The Wet Brush is my favorite brush to use! I bought this after my sister recommended it to me over the summer, we both have naturally curly hair and it tangles so easily! I used to always use a comb after the shower and now I just run this brush through and it’s so fast.
Step 3: Section Your Hair.

If you have been following me for a while, you probably know I LOVE scrunchies! This is what I use to put my hair up because it’s gentle on my hair. I usually split my hair three times when I curl my hair – two in the back of my hair and one on the side of my head with more hair (the opposite side of my part). I’ll show more pics of this when I put in my extensions!
Step 4: How I Curl My Hair.
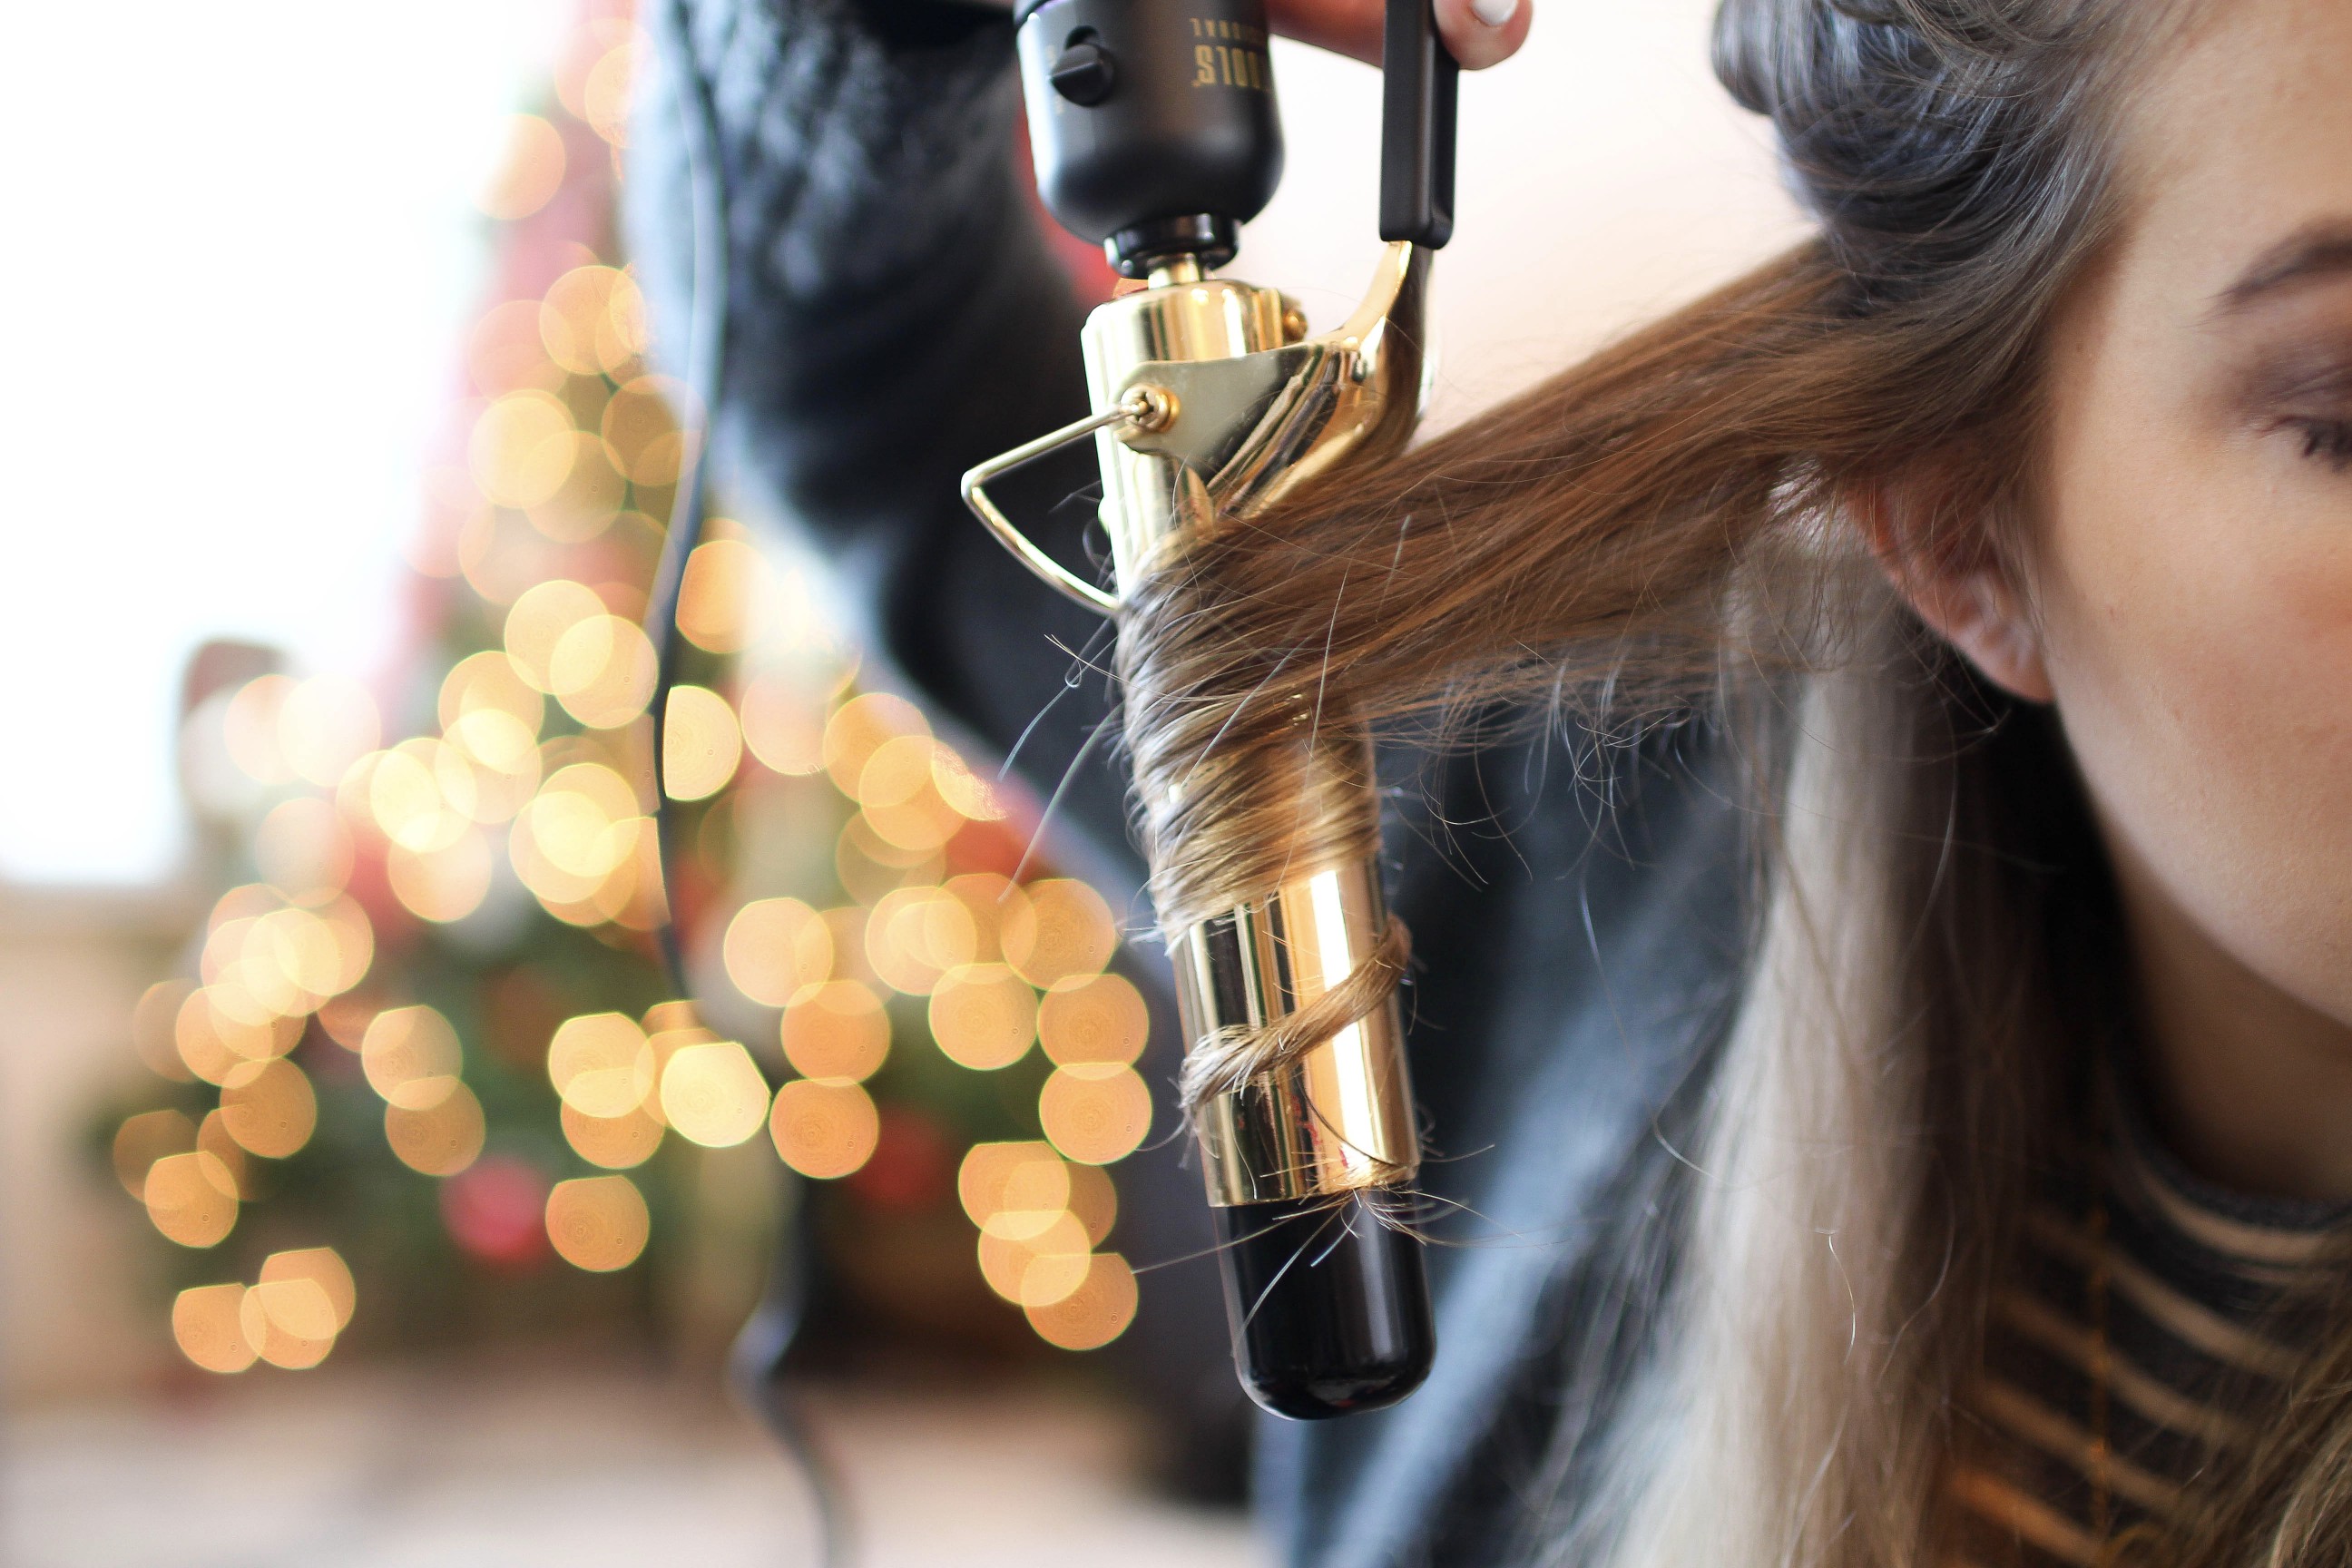
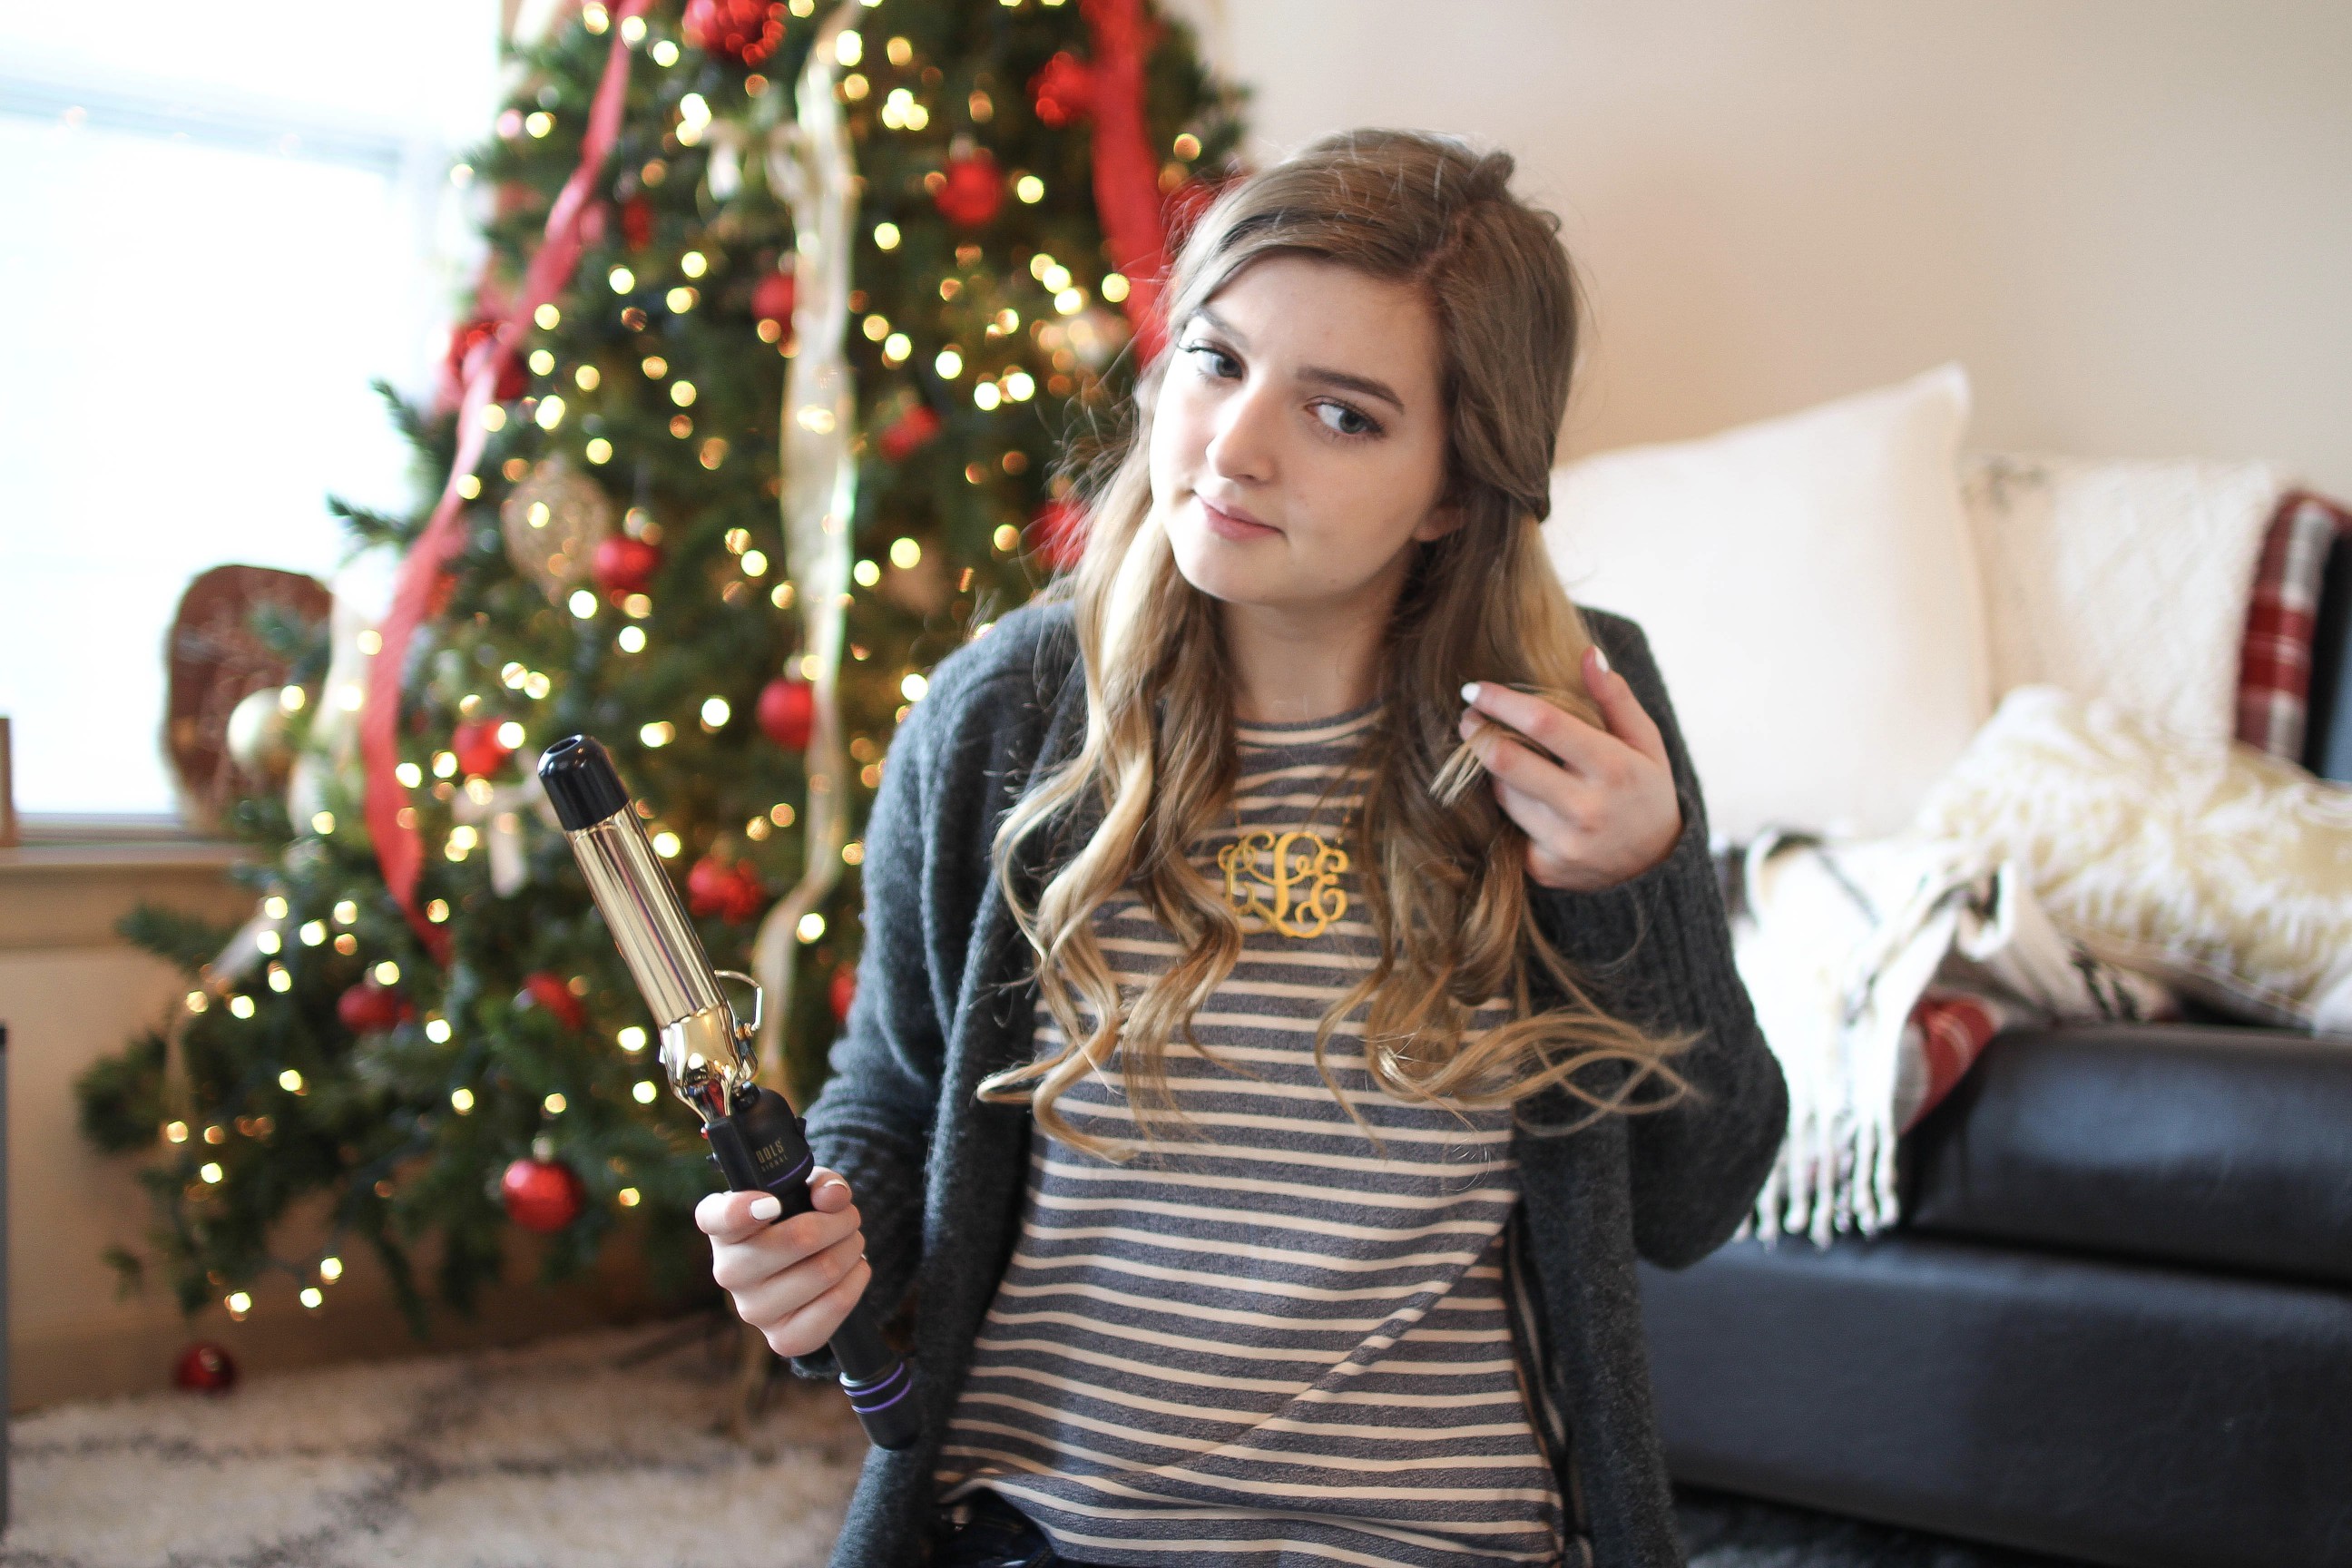
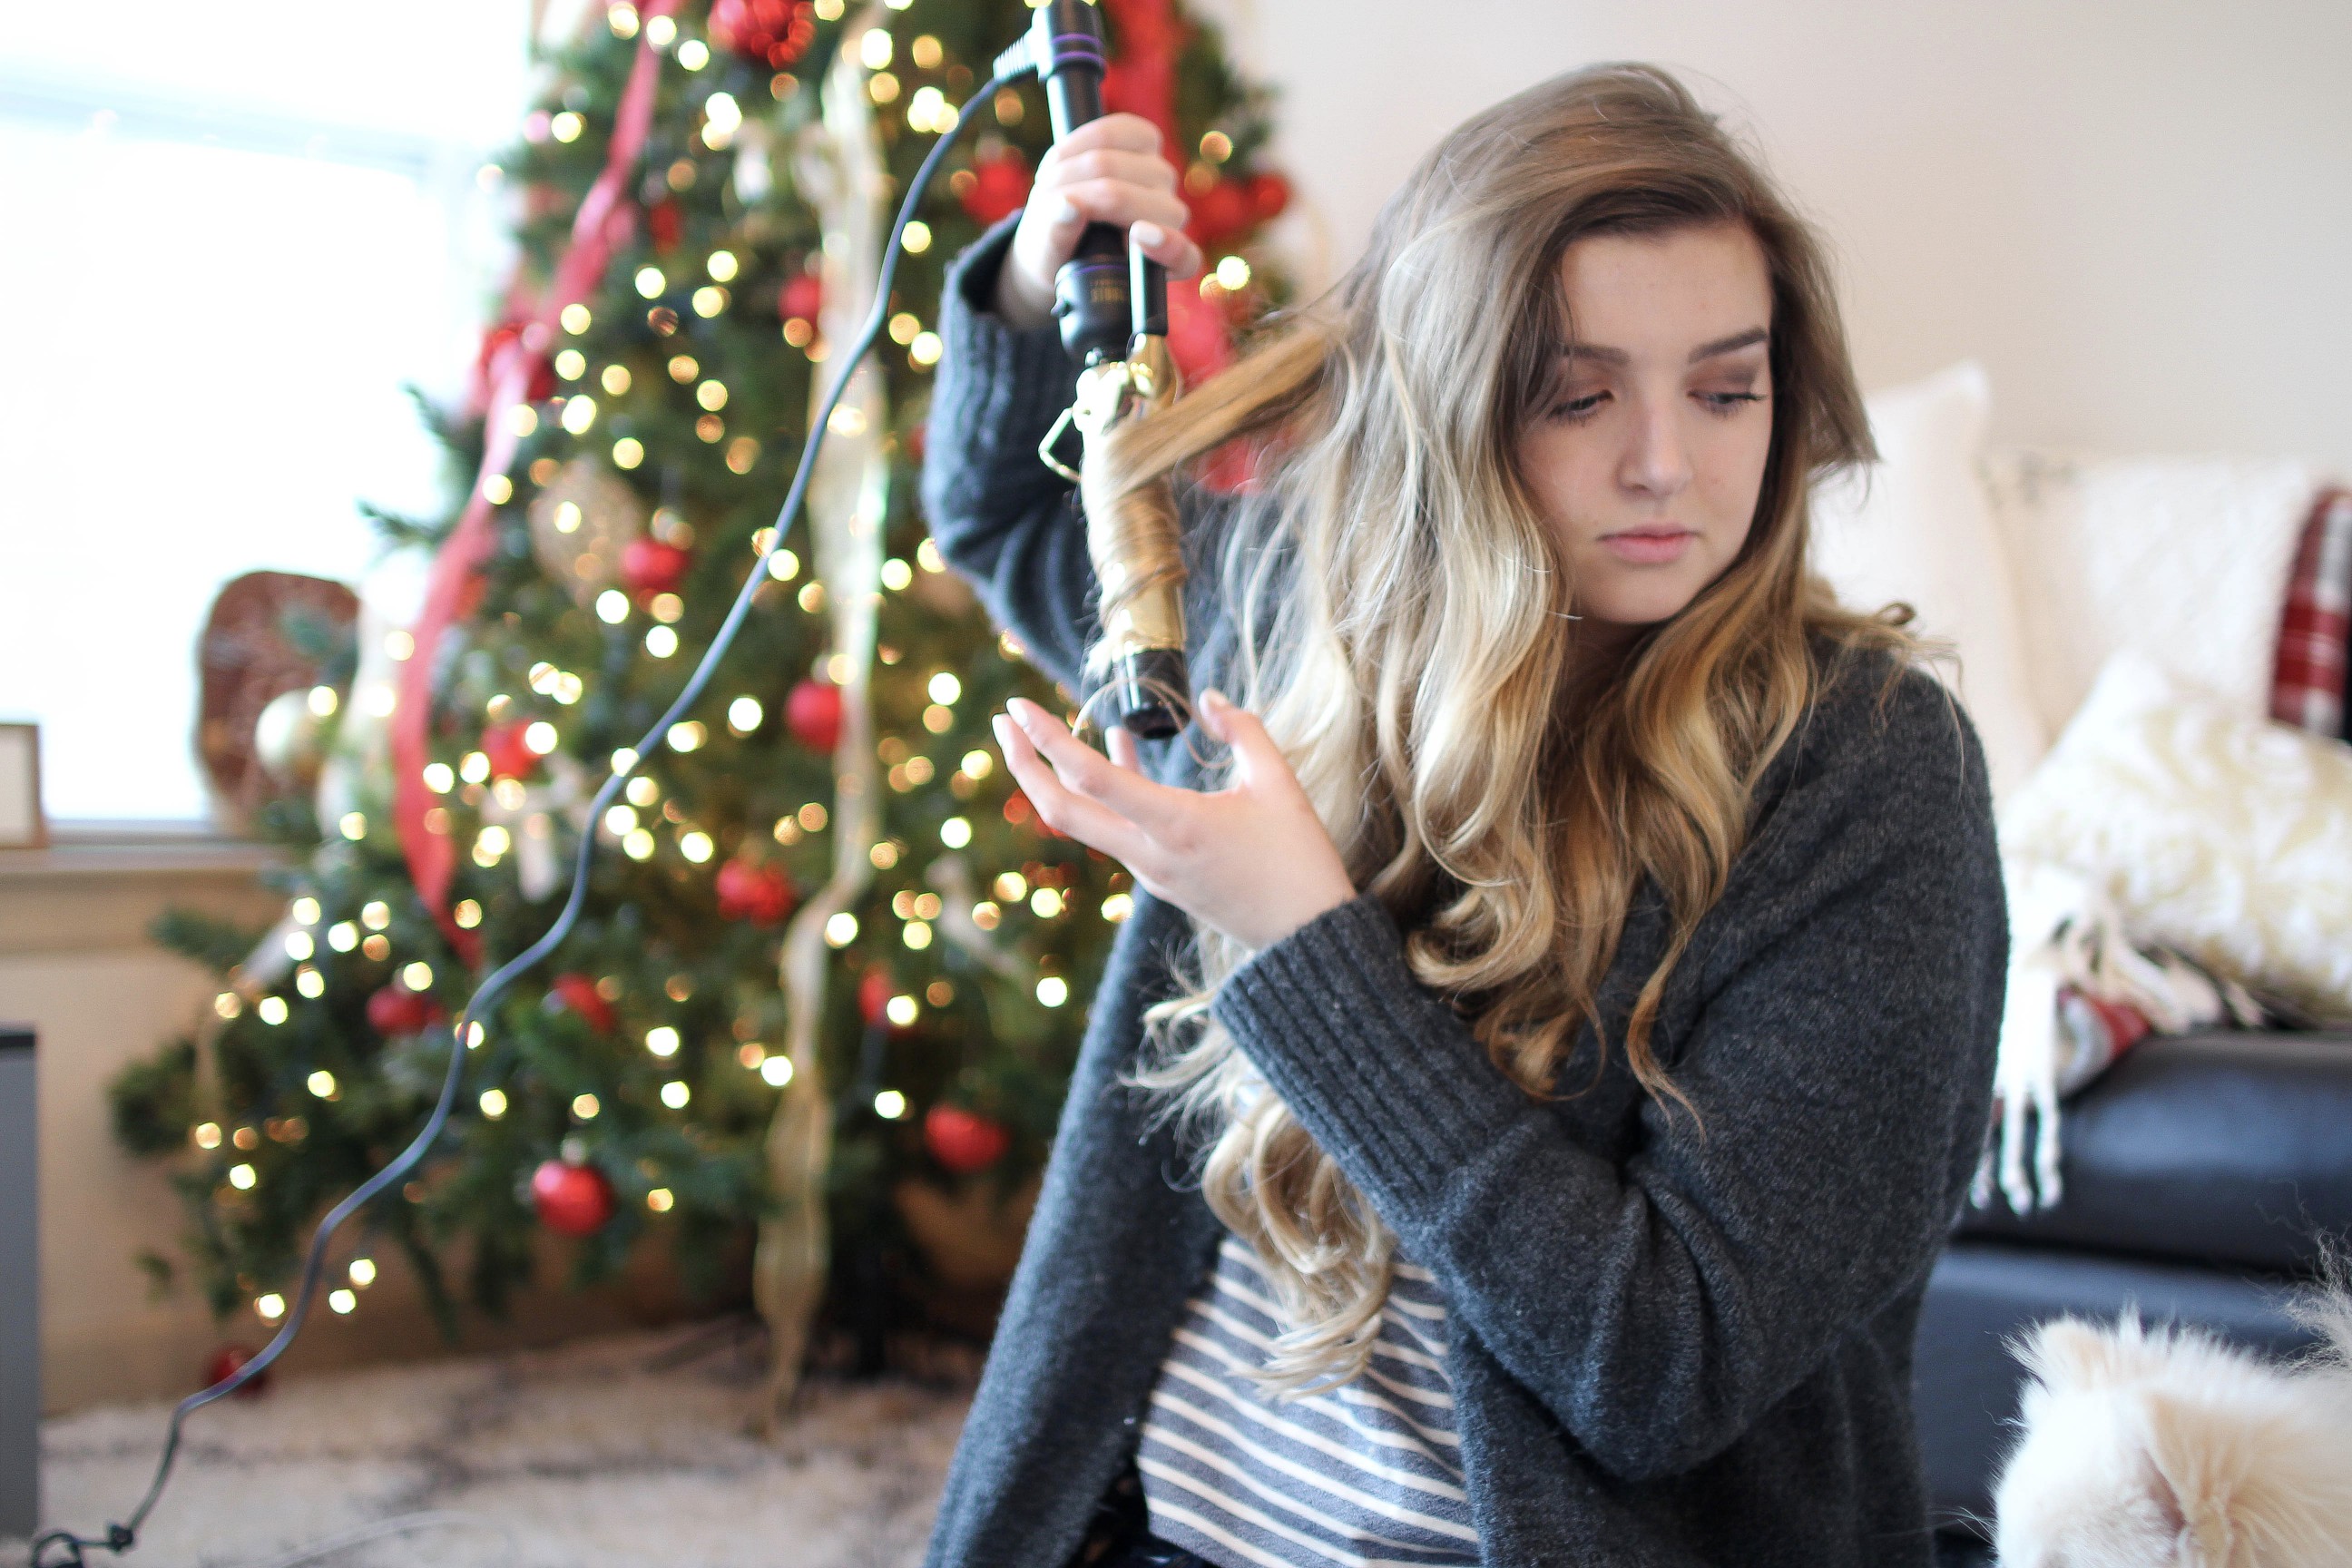
My curling iron is a 1.5″ barrel by Hot Tools. I put it on 350º and usually hold for about 5 seconds. I don’t usually use the clamp unless I can clamp the very end of my hair to hold it (like the photo above).
I curl my hair in about 1 inch sections. You can see I don’t keep the hair “flat” on the curling iron all the way down the barrel. At the end it sort of gets twisted which gives it a different look. This is hard to explain so here is a pin on Pinterest that explains it better. I curl all the hair away from my face on each side of my head, about 3 curls per side. After I curl my hair I hold the piece for a second in my hand so that it cools and forms better.

Step 5: Repeat These Steps with Each Piece on Each Layer
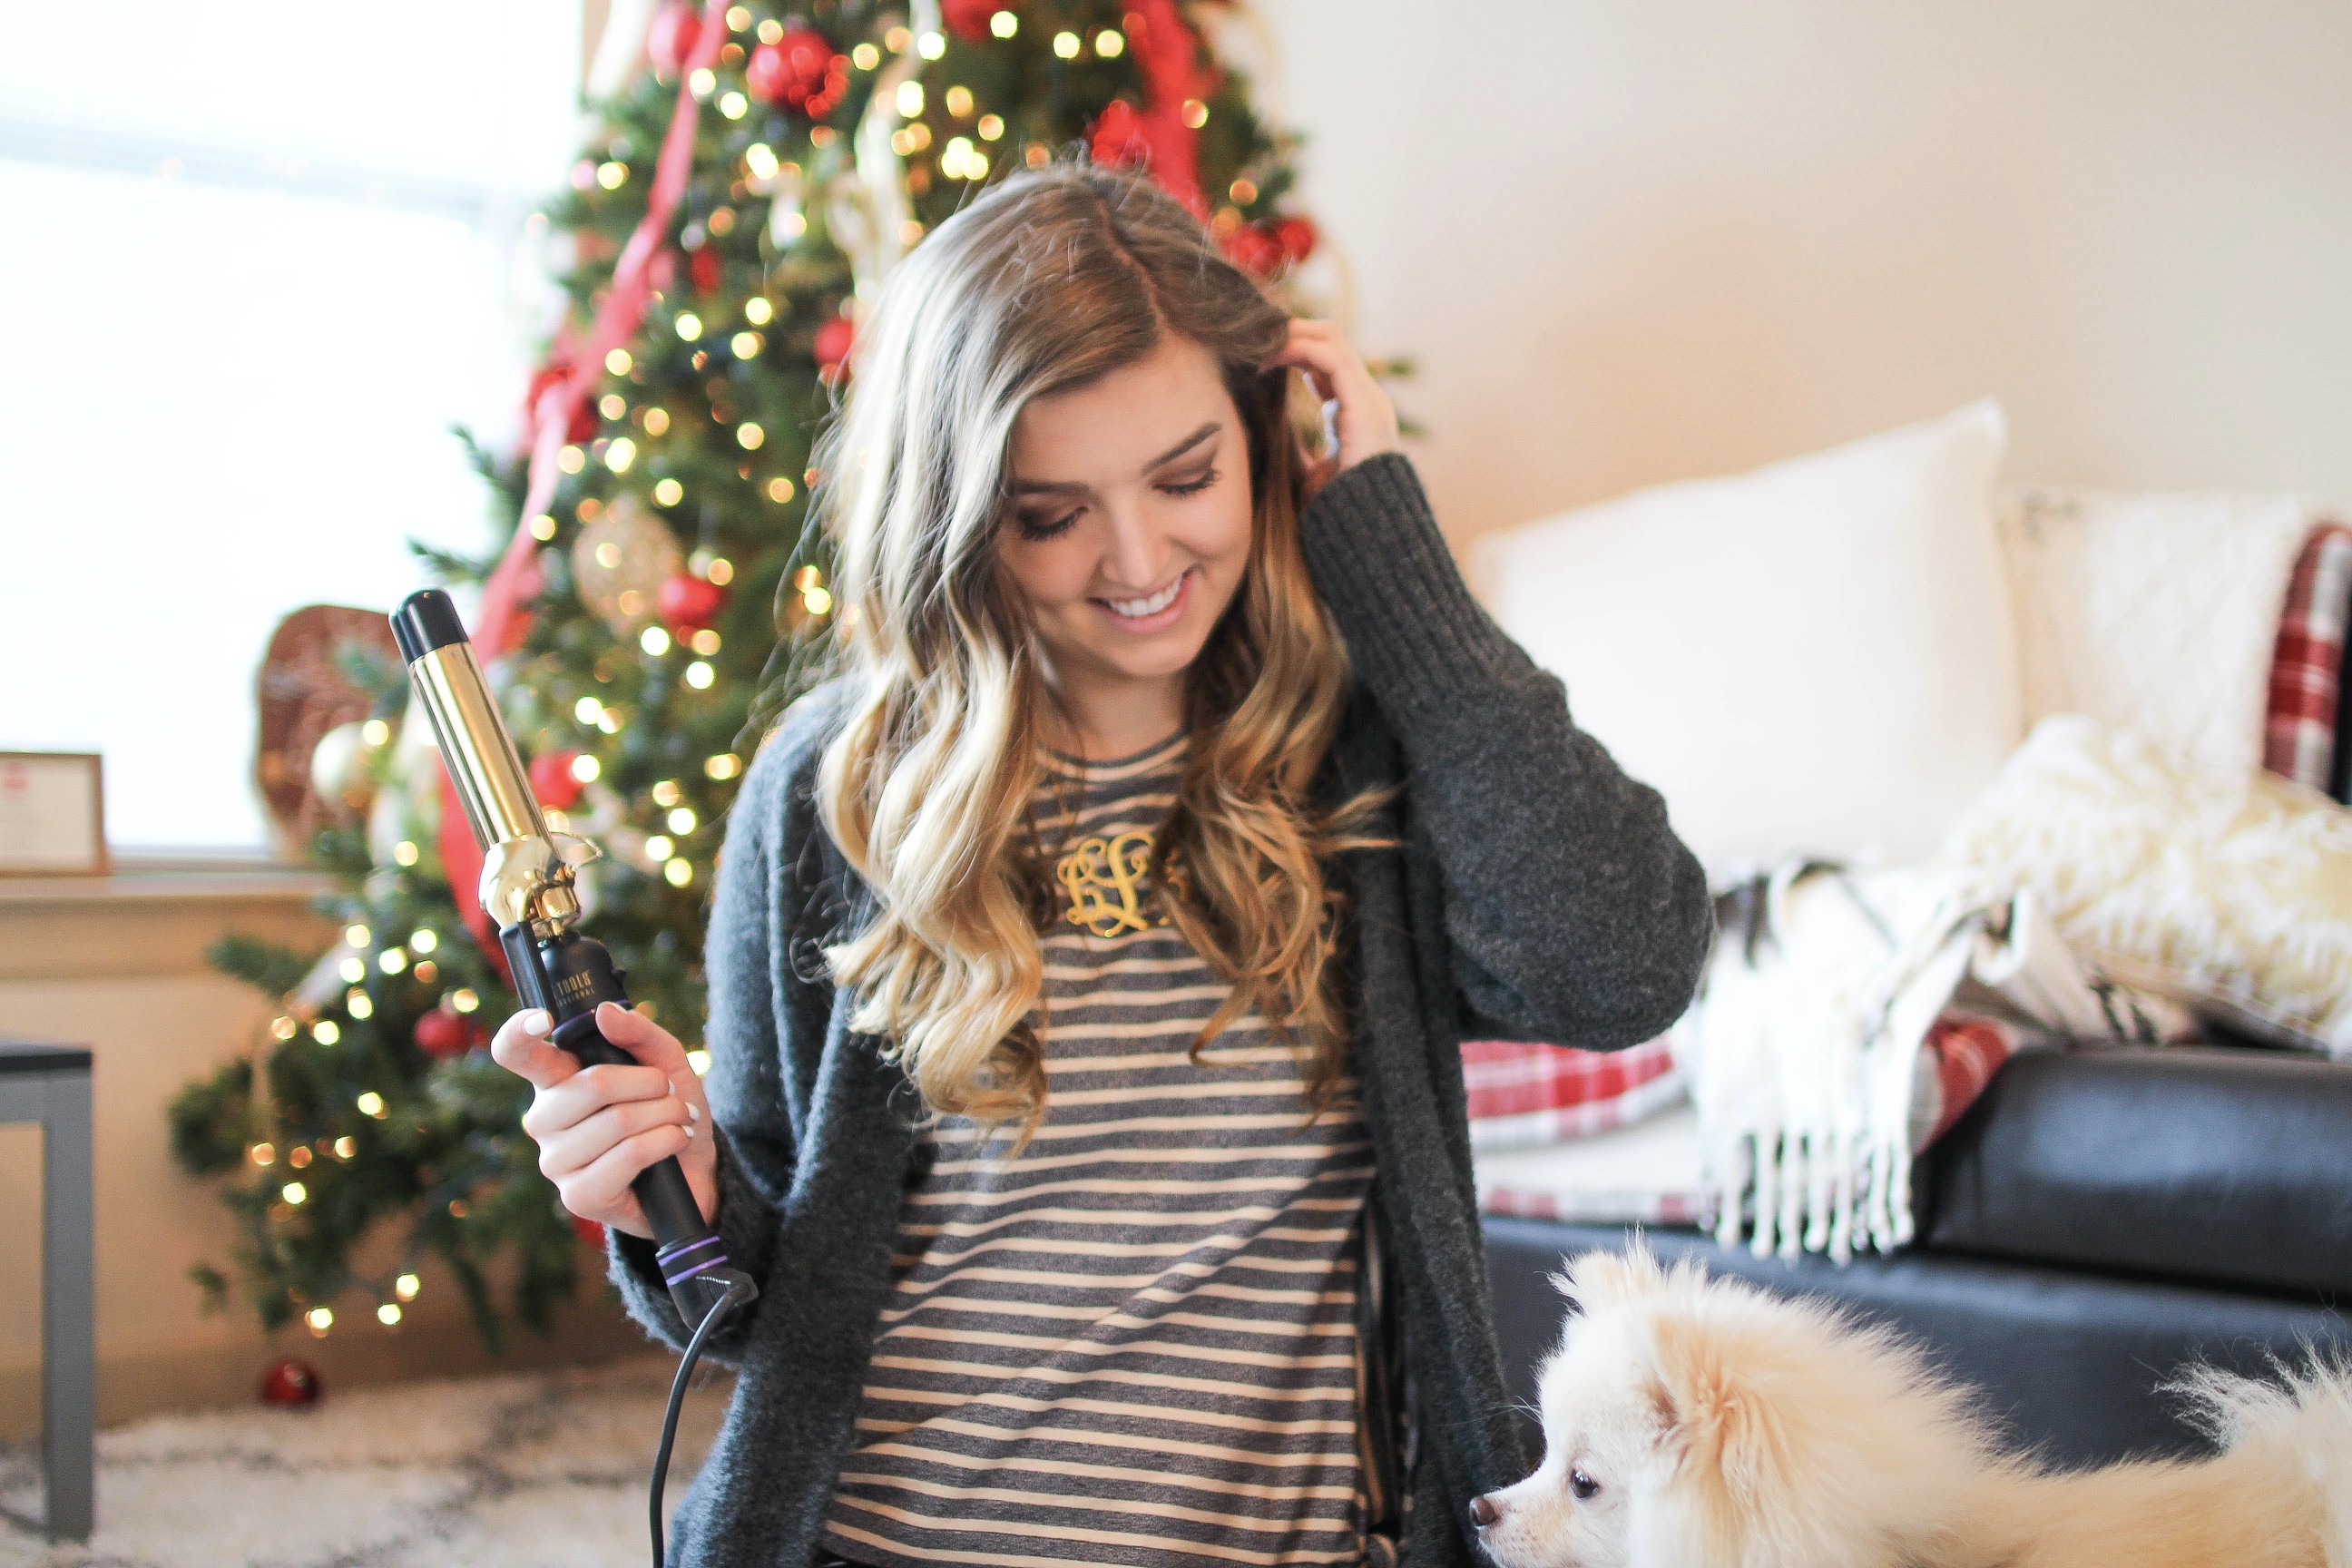
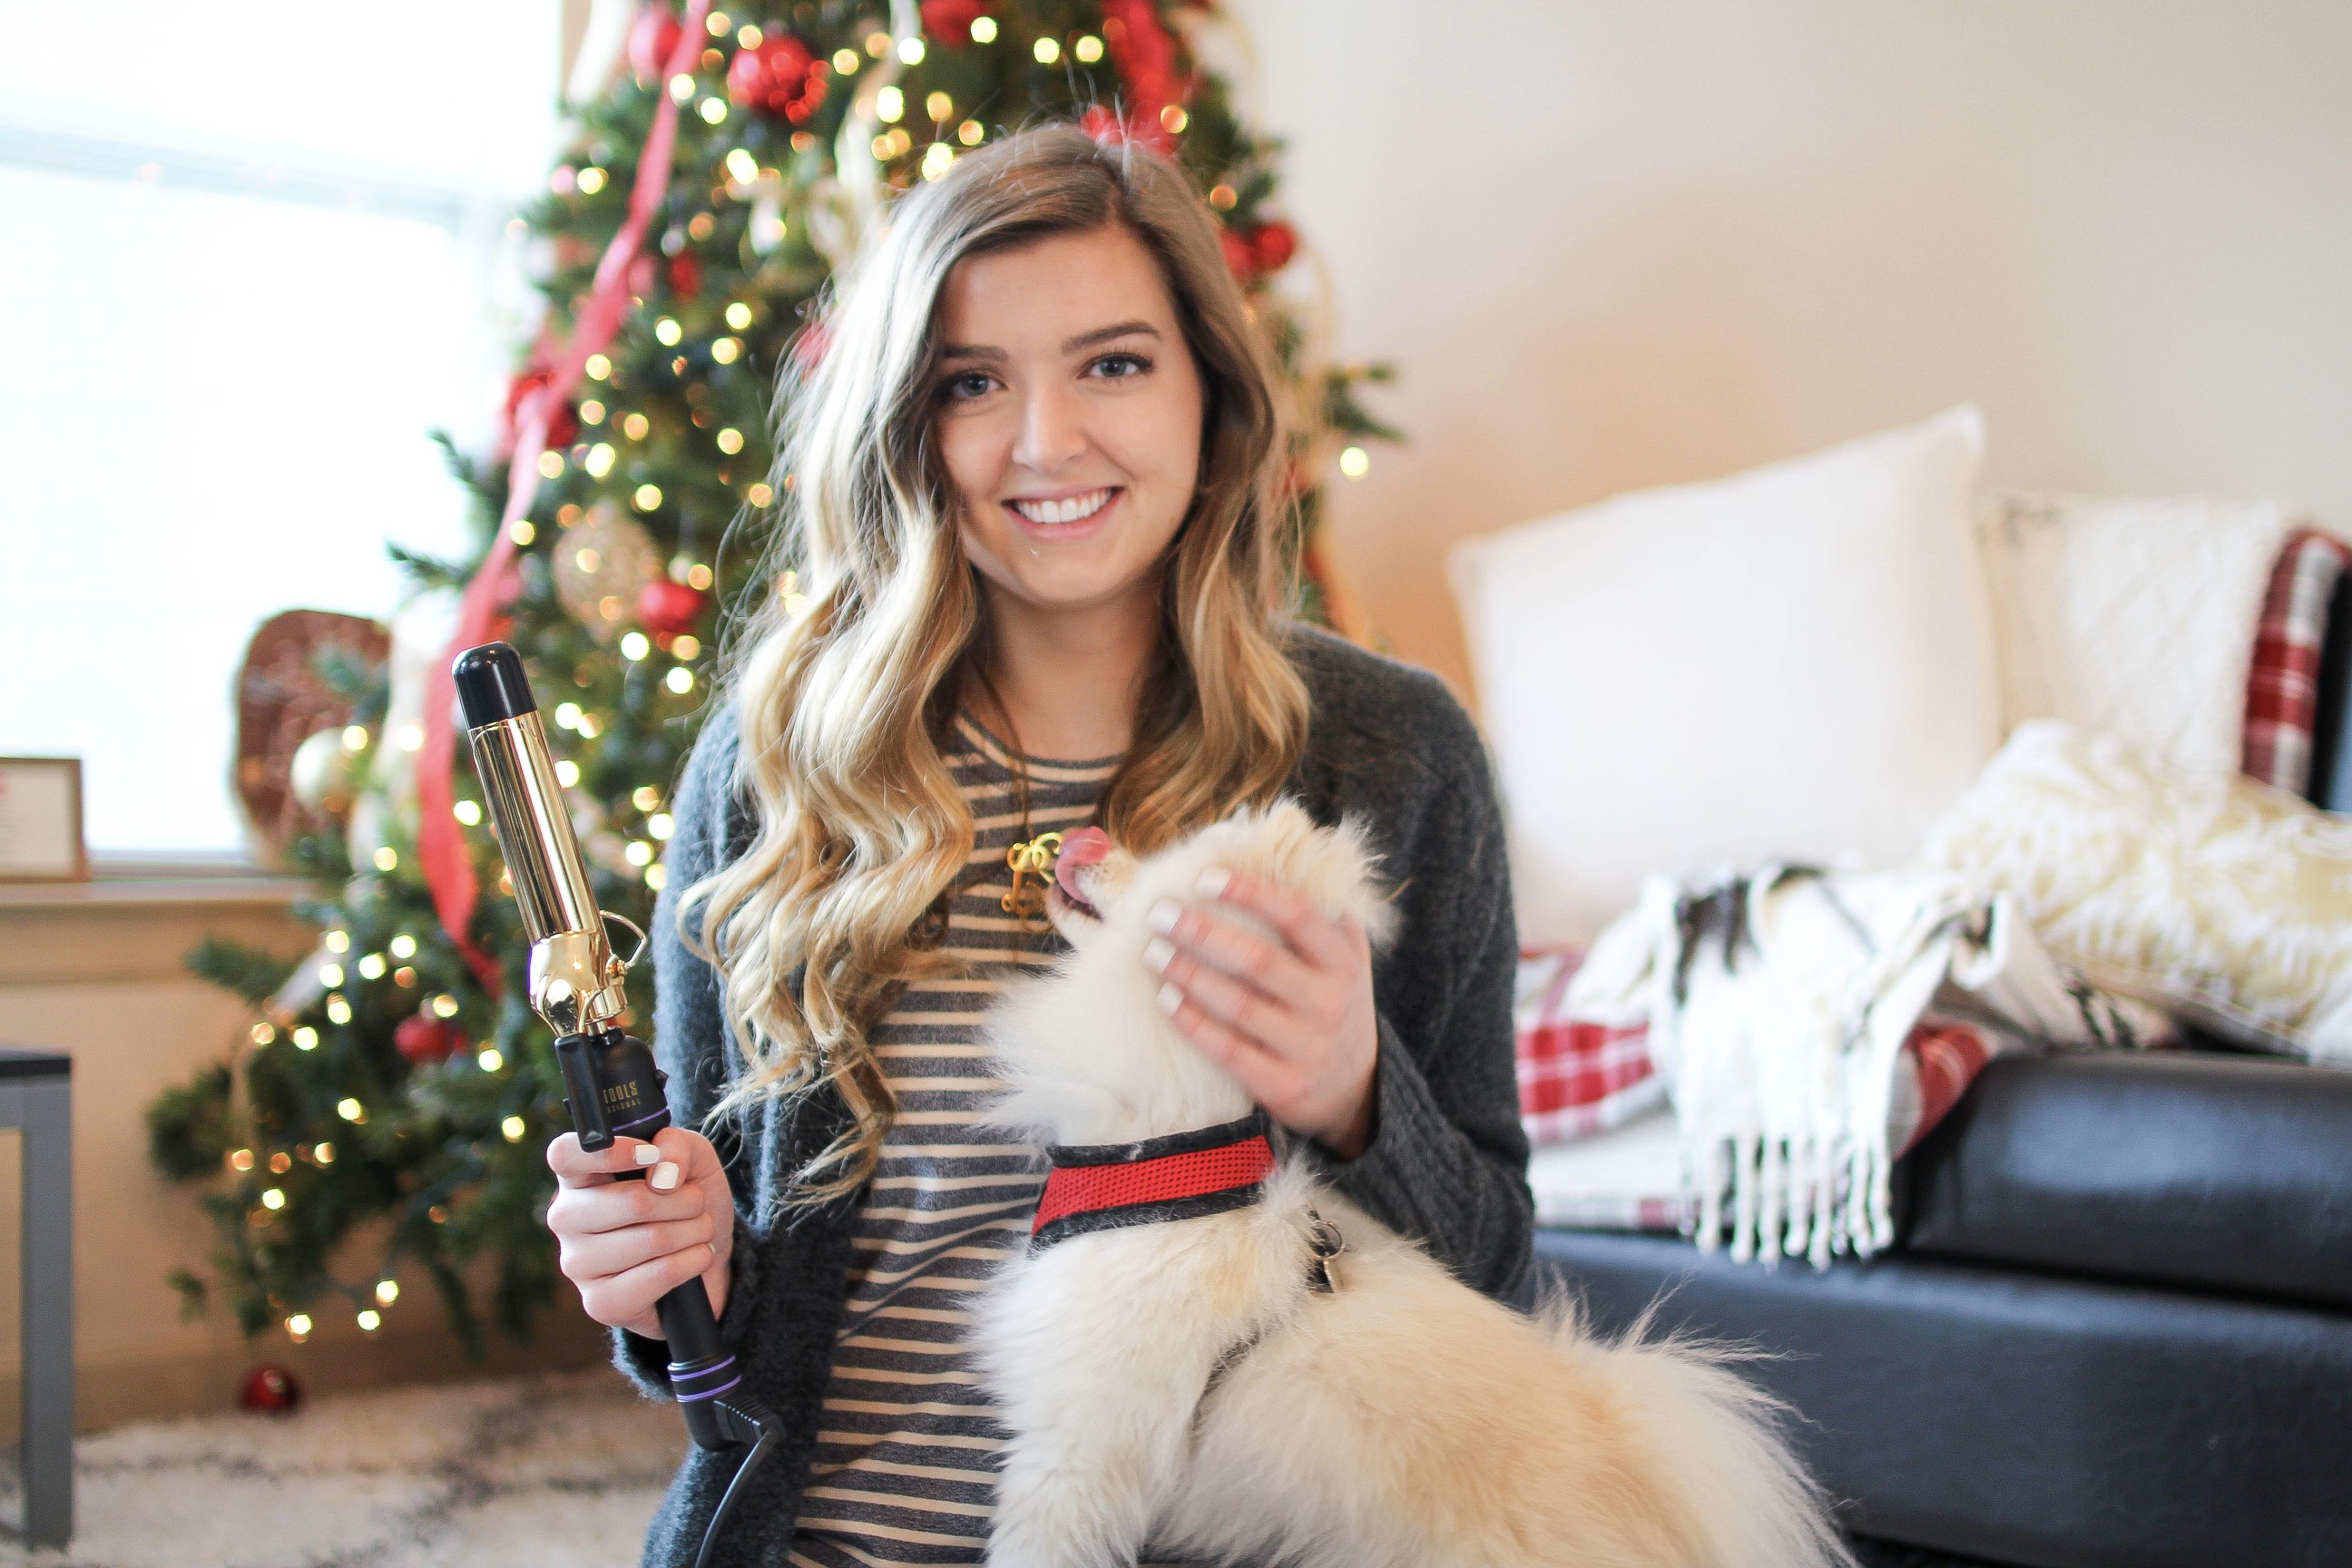
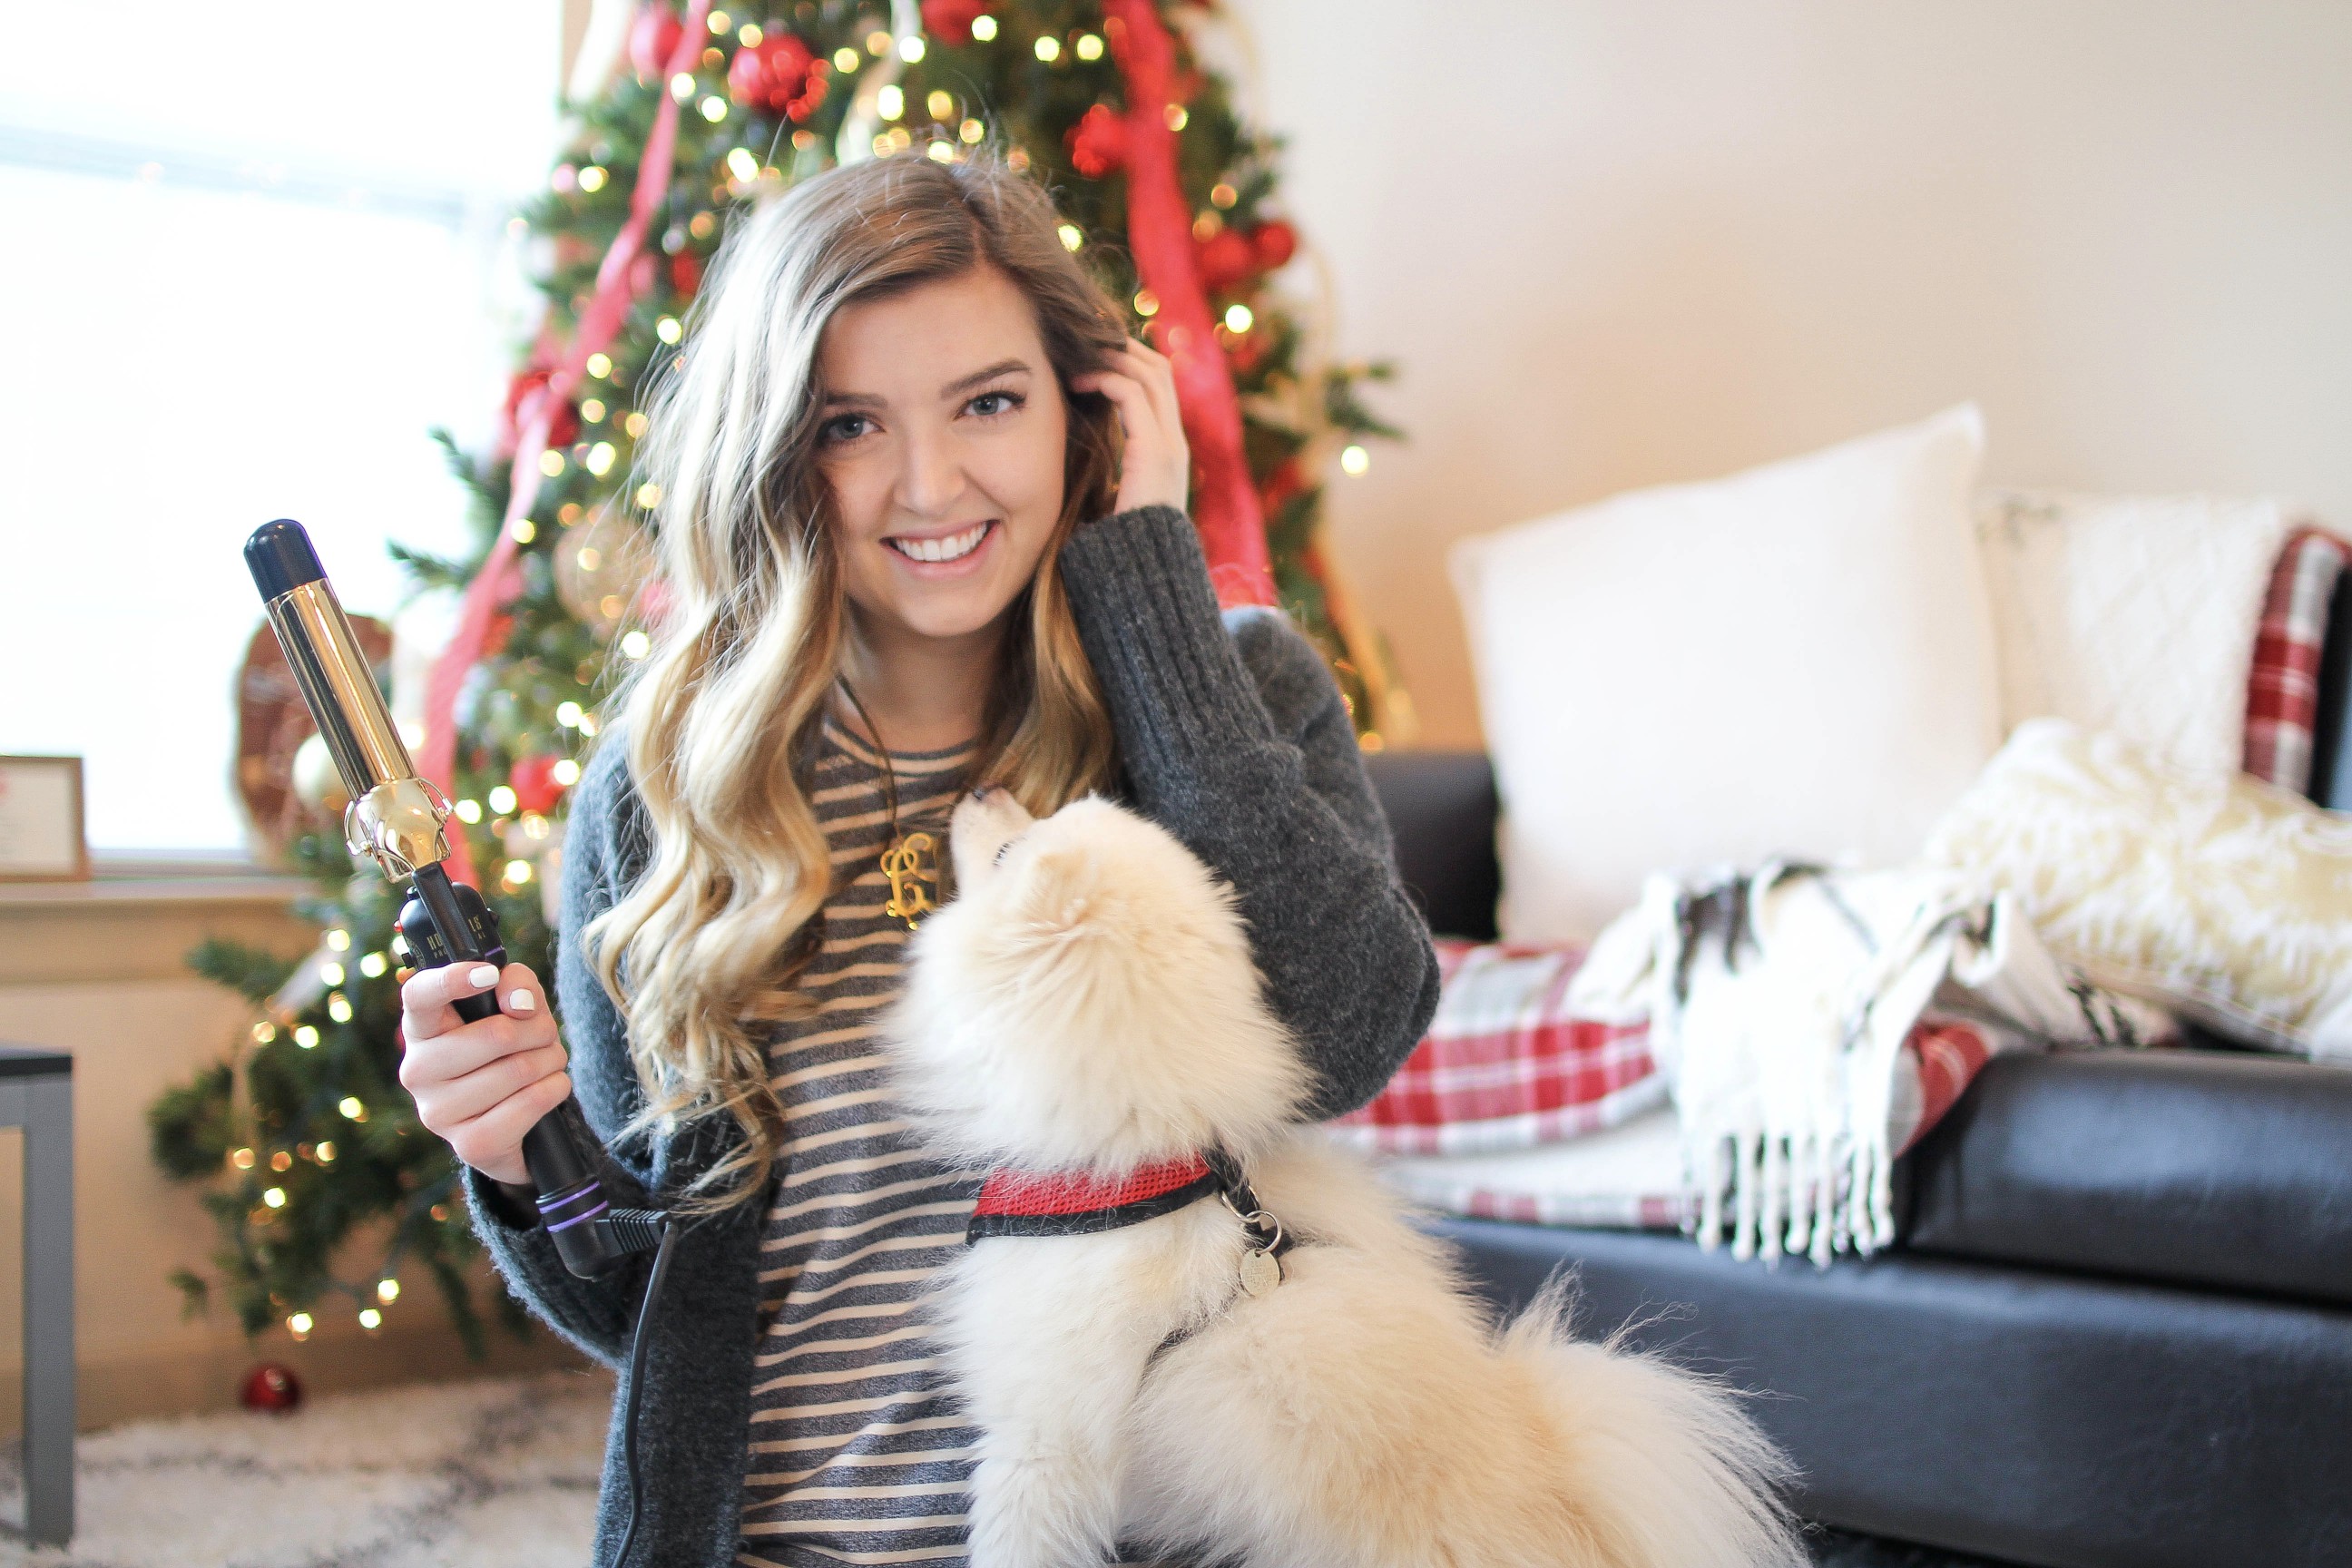
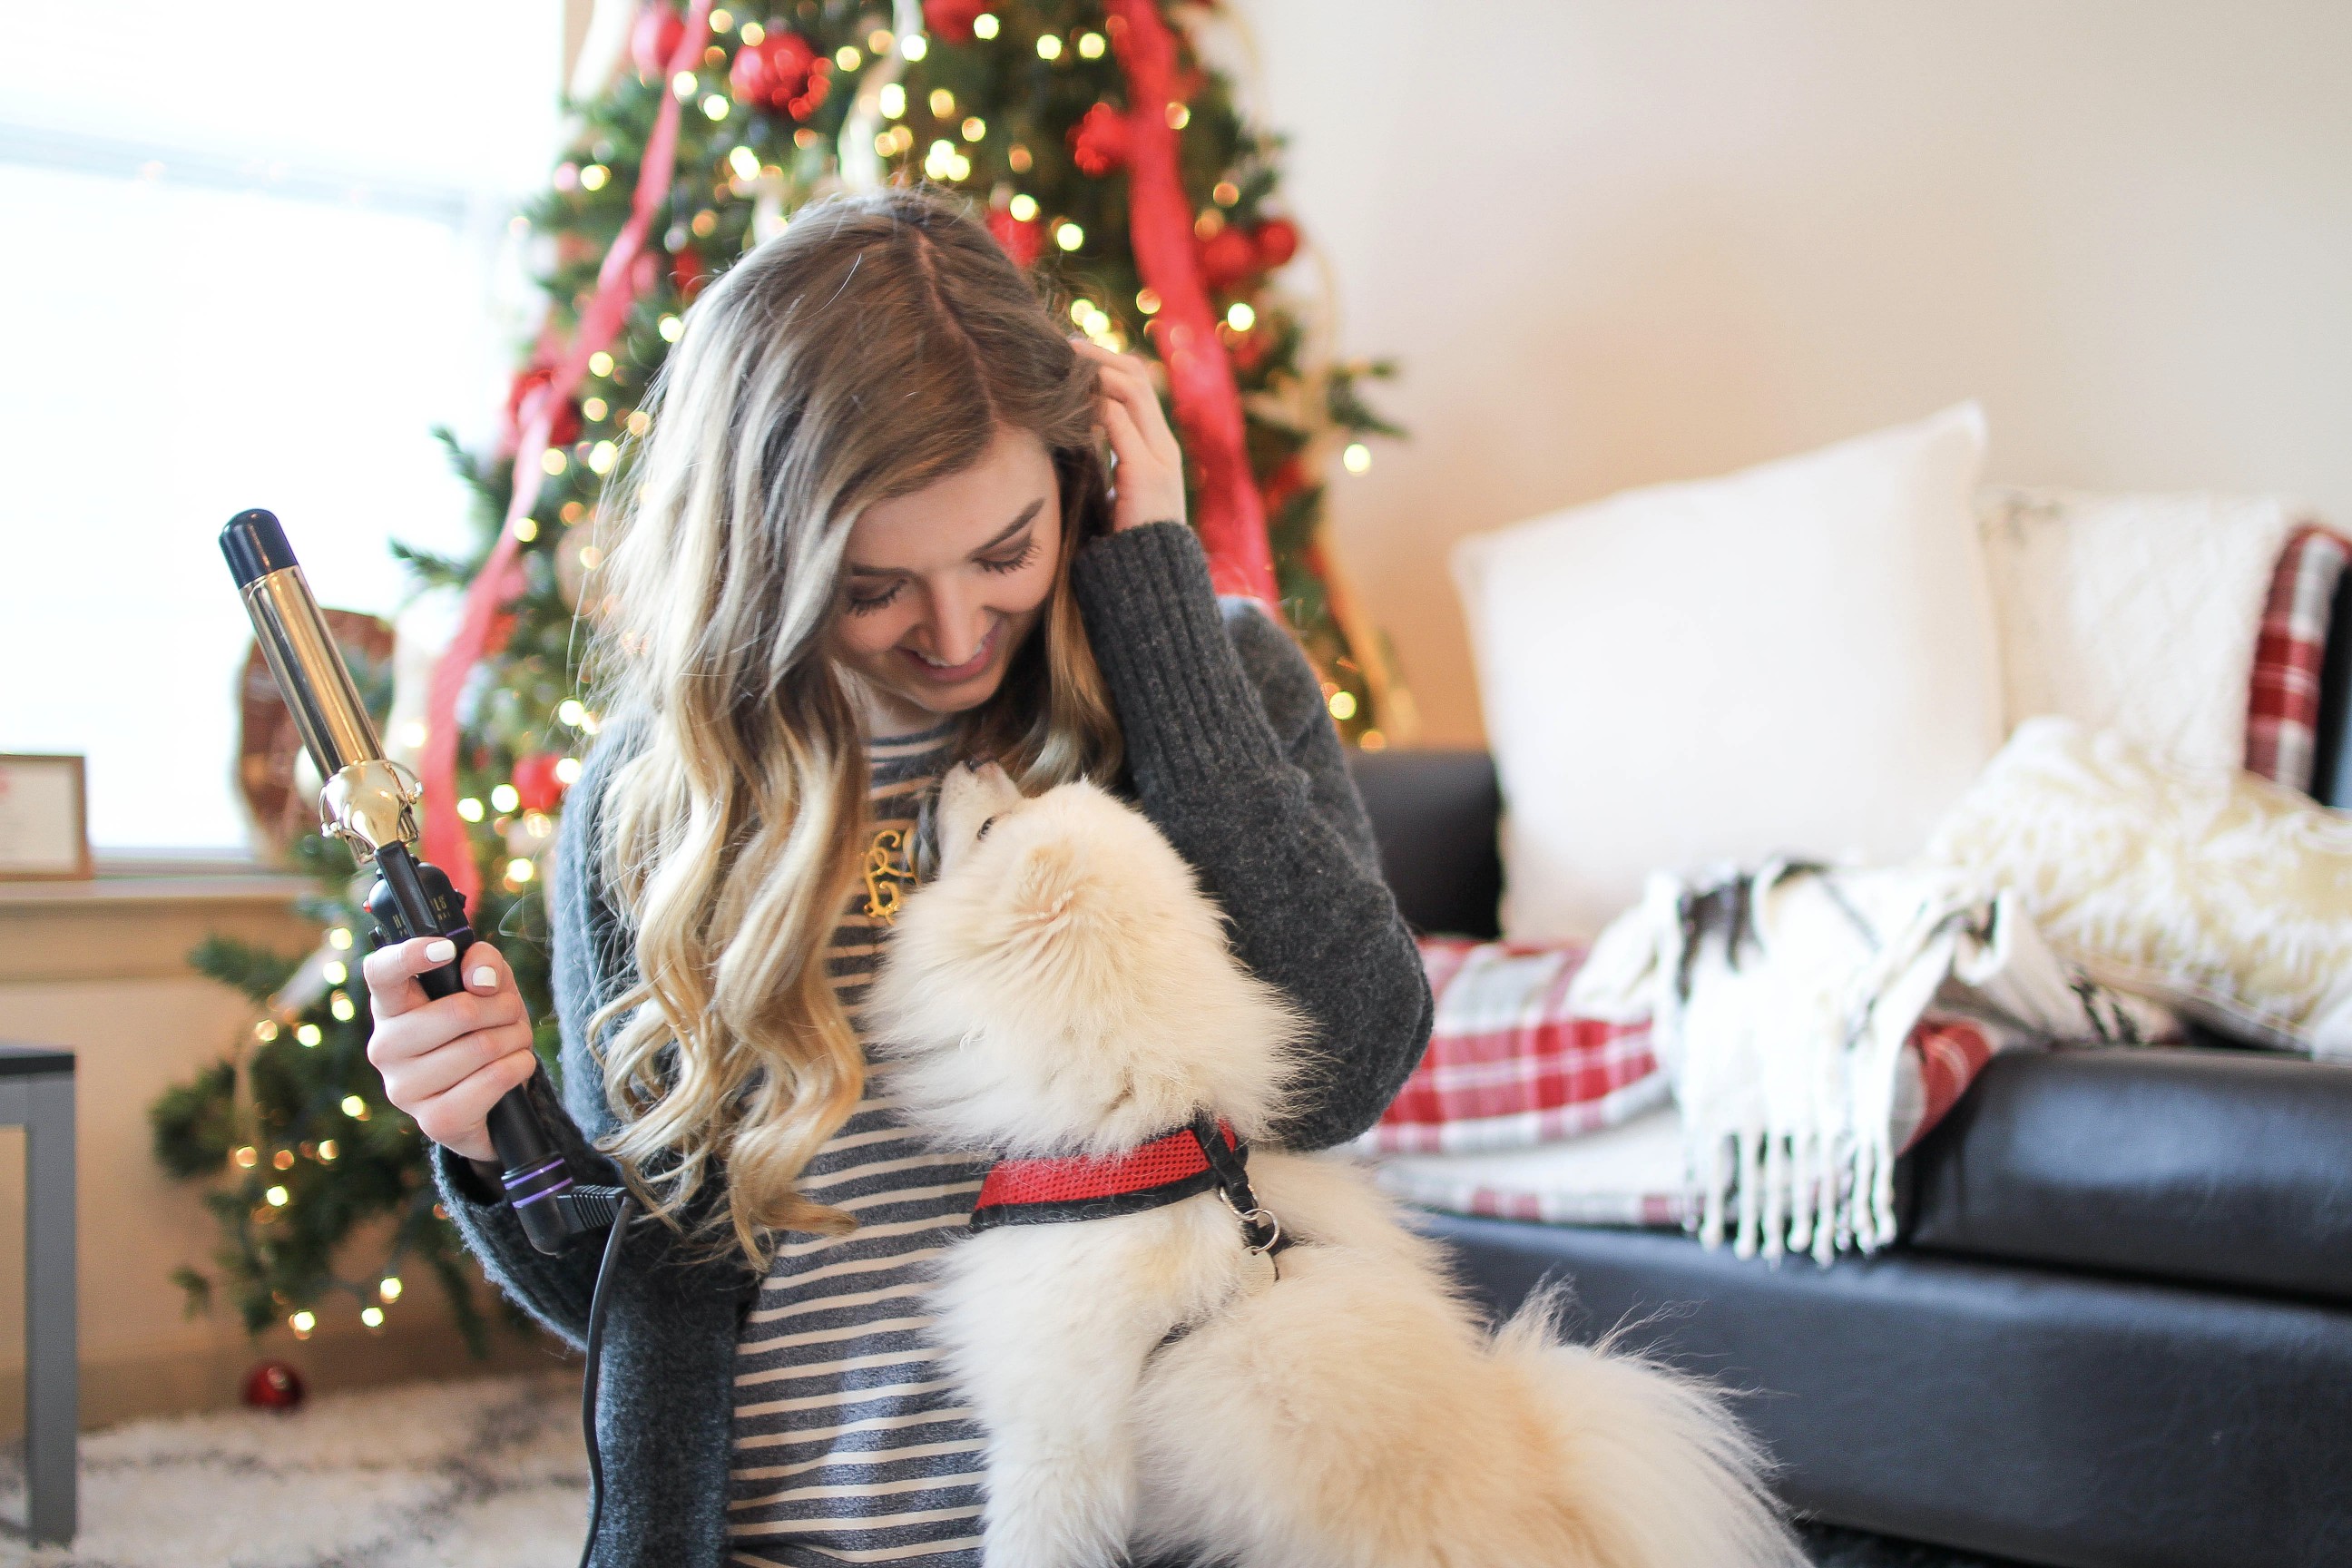
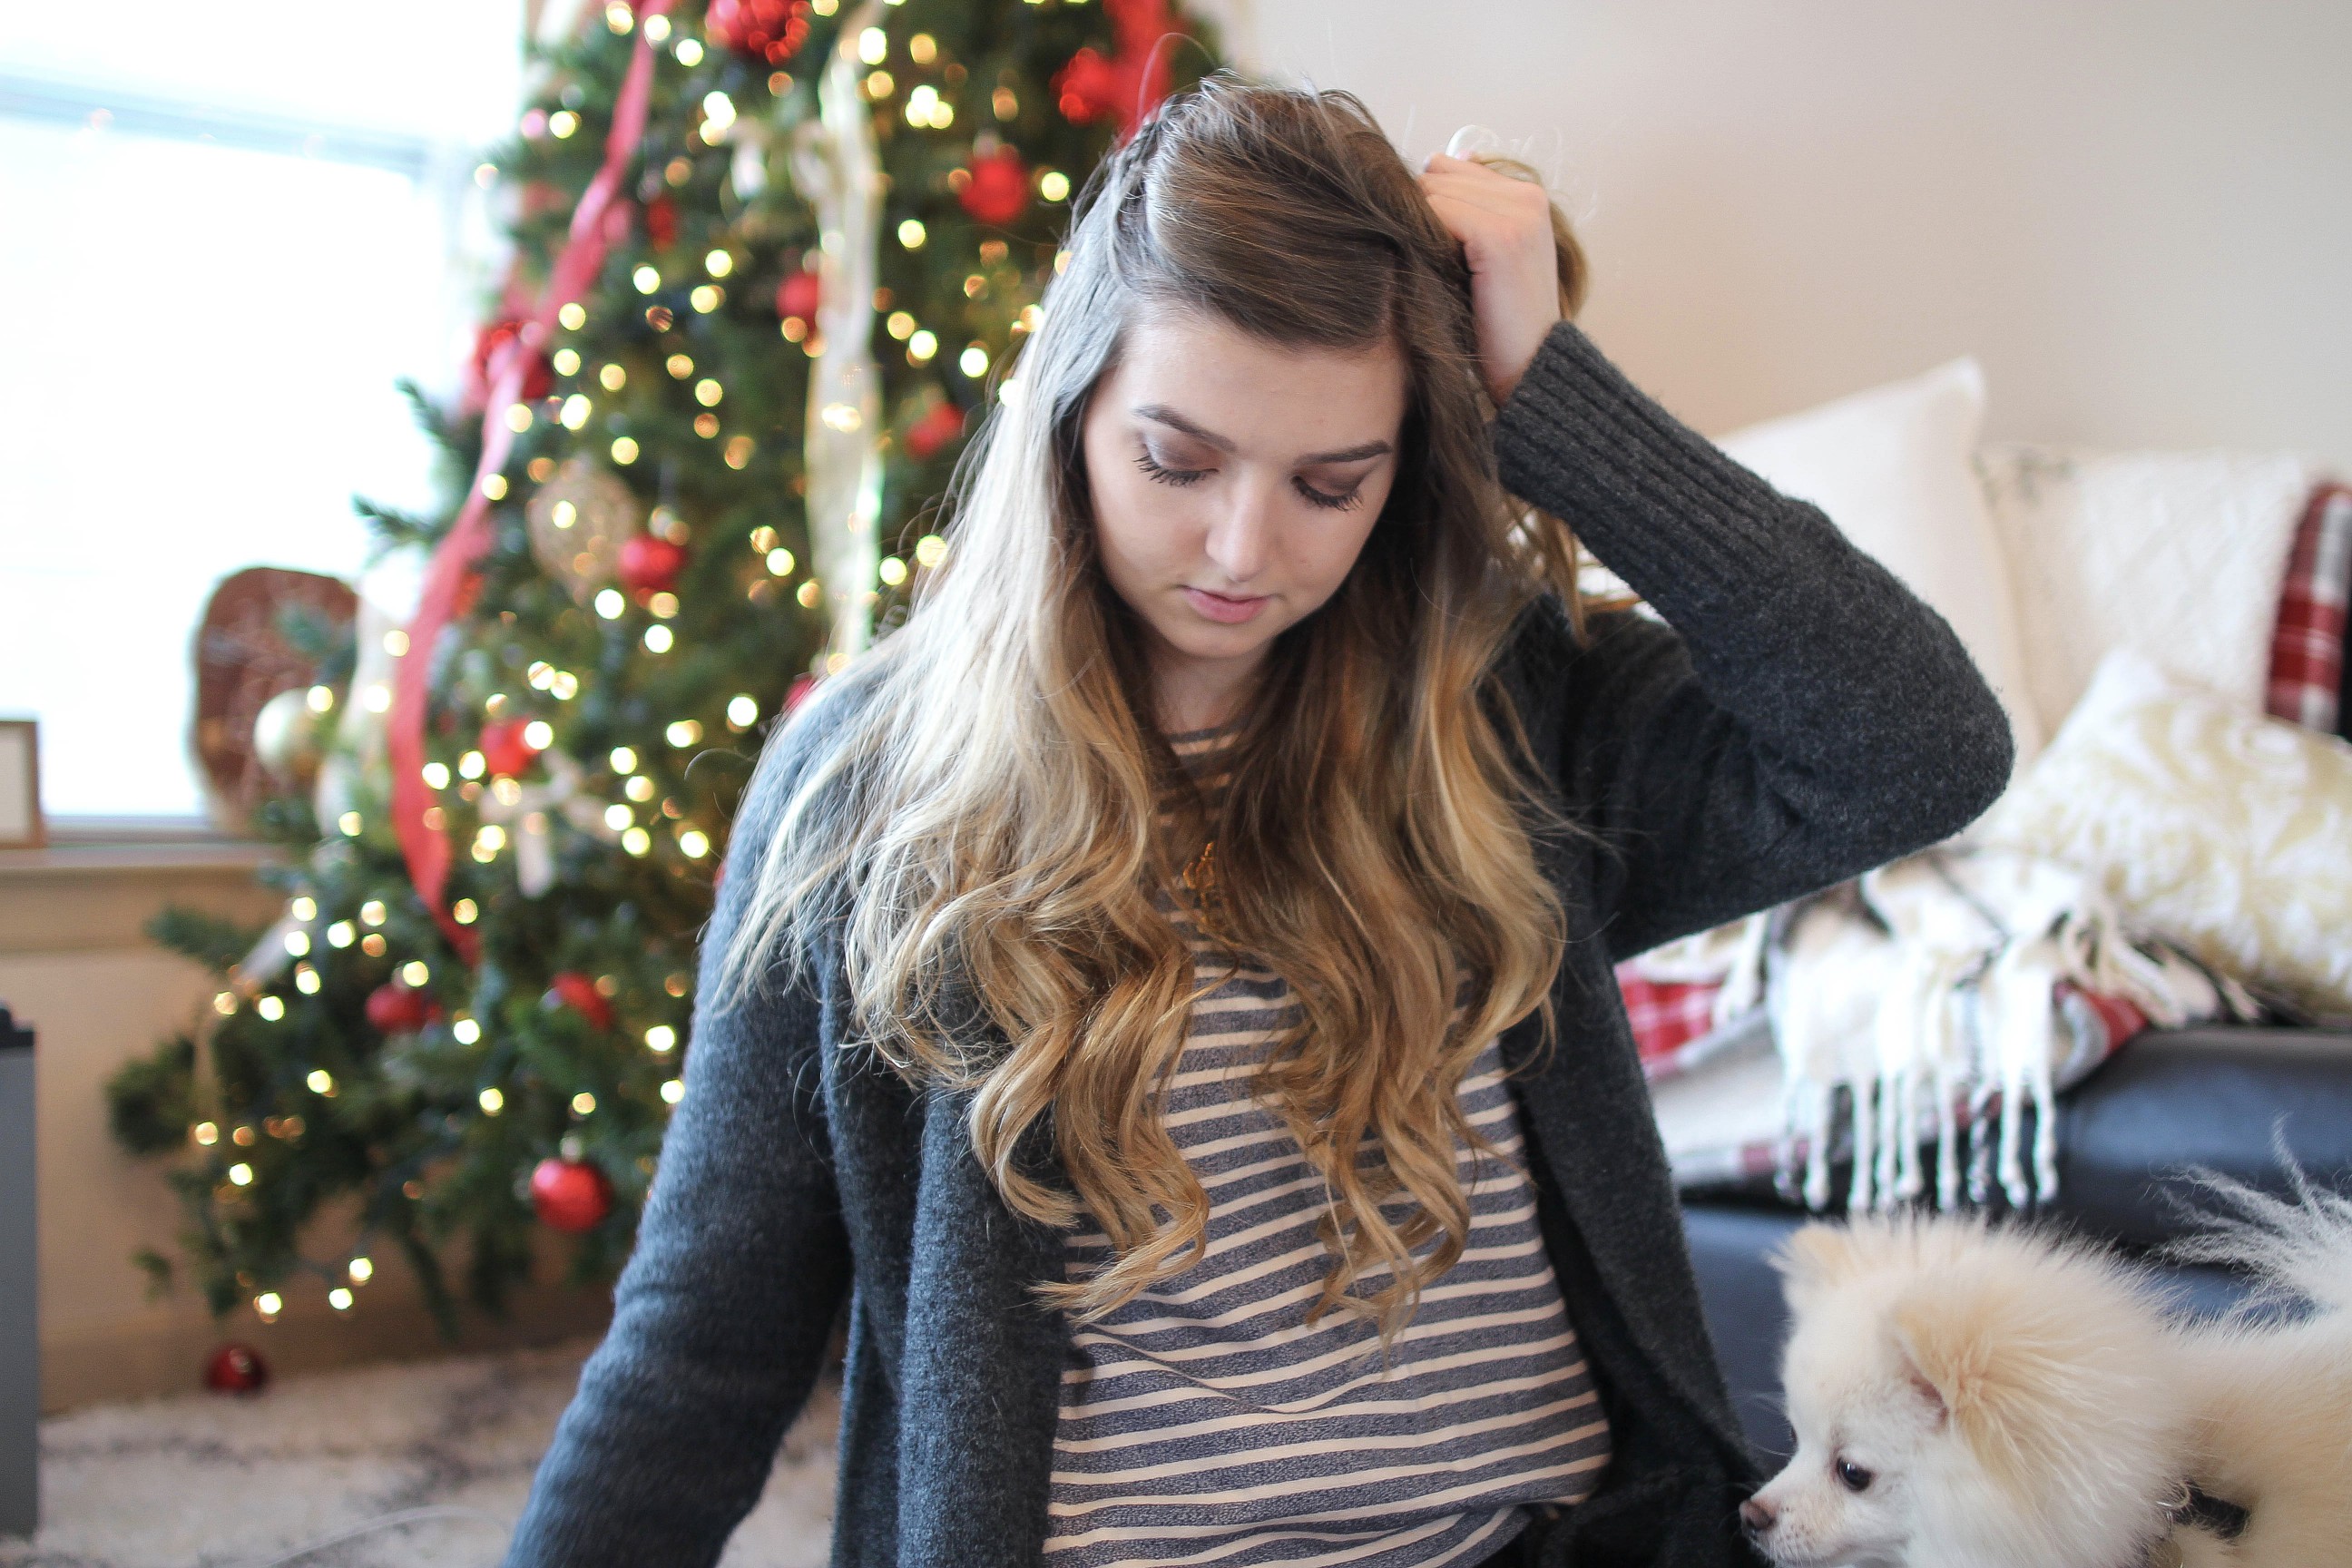
This is what my hair looks like curled with no extensions! I want to cut it a bit shorter, but I am afraid the extensions won’t blend as well as they do now. I’ll keep you updated though 😉 Now time to talk about the extensions. After I curl all my natural hair I start to add in the extensions…
Step 6: Part Your Hair Again
I part my hair into the same sections as I do when I curl my hair to add each layer of extensions in plus one extra in the back. I have found that curling all my natural hair first then going back in and adding extensions makes it easier and you don’t miss as many pieces!
Step 7: Add in First Extension’s Layer and Curl.
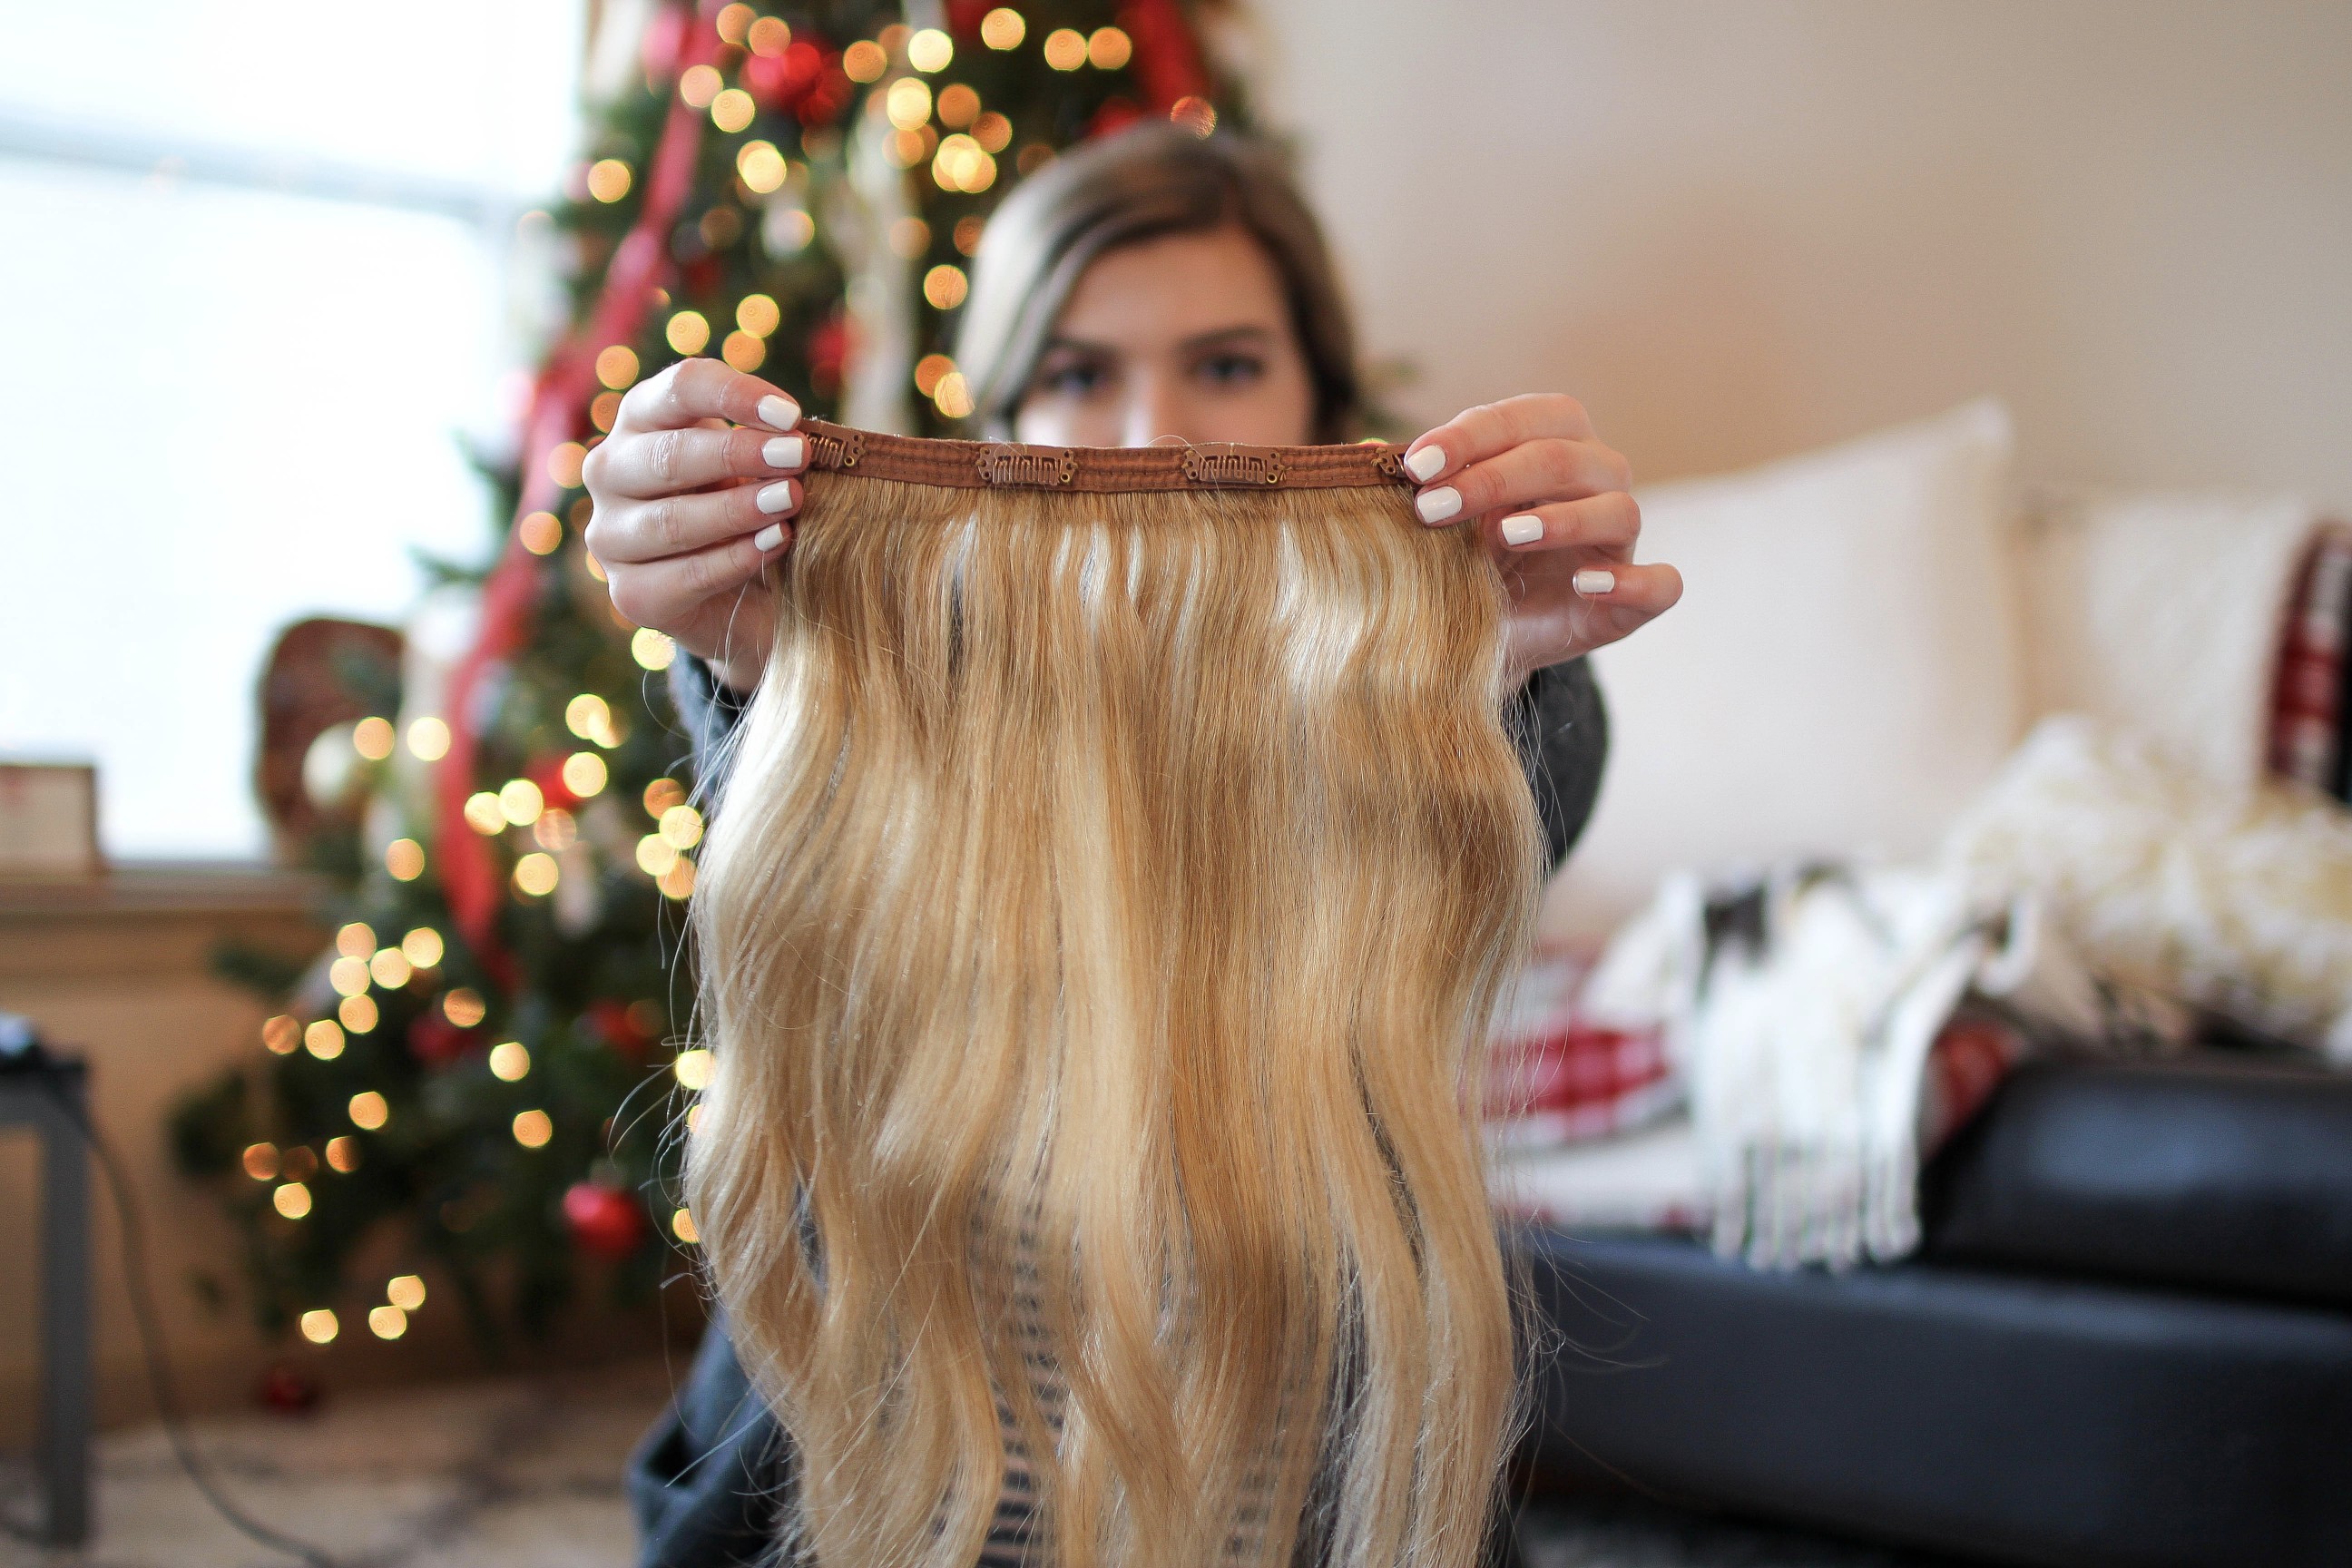
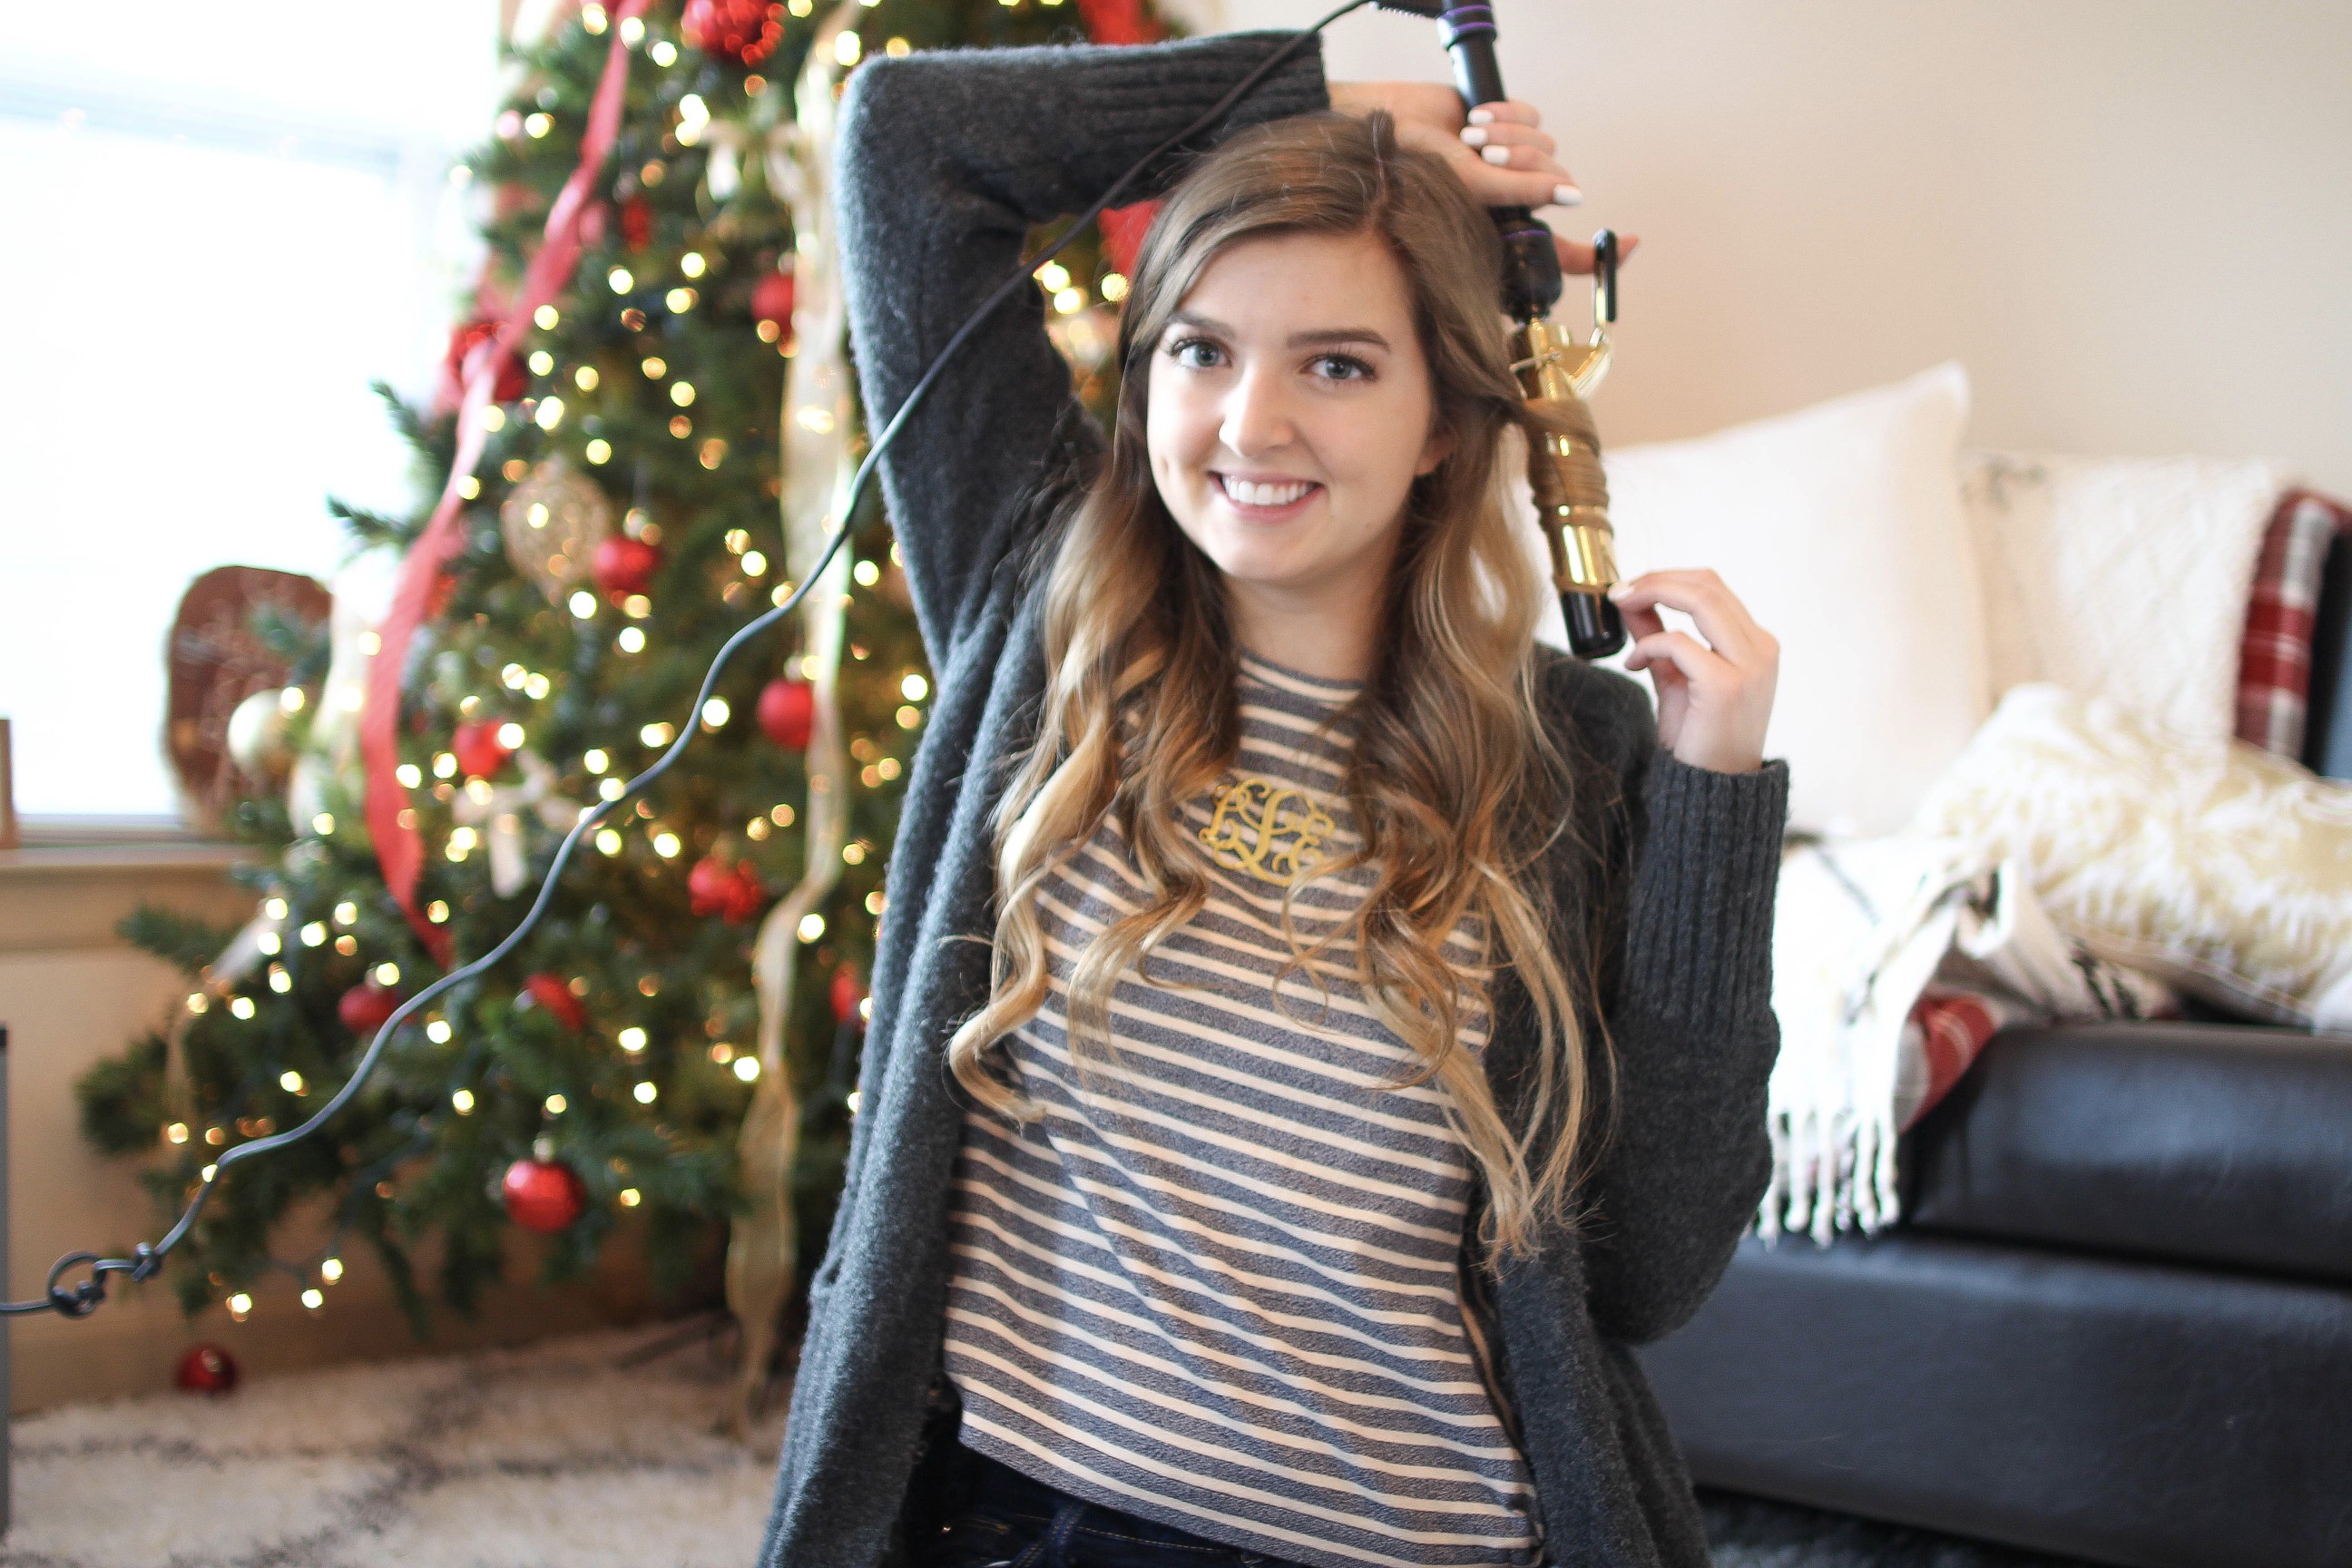
I start with the four clip weft towards the bottom of my hairline near my neck. I curl the same way as I did with my natural hair!
Step 8: Add in Next Layer and Curl.
Next I put another four weft clip in on the layer right above the last and curl.
Step 9: Add in Next Layer and Curl
The next layer is the three clip weft and it’s the last layer in the back of my head! Then curl!
Step 10: Part the Side of Your Head that your Part Isn’t on, Add in the Next Layer, and Curl.
I use the two clip weft on the side of my head that doesn’t have a part, I usually curl these a little tighter (hold them longer).
Step 11: Add in the next layer and curl.
The last weft has one clip. I put it on the opposite side of my head than the two clip weft. I usually only have one curl on this weft and use it to blend in the top layer of my hair!
Step 12: Shake Out Your Hair & You’re Done!
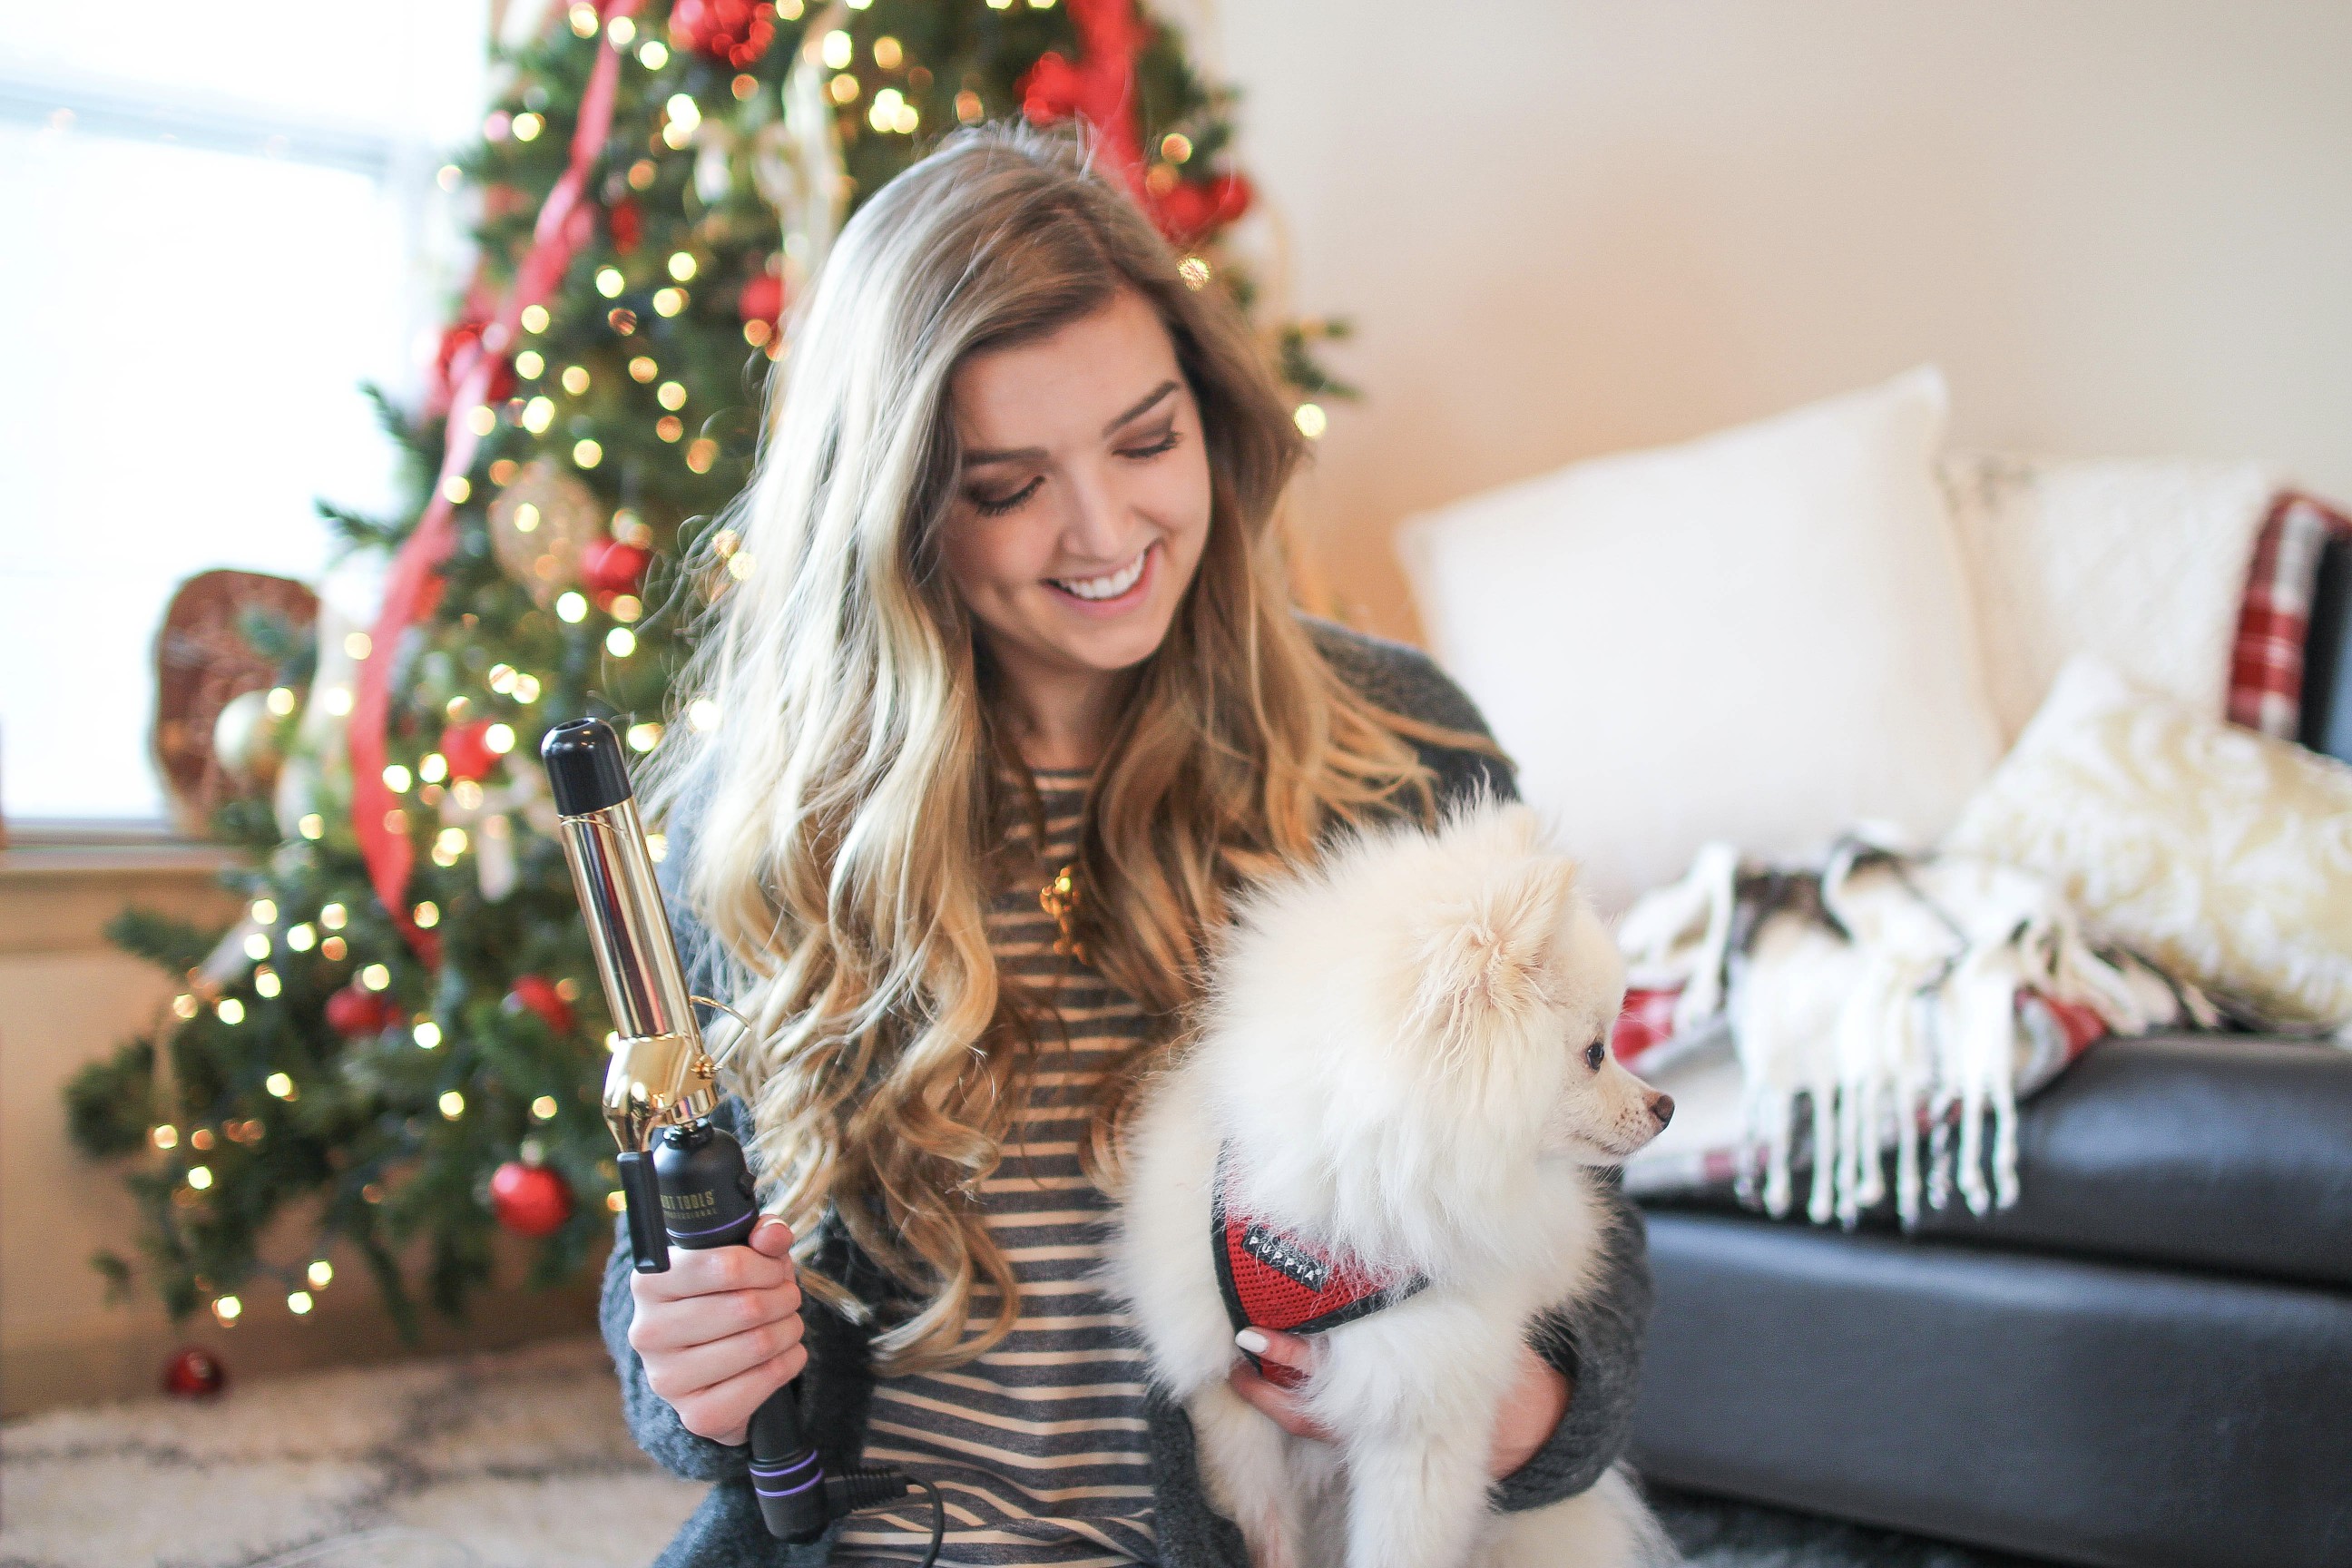
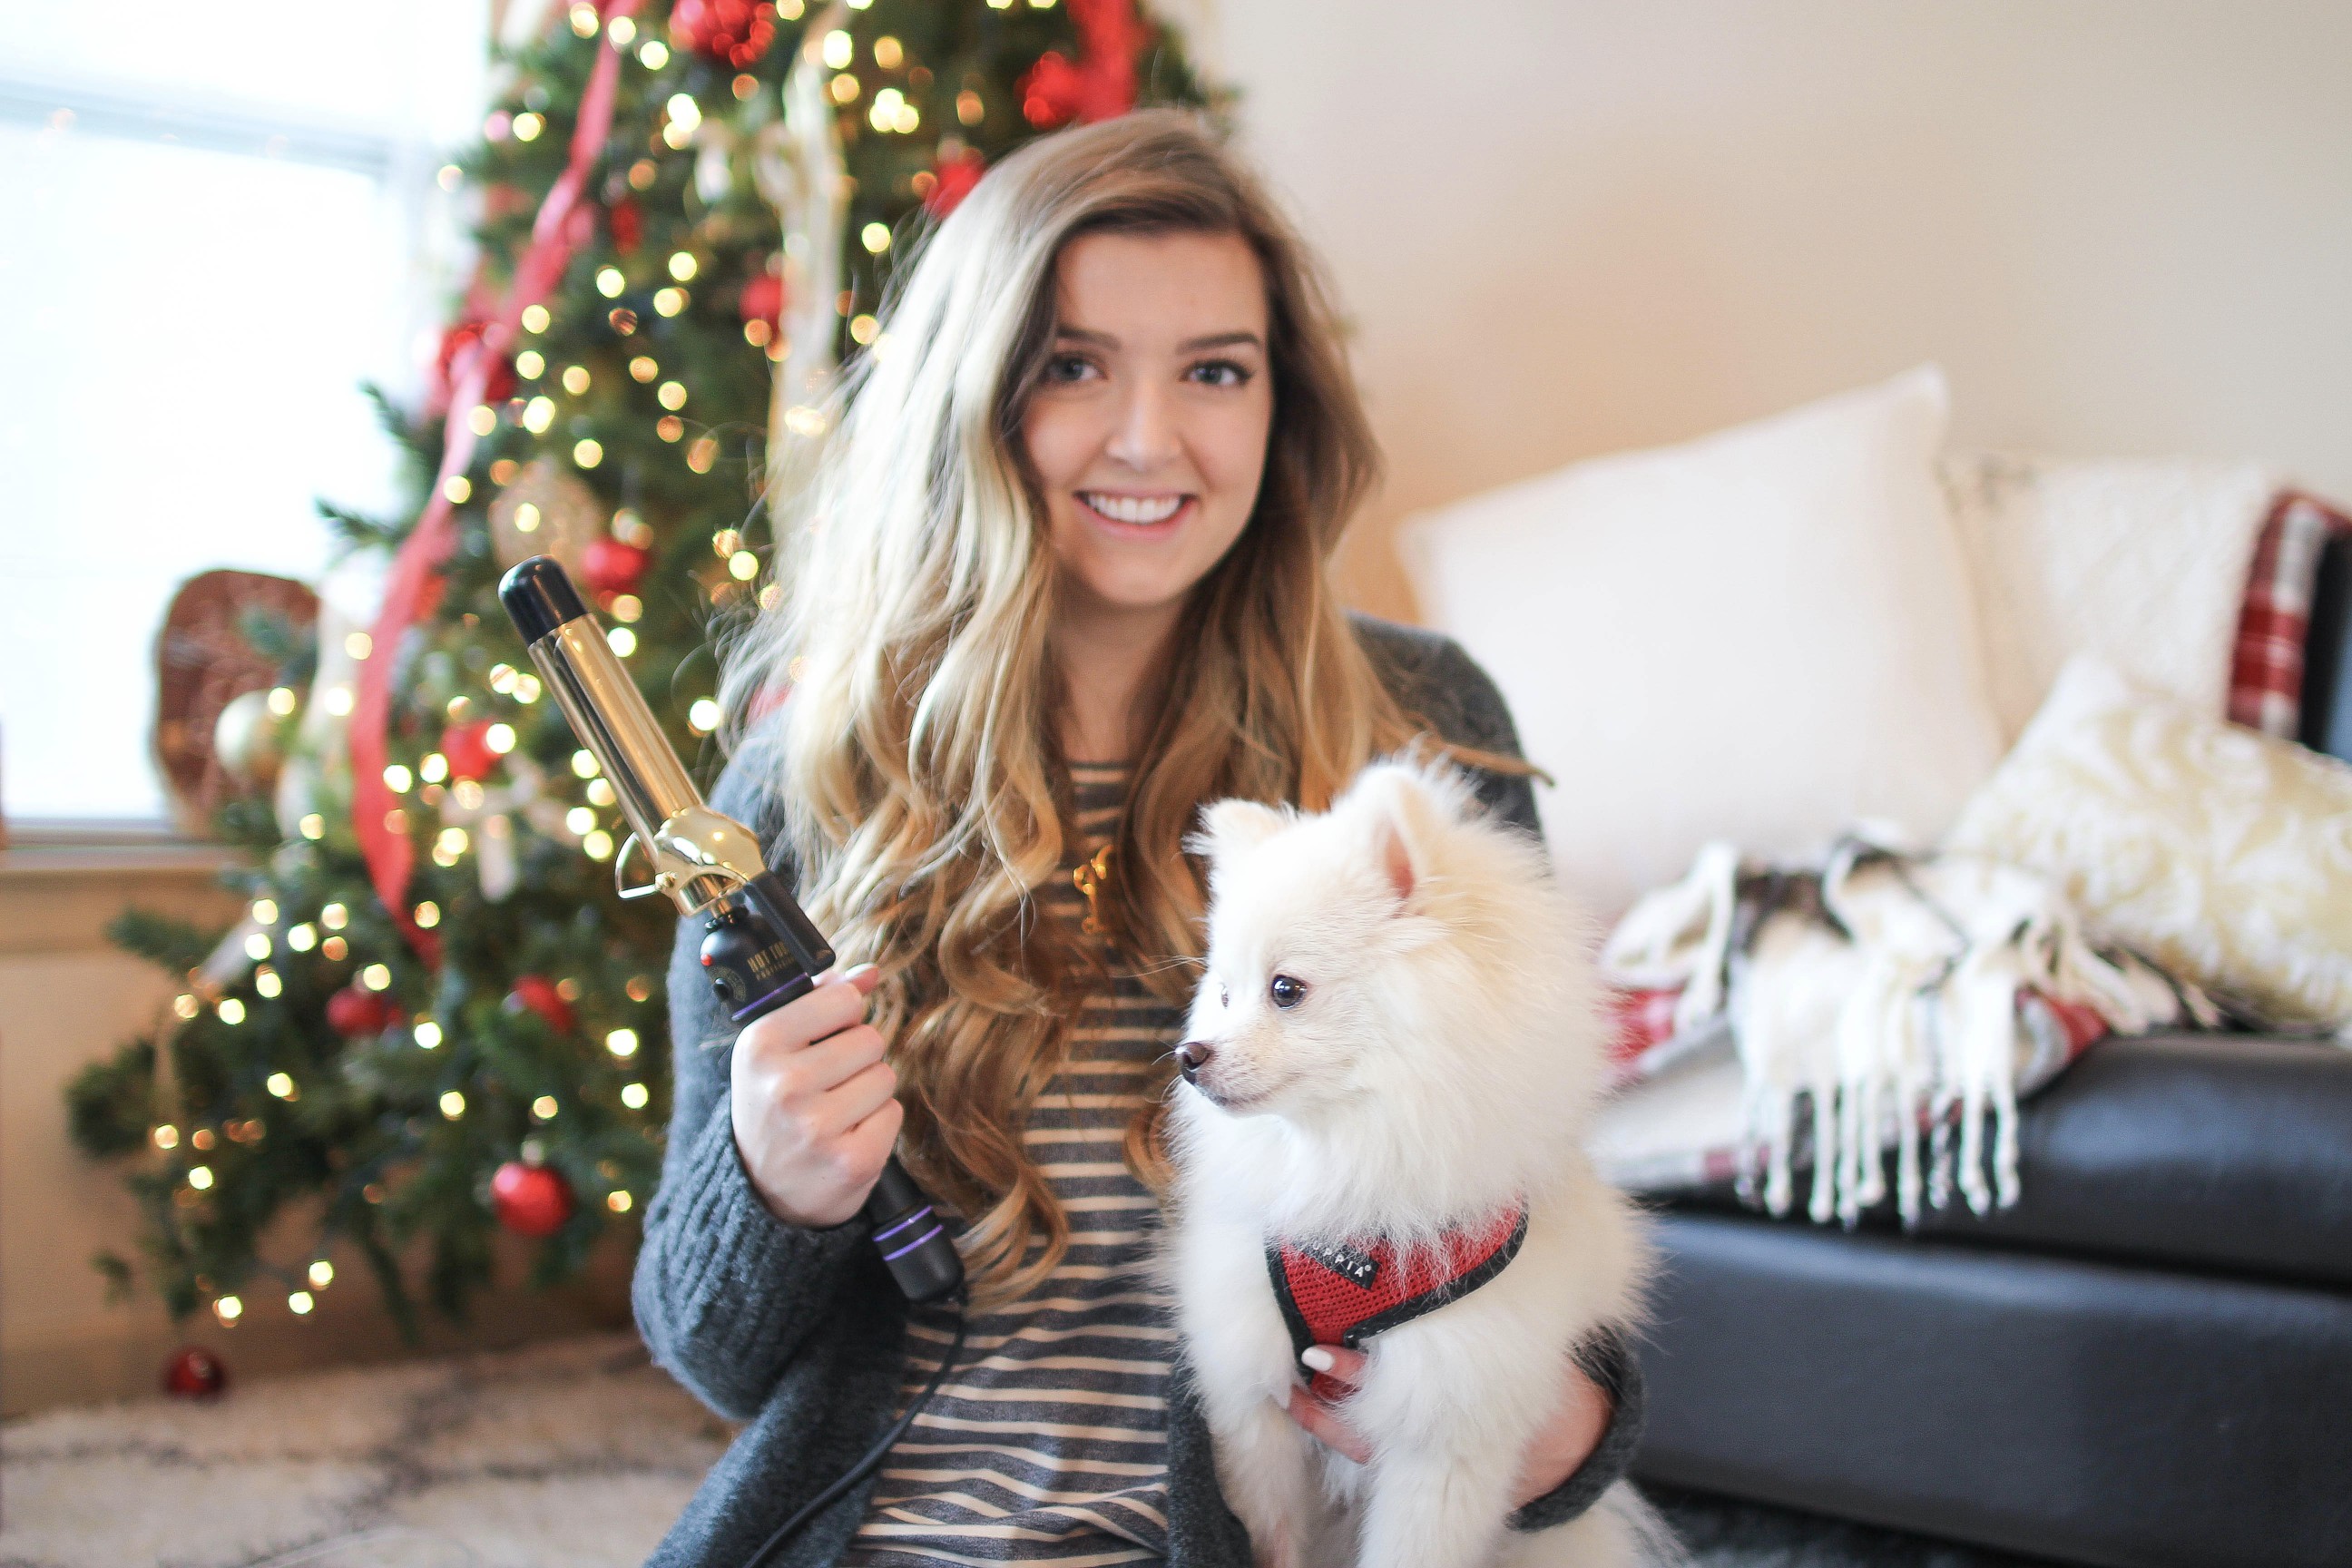
I either flip my hair up and down or brush through the ends to make it a little looser! Then you’re done! It usually takes me about 20 minutes or less, the more you curl your hair the faster you get!
Pin these!
Link to my outfit HERE and shop this post below:
I hope you all enjoyed this hair curling routine! Leave more hair requests below!
xoxo,
Lauren Emily Lindmark
*I was sent these extensions. However, all opinions are always my own.
Copyright © 2016 dailydoseofcharm.com
![]()



Hi! Love your tutorial! Just wondering do you feel like the extensions holds the curl long?
Yes they did! I don’t wear them anymore, so I can’t guarantee the current hair does. But when I had them I would only have to curl them once a week and put them in every day!
would love a video on how you put the extensions in:)
I will definitely film one!!