Happy Friday everyone! I hope you all have had an amazing week! To be honest, I still have a bit of a “holiday hangover” haha! I am trying to get back into the swing of working, but my head still isn’t quite there yet. I miss the holidays! Today’s post is one of my most highly requested ones, “How I Edit my Photos!” I get a lot of questions about photography, you can see my photography Q&A here to answer most of them, but my most asked question is how I edit! I decided to do a little screen recording of how I edit along with some notes down below.
Before we begin, I need to point out that my style of editing is definitely different. Most bloggers use what are called Lightroom Presets (learn more about them here), but I actually fully edit my photo then put a Photoshop Action on it. This is how I have been doing it for two years so I guess I am just a little stuck in my ways! I have tried to find Lightroom presets I like to replace this style of editing, but I haven’t found “the one” yet! The Photoshop Action I use is linked below and totally free! I buy all my other presets and actions on Etsy!
What I Use to Edit My Photos:
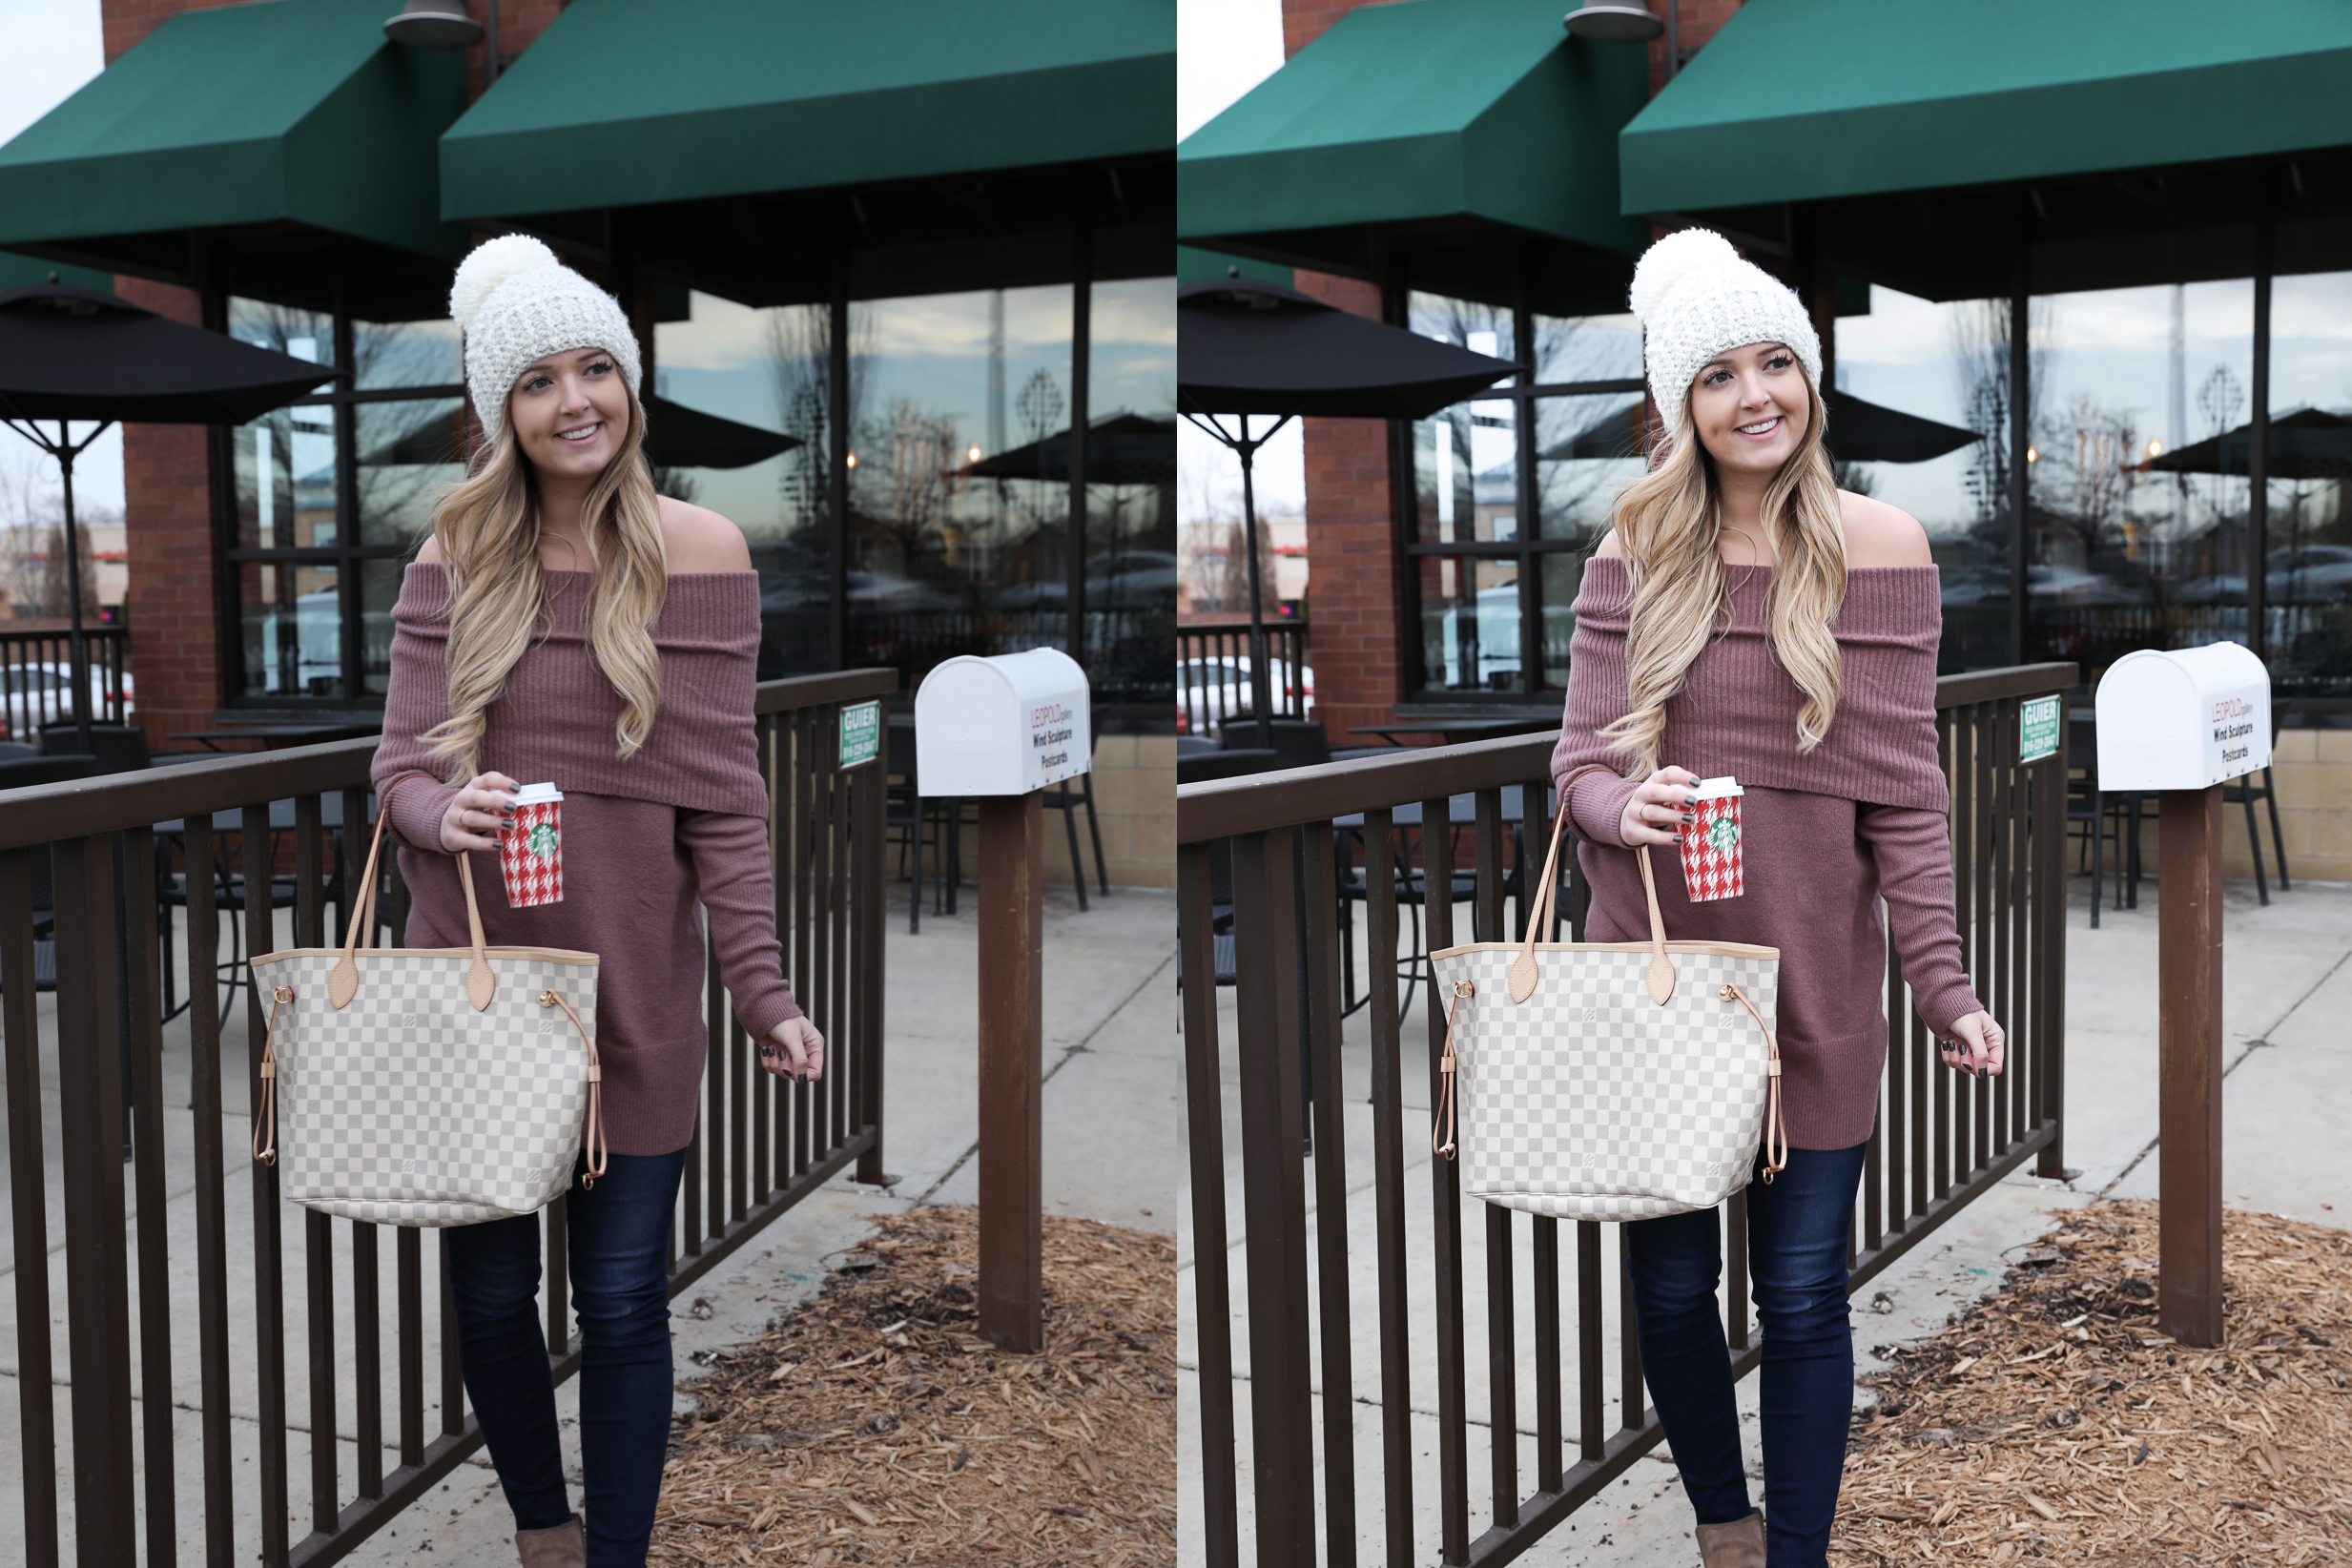
Links to my Outfit:
| Sweater (I am wearing a small, comes in four colors) | Beanie (similar) | Jeans | LV Neverfull MM |
How I Edit:
– Lightroom –
Basic Panel:
– Exposure (+)
– Contrast (+)
– Shadows (+)
– Whites (+)
HSL/Color:
-Saturation Orange (-)
Detail:
– Sharpening (about 50)
– Noise Reduction (about 50)
Lens Correction:
– Remove Chromatic Aberration
– Enable Profile Corrections
– Choose your Make
– Distorting (0)
– Vignetting (200)
– Photoshop –
After I am done editing in Lightroom I export the photo(s) and go to Photoshop. Photoshop is where I put my Photoshop Action on my photos (Get my Photoshop Action here). I usually put the opacity at about 25.
– Facetune –
In Facetune I pretty much just smooth out my skin on my face and correct any tones!
– Instagram Editing & Planoly –
In Instagram I edit any last minute colors. I use the Planoly app to look at the photo in my feed and make sure the colors match.
– Resizing Photos for my Blog –
I resize all my photos before I put them on my blog. I downloaded Google Chrome then go to https://bulkresizephotos.com/, add my photos, and set it at 50%!
xoxo,
Lauren Emily Lindmark
Copyright © 2019 dailydoseofcharm.com
![]()